Soil Bag Container Gardening
Try this soil bag container gardening method! It’s budget friendly and non-invasive. Plus, it’s easy to do!
America, and the rest of the world for that matter, is digging in and staying at home more these days. With that, we have all been trying new things that we would never have tried before. One of the easiest and most beneficial hobbies cropping up recently is gardening in different forms. Which I think is great because gardening can reduce stress and bring satisfaction to your daily life.
If you are a seasoned vet in gardening or if this is your first time starting a garden at home, this soil bag container method is budget friendly and non-invasive.
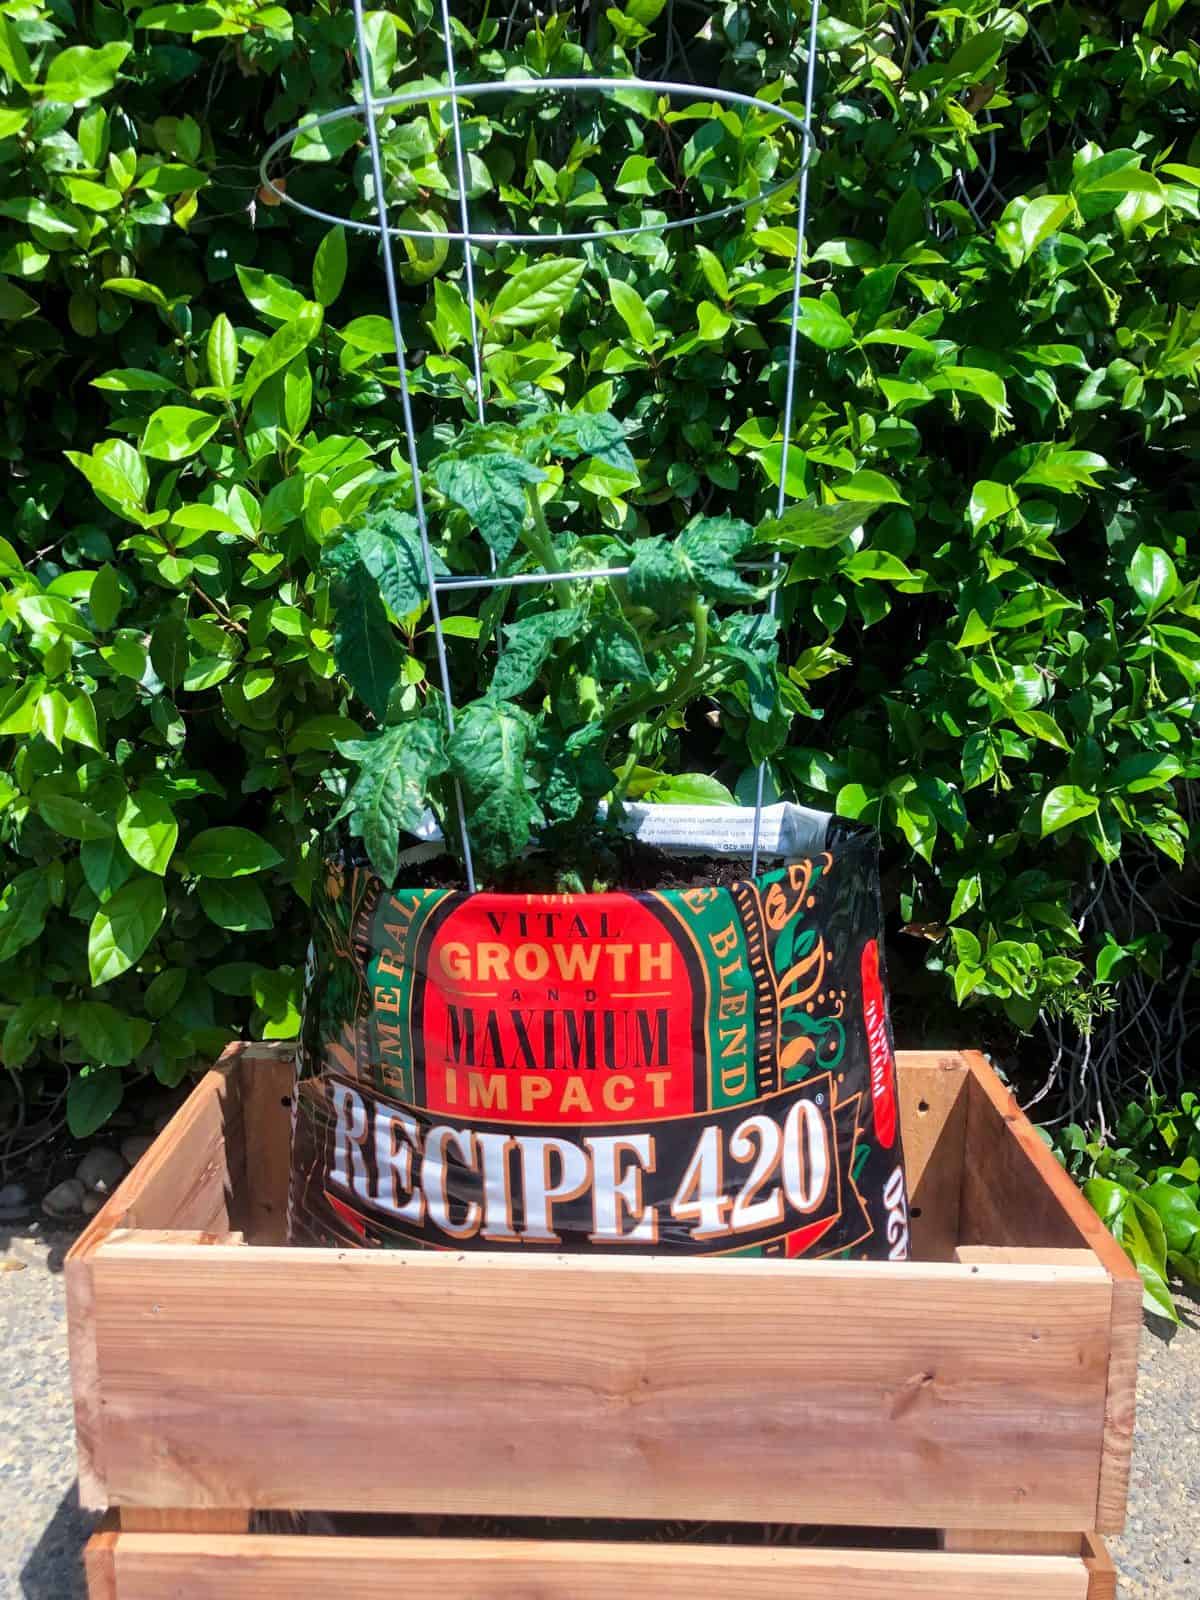
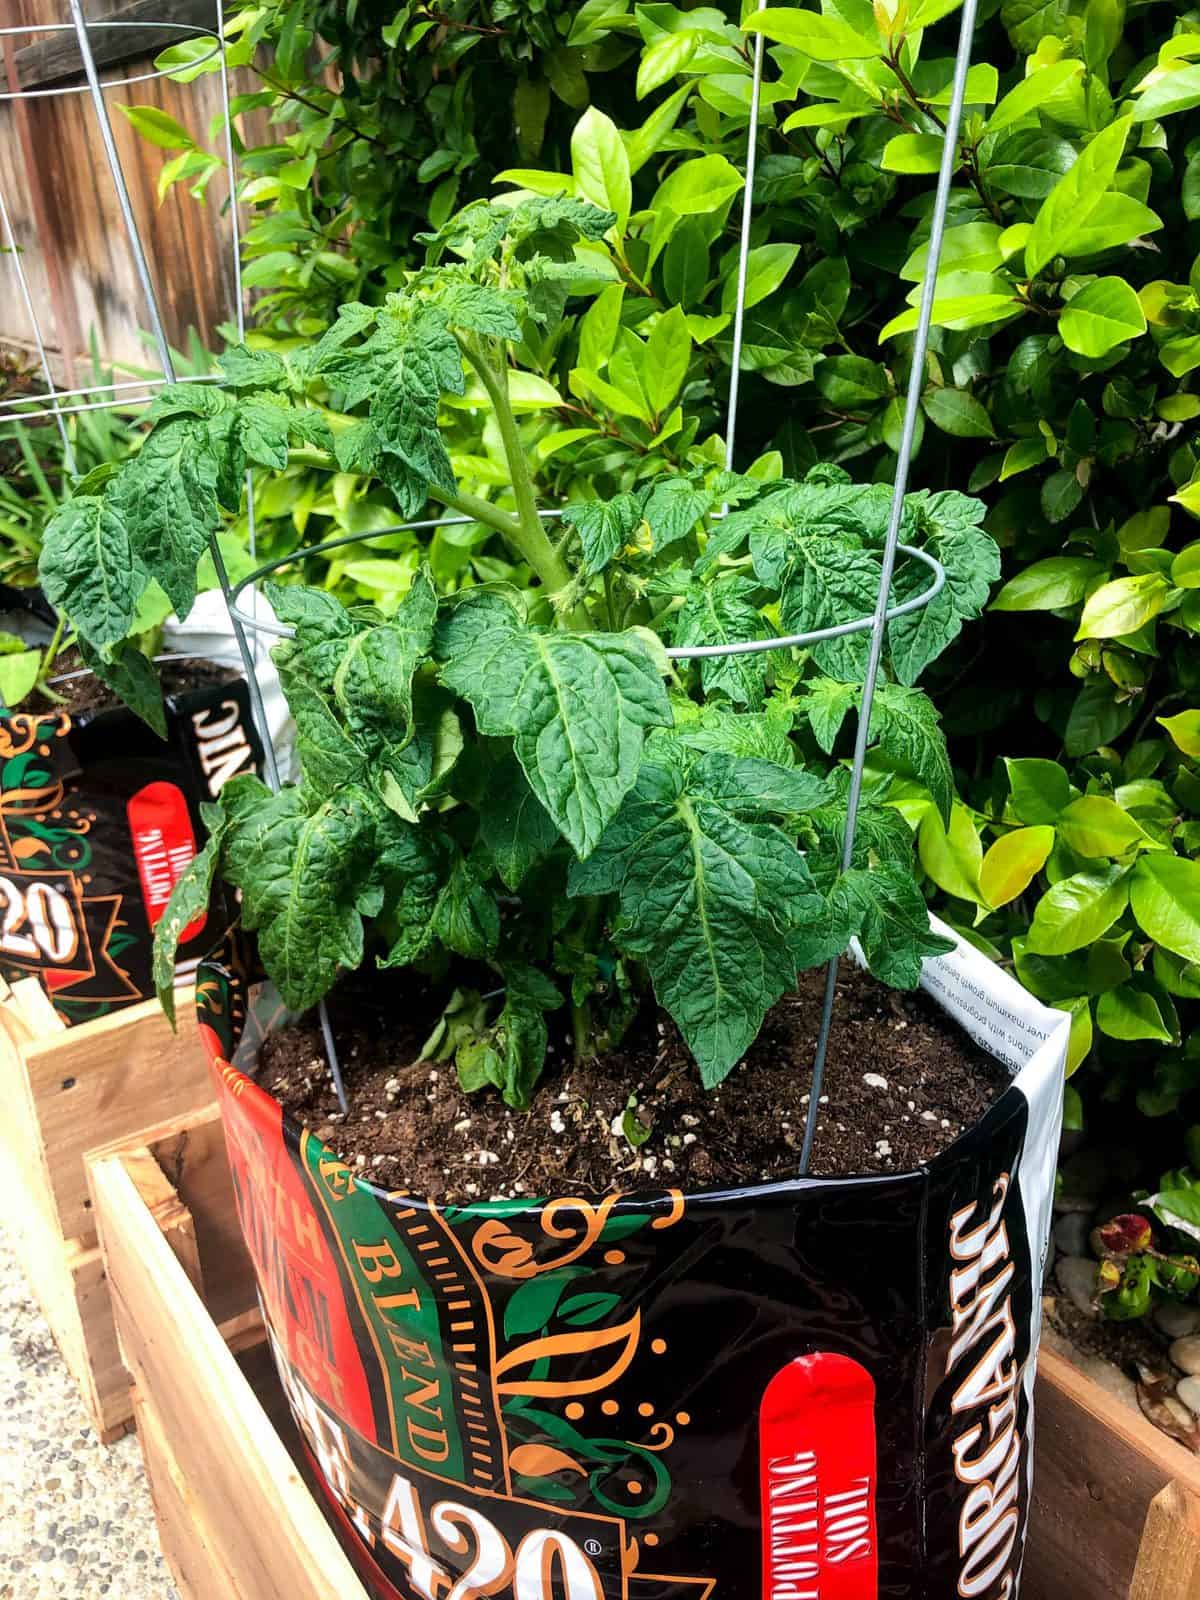
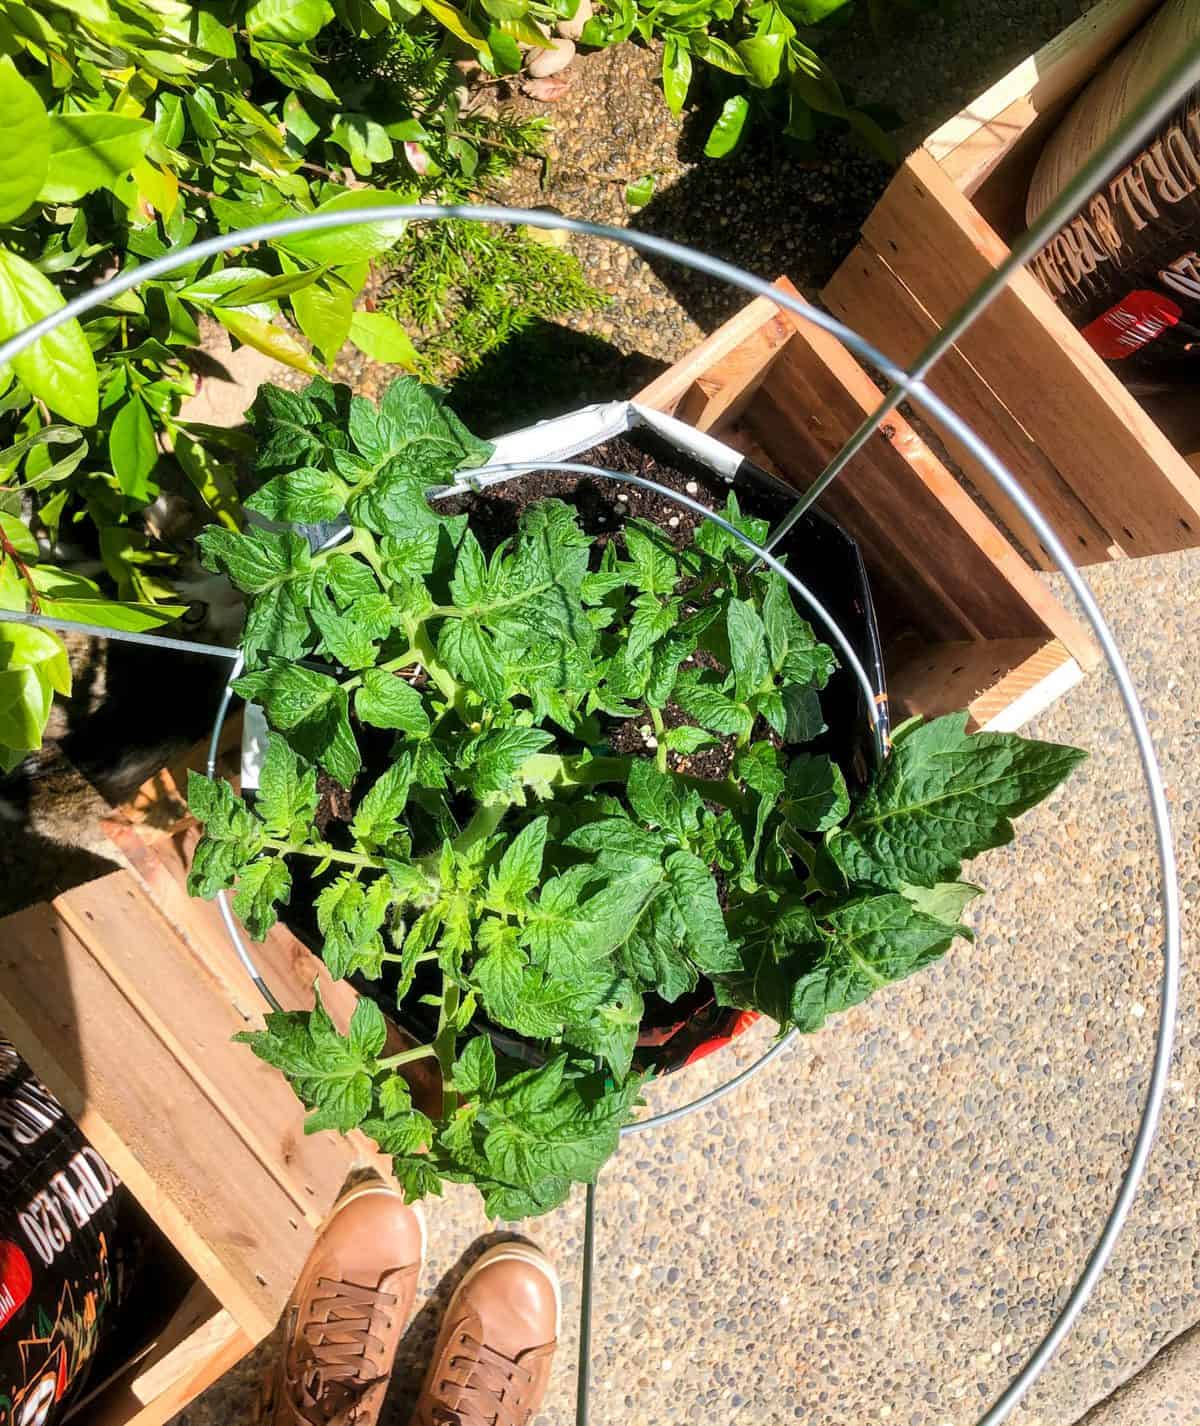
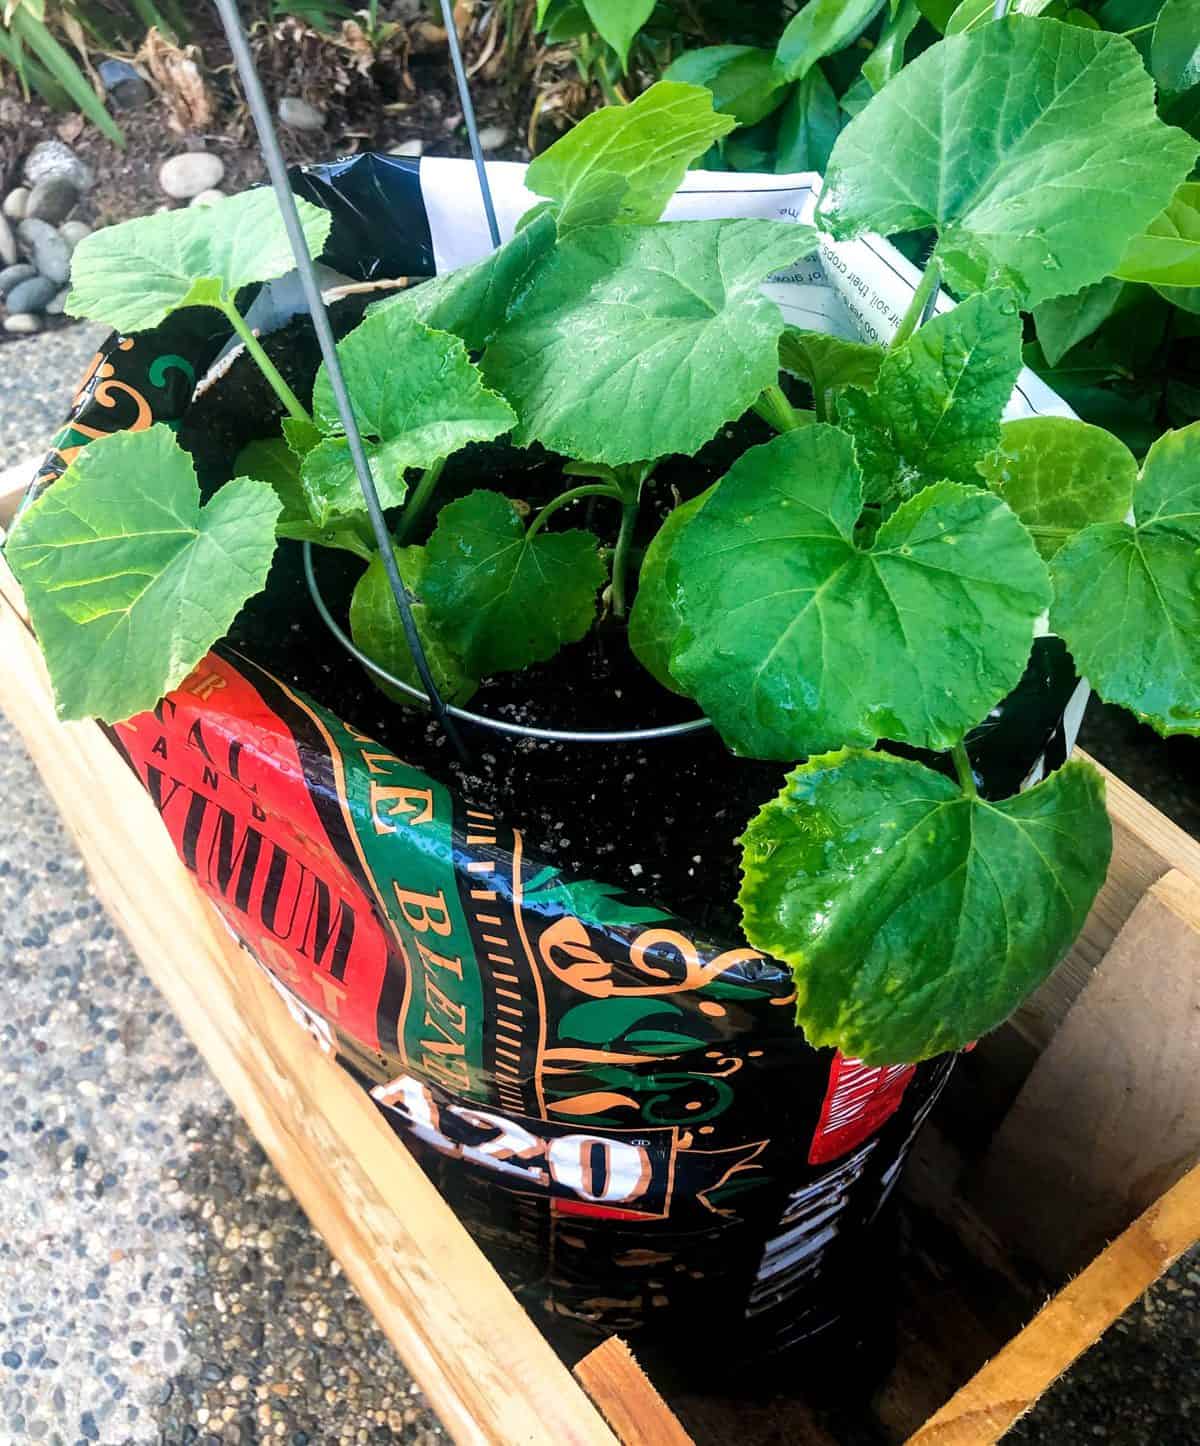
Because this method reduces cost and time by eliminating a cumbersome plastic or clay pot by just using the soil bag for the plant, it will fast become your most rewarding gardening obsession. Not only is it quick to set up, but you also don’t have to fuss with finding the best spot in your flower beds to grow the plant. Just set the soil bag in a stabilizing box (we used wood crates) and find the best spot in your yard for optimal growth.

Here is how you can make your own!
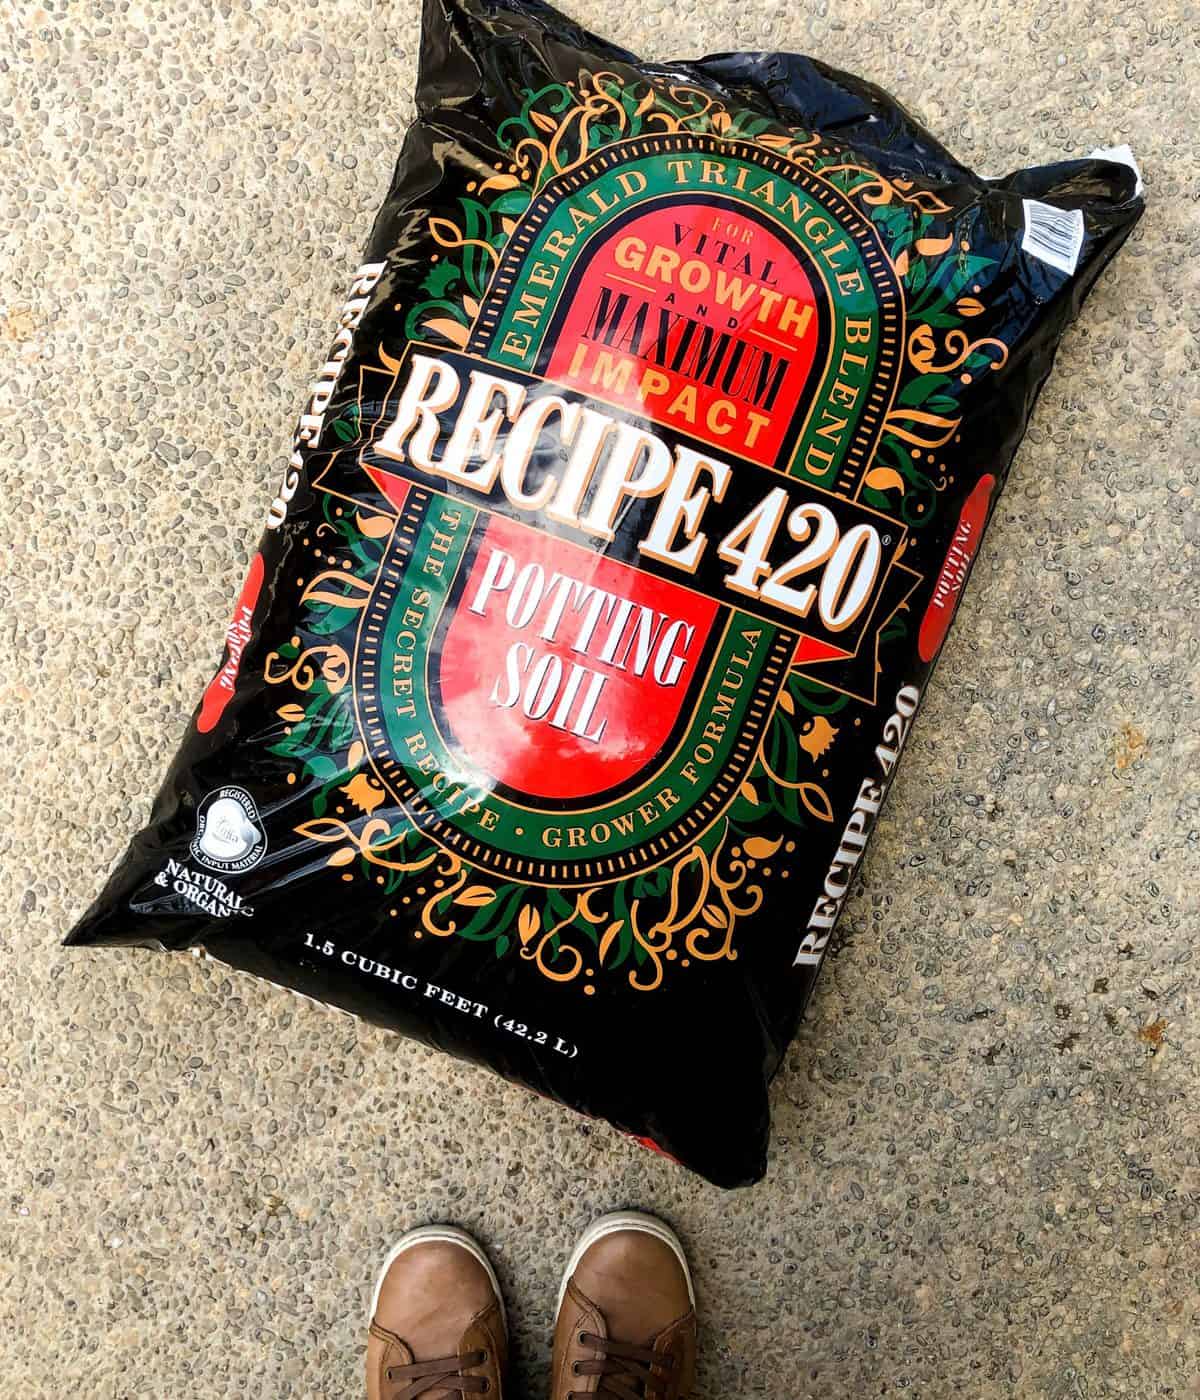
Grab your favorite bag of soil. Make sure that the soil is geared towards vegetable growth and the recipe is high in nutrients.
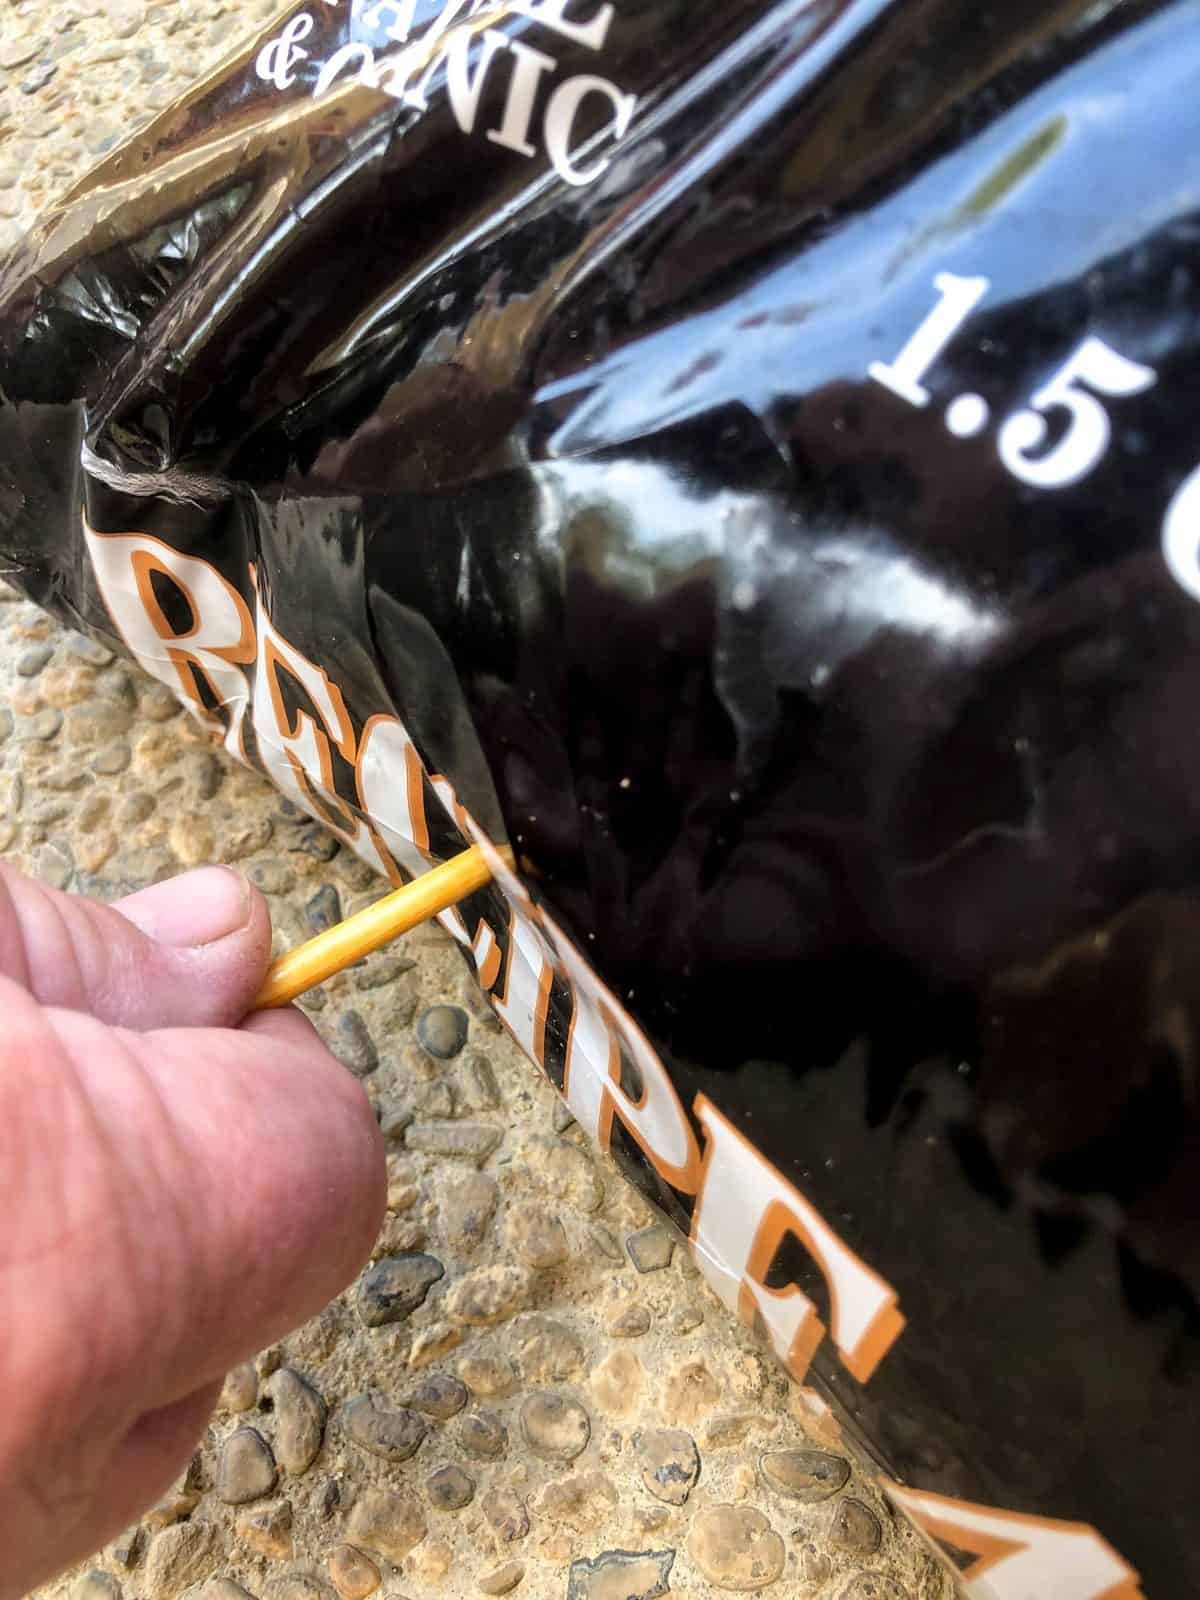
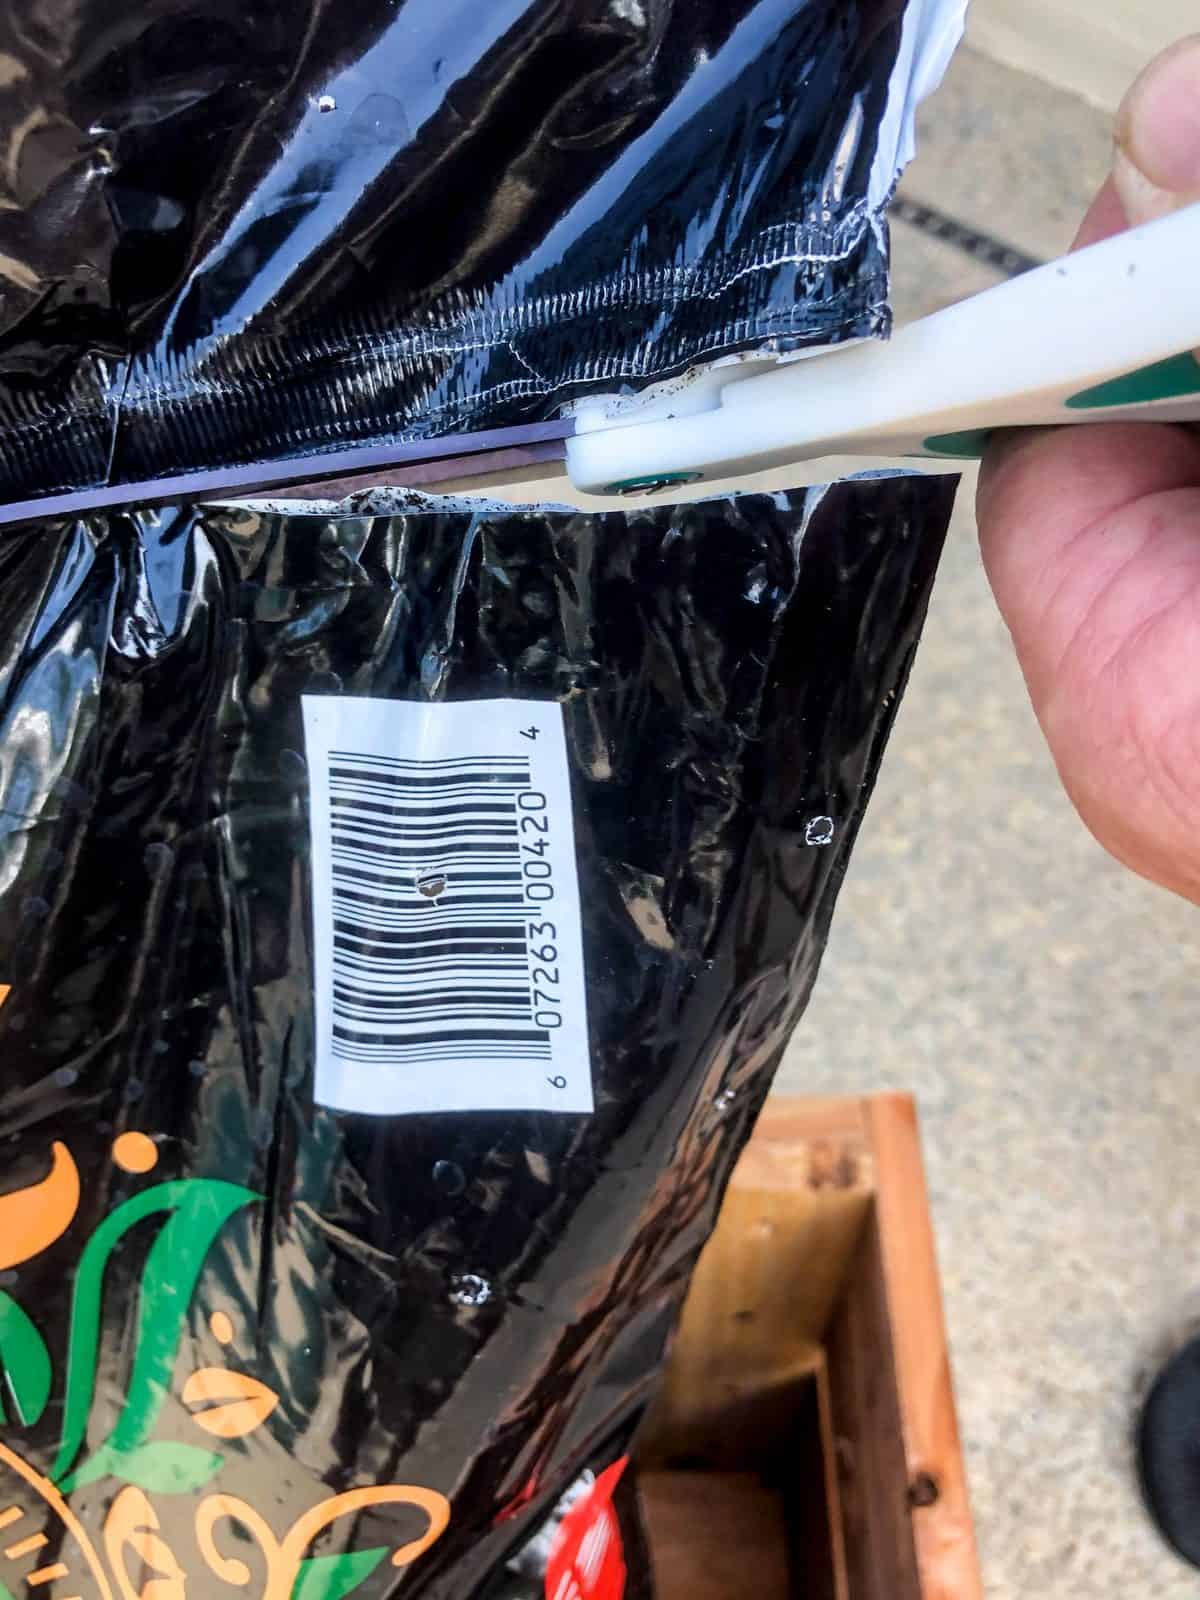
Poke holes (we used a golf tee) in the bottom of the bag so that when you water, the water has a way of escape and not collecting at the bottom of the soil bag.
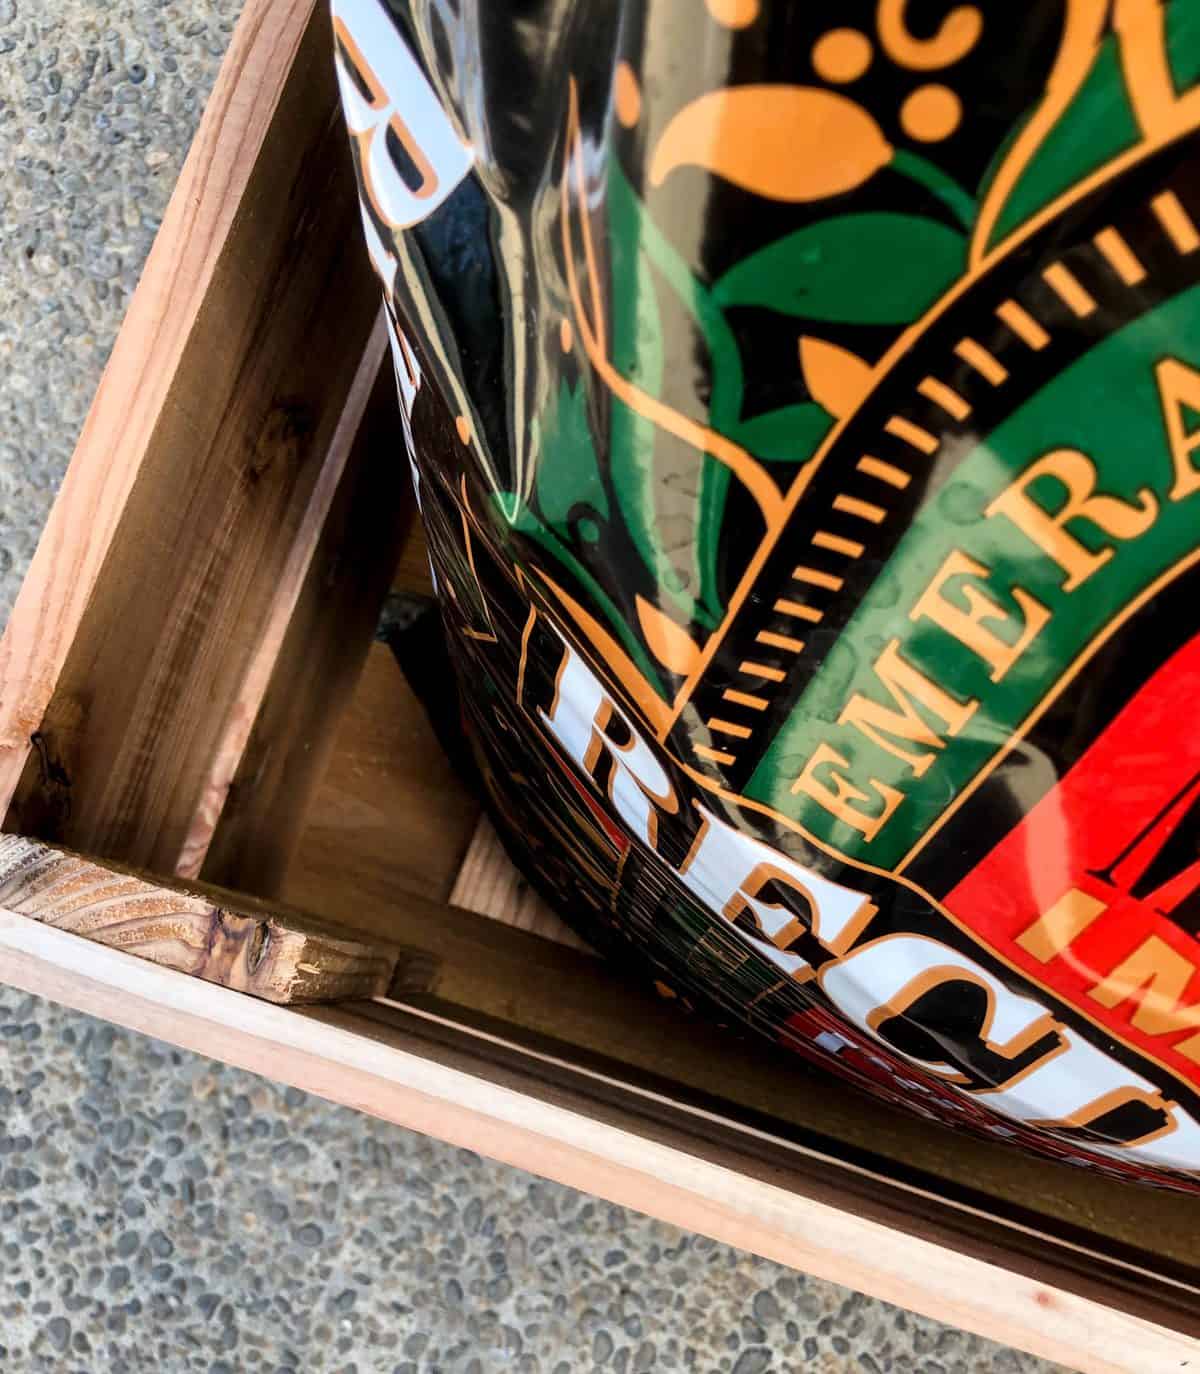
If you are using a container to keep the bag steady (recommended), place the soil bag in the container now.
Cut the soil bag right below the sealed portion to allow for as much plastic at the top as possible
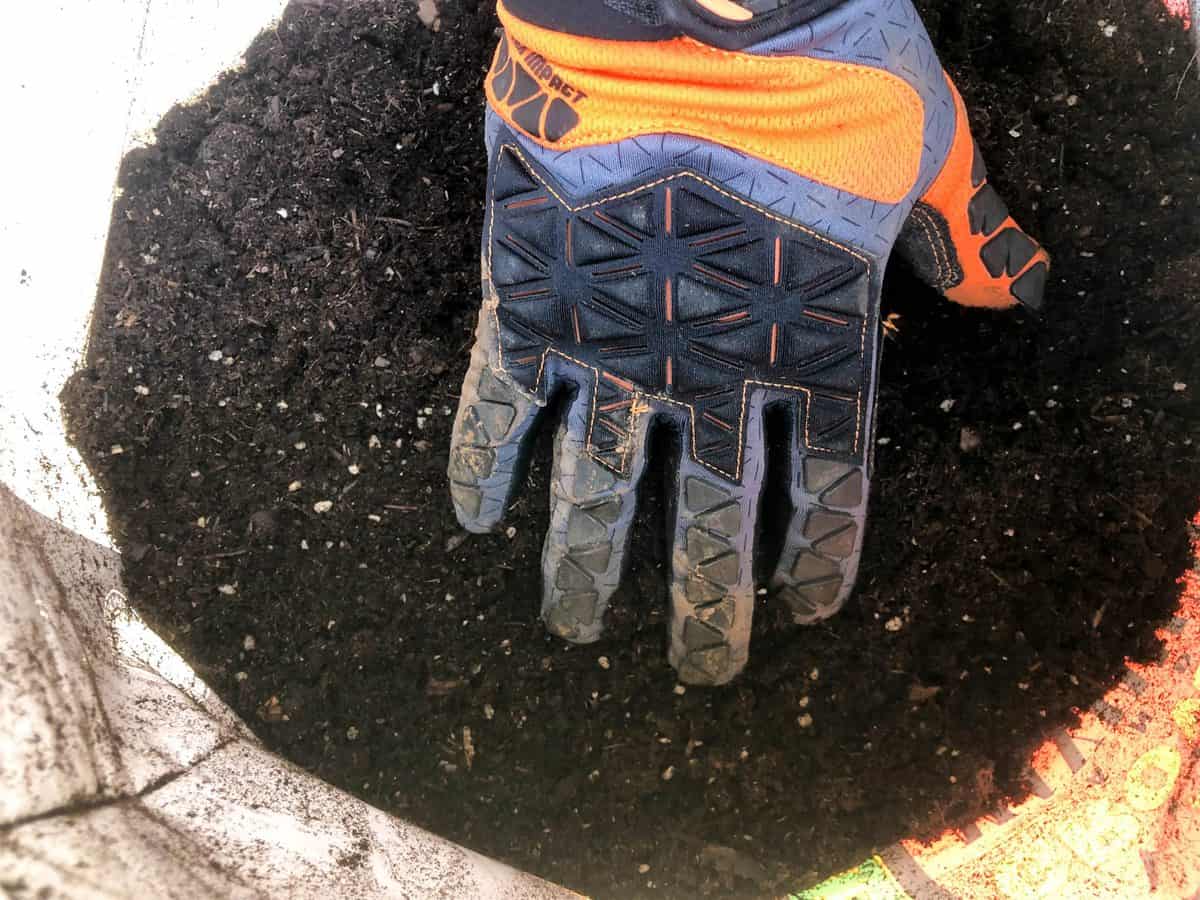
Smooth and level out the soil in the bag
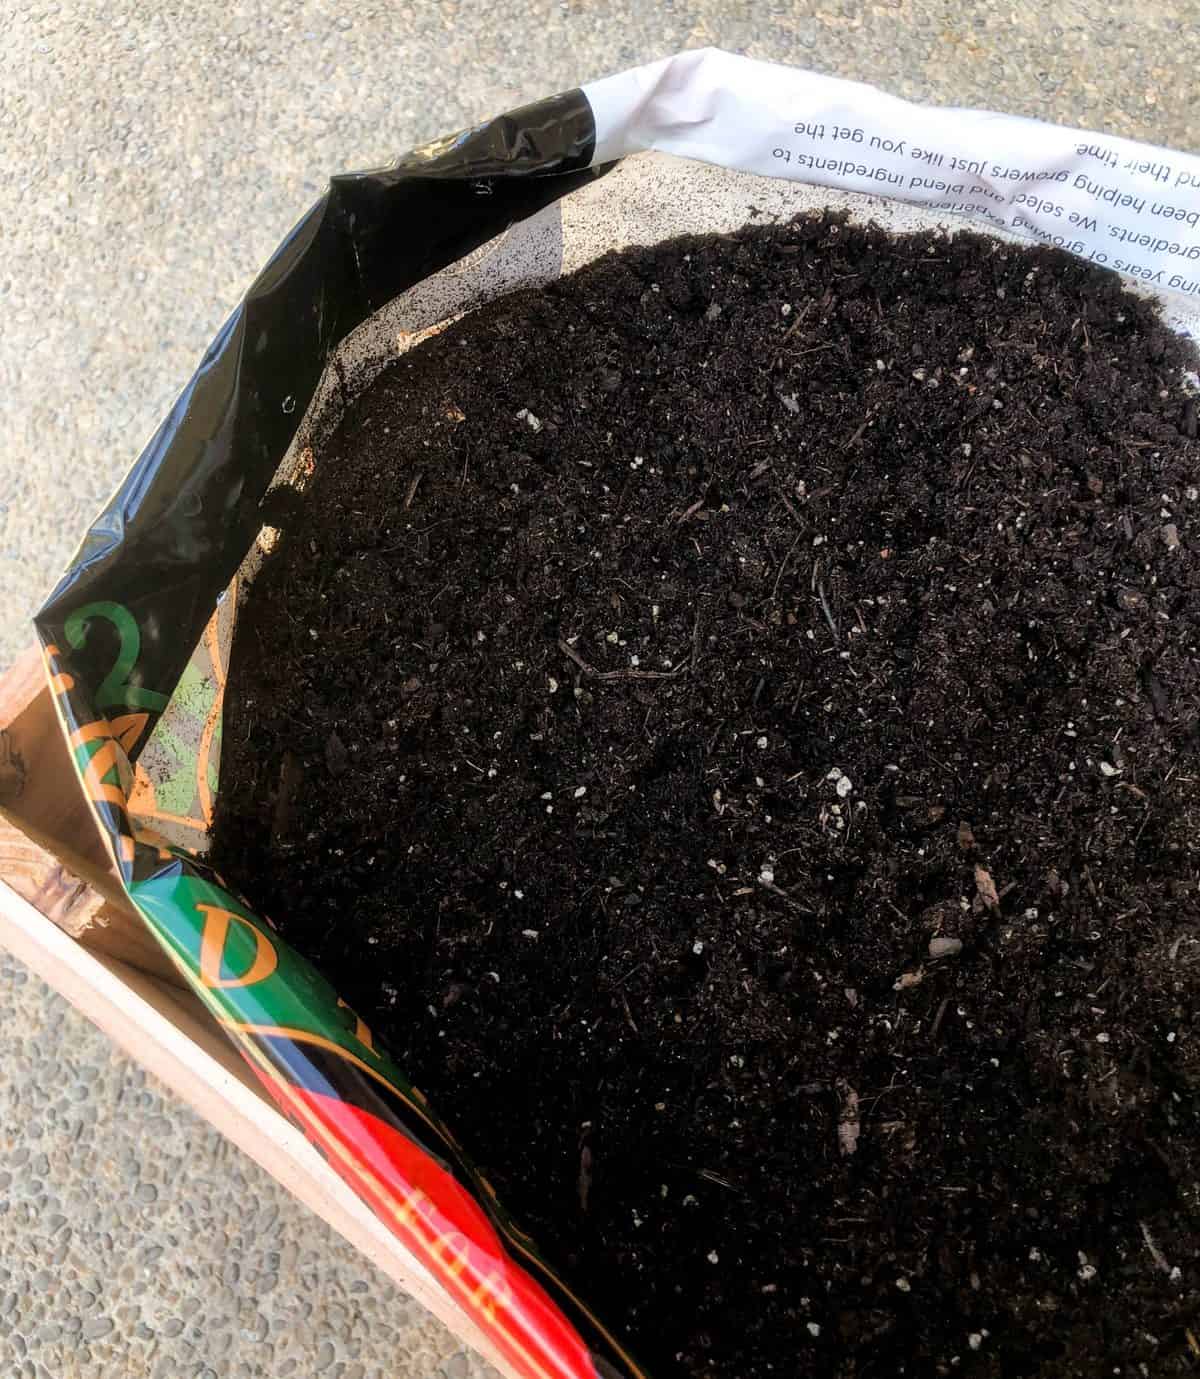
Fold the plastic bag down until it is just above the soil. I had to fold mine down five or six times using about an inch fold pattern
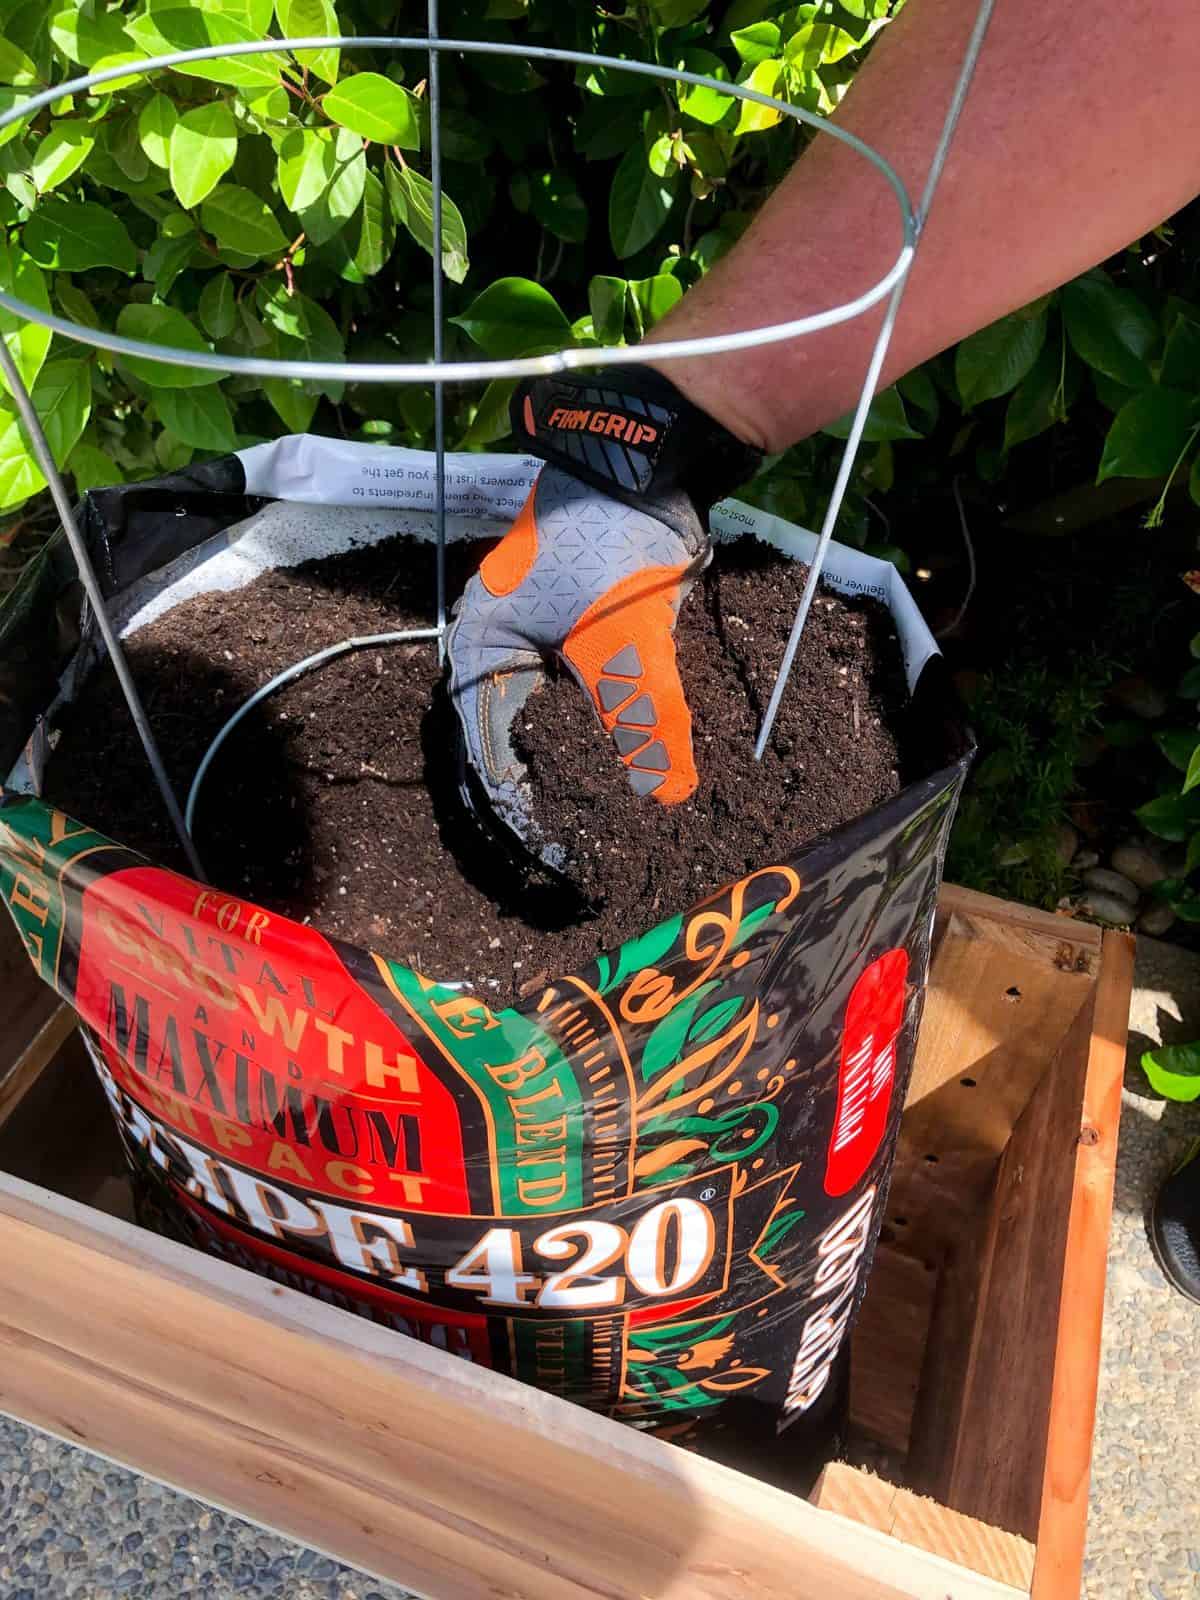
Add in the plant support if using, being careful not to poke the plastic soil bag, and dig a small home in the center for your plant
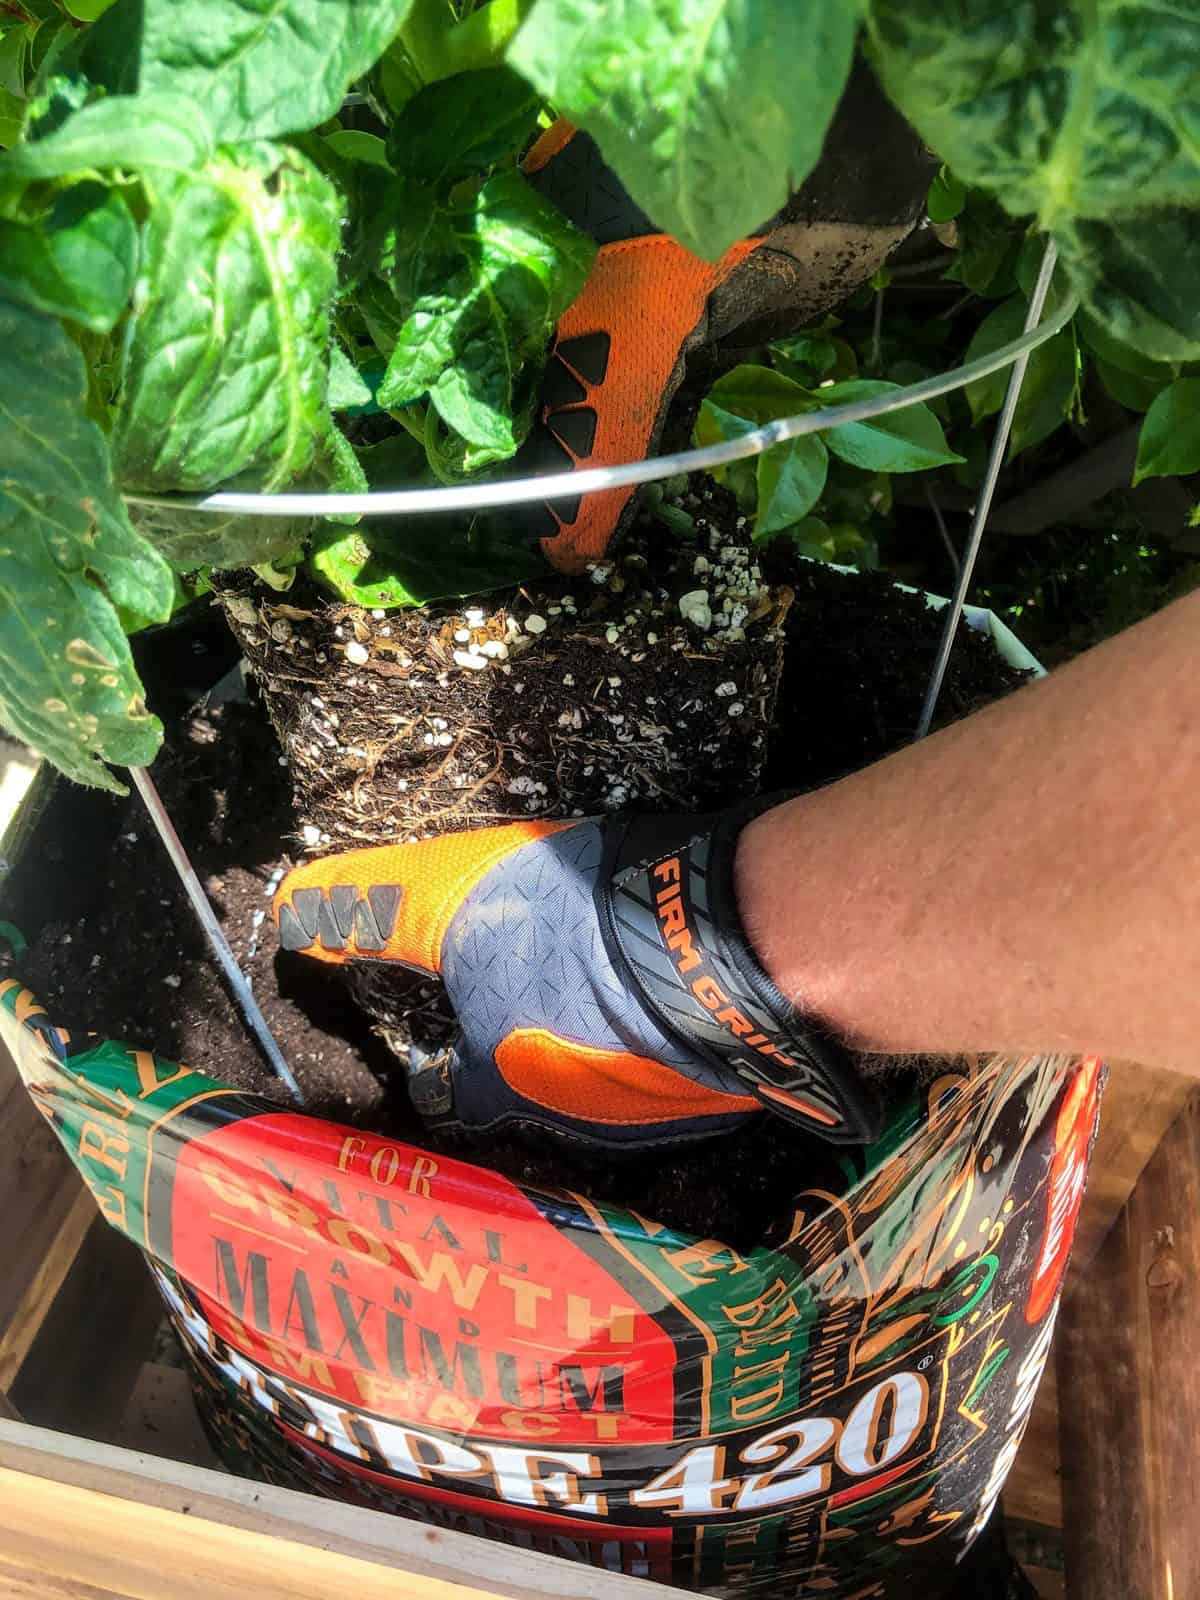
Place the plant in the prepared hole and refill the soil around the plant.
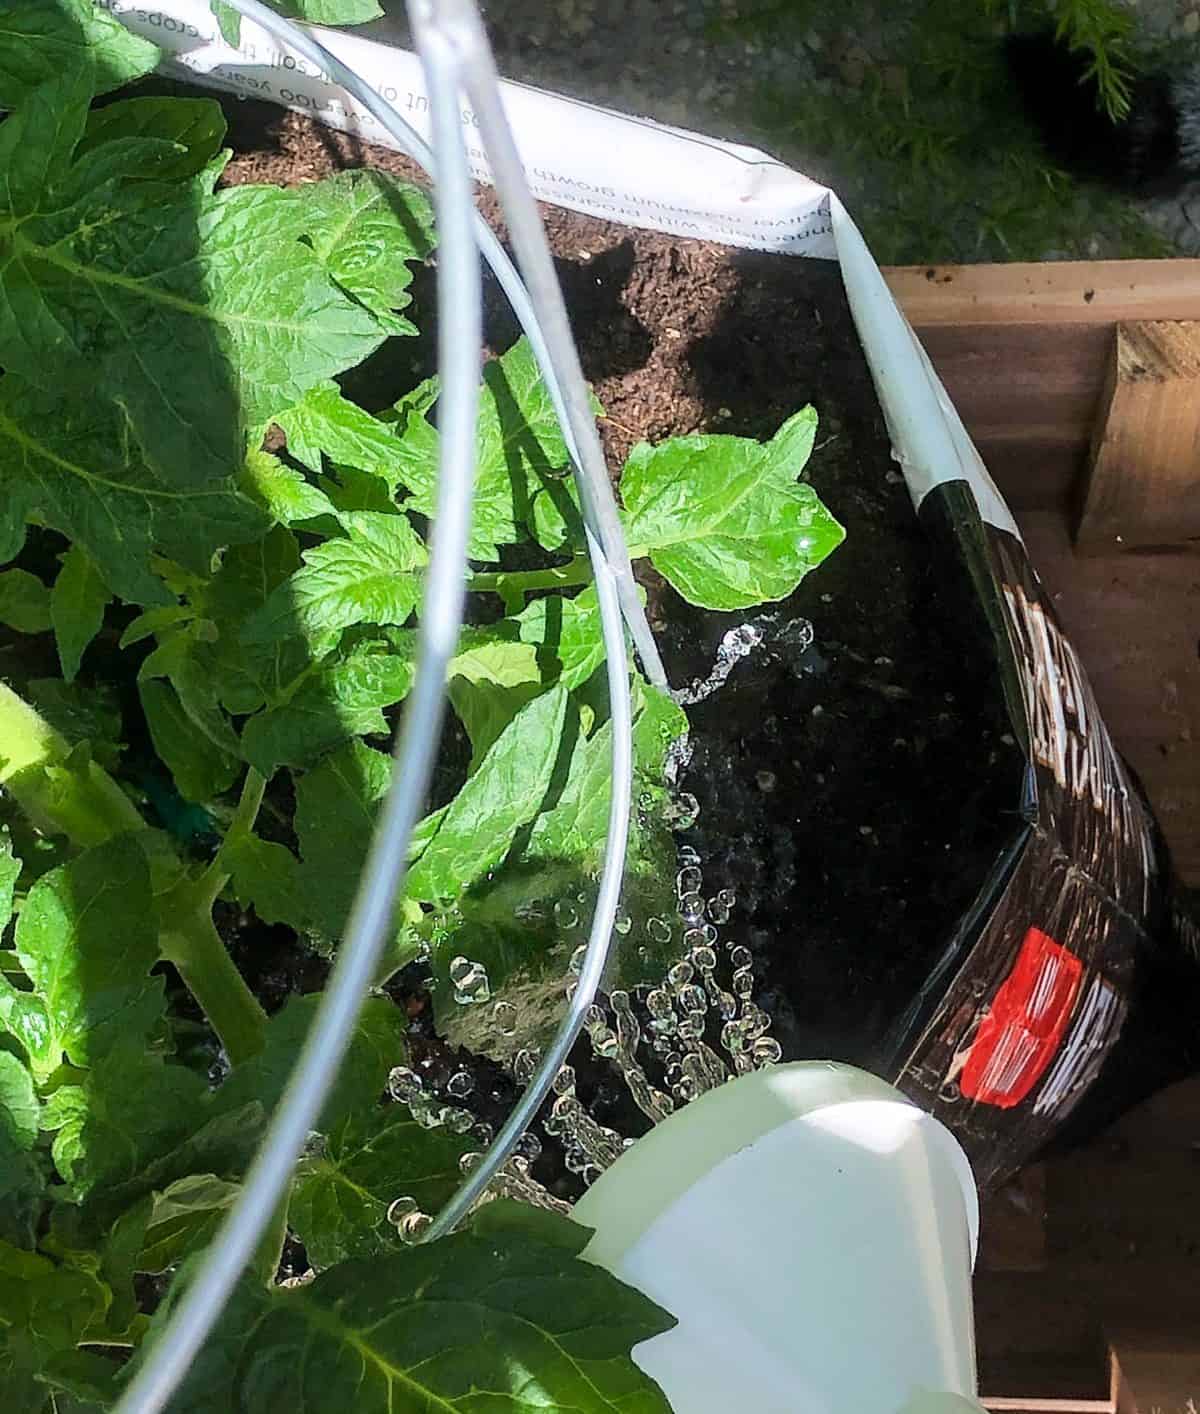
Generously water the soil bag and the newly planted tomatoes, squash, peppers (or your favorite veggie). Check your nursery plant identification regarding how much sun and water your particular plant needs for optimum growth and harvest.
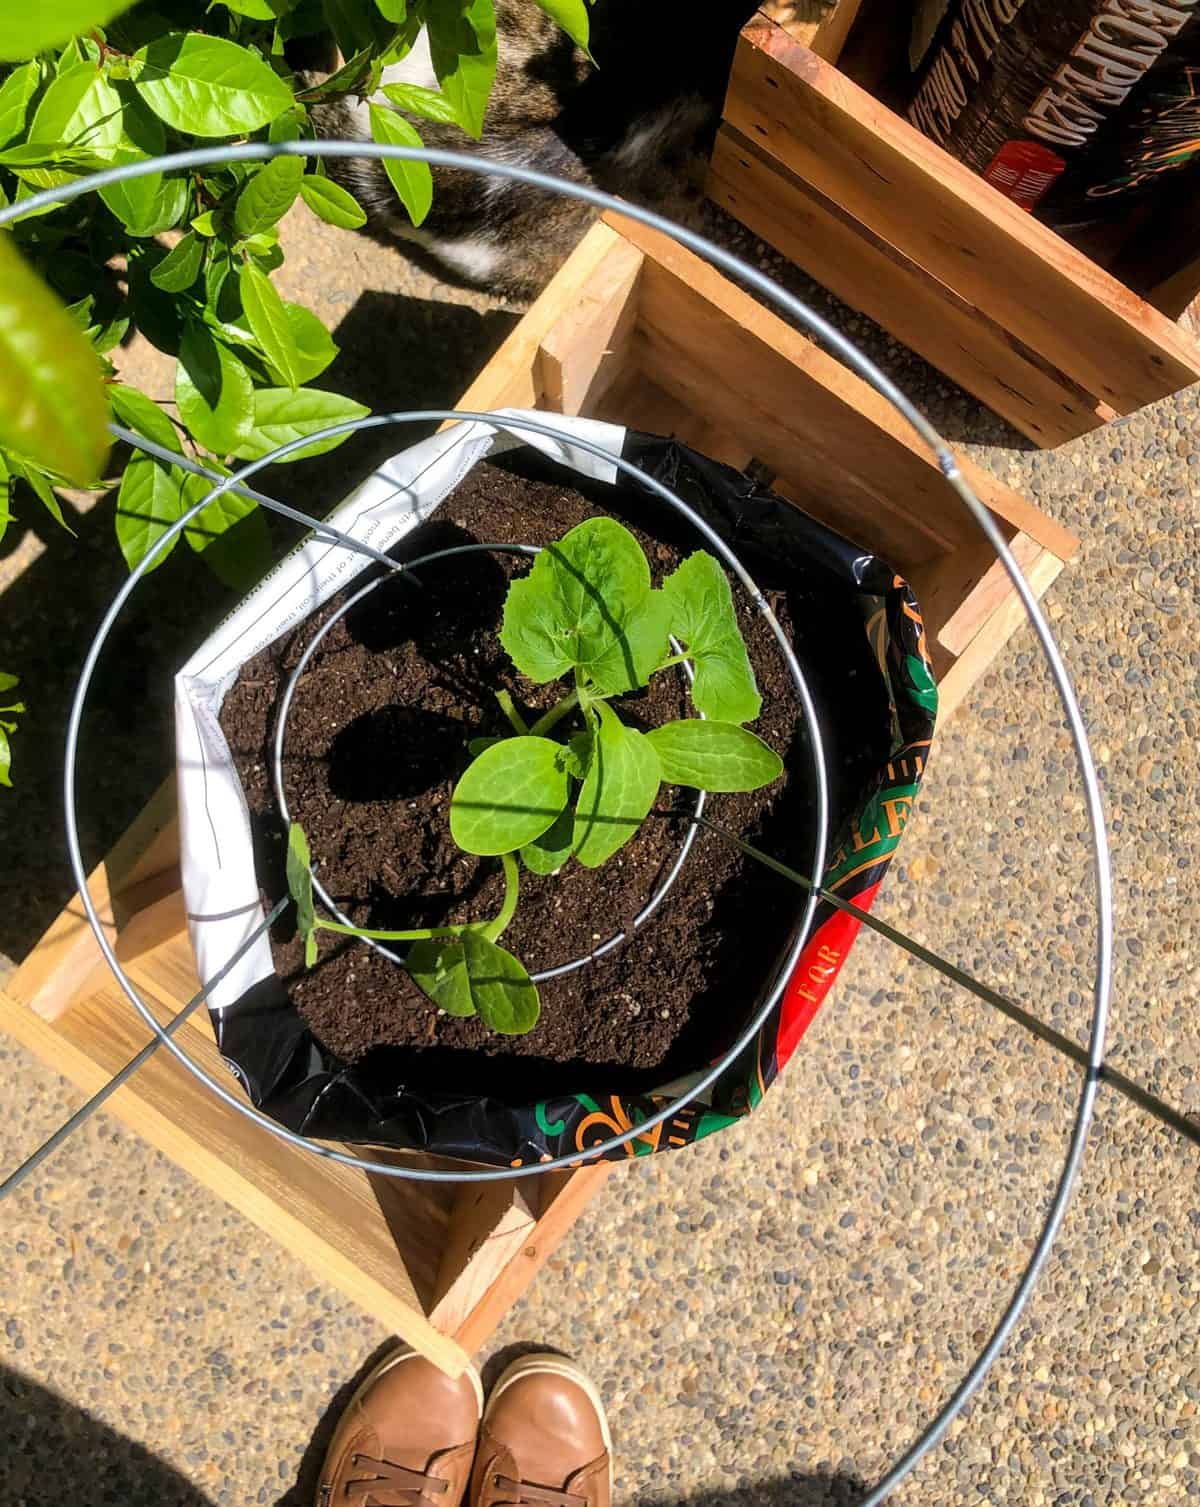
I planted a squash variety –
And of course, a tomato plant –
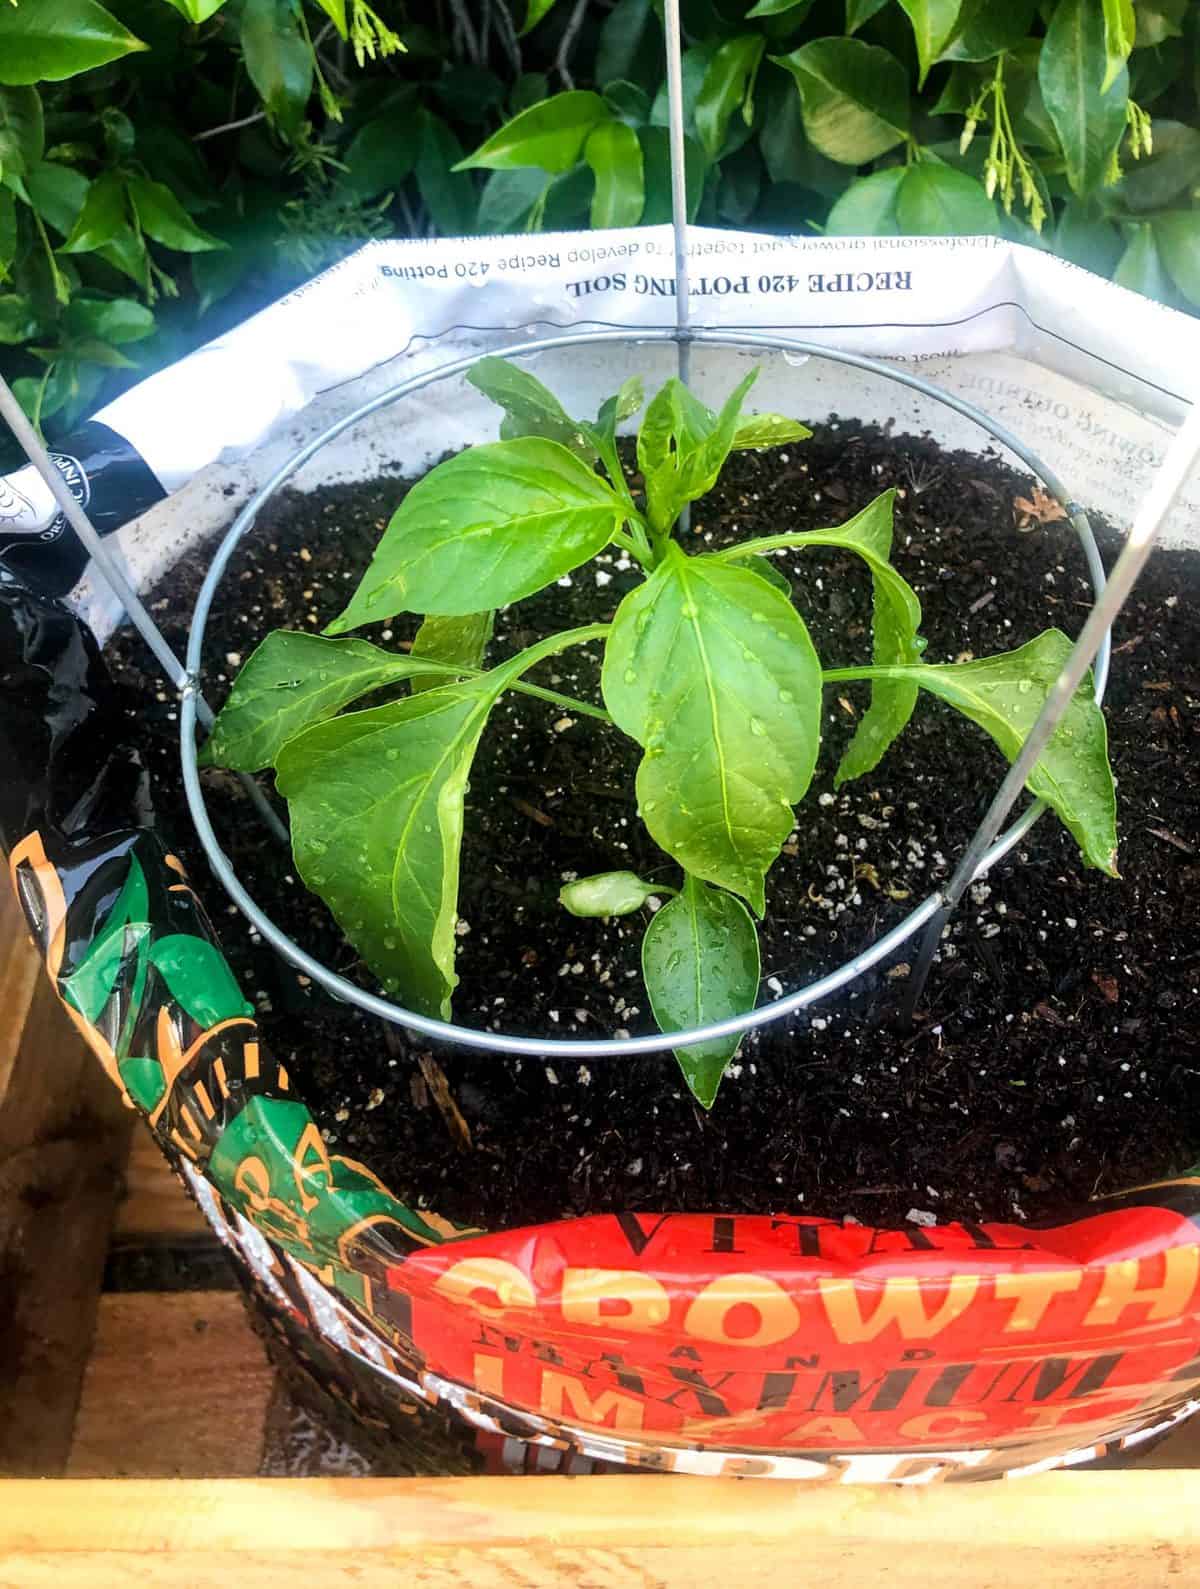
And I had to include an Anaheim Chile plant to supplement our obsession with making Chile Verde right now!
Happy gardening!
Here’s a few more helpful articles I found that will inspire you to grow!
Have a lot of shade in your garden?
Check out Food Storage Moms and their guide to Vegetables to Grow in the Shade!
Looking specifically to grow herbs?
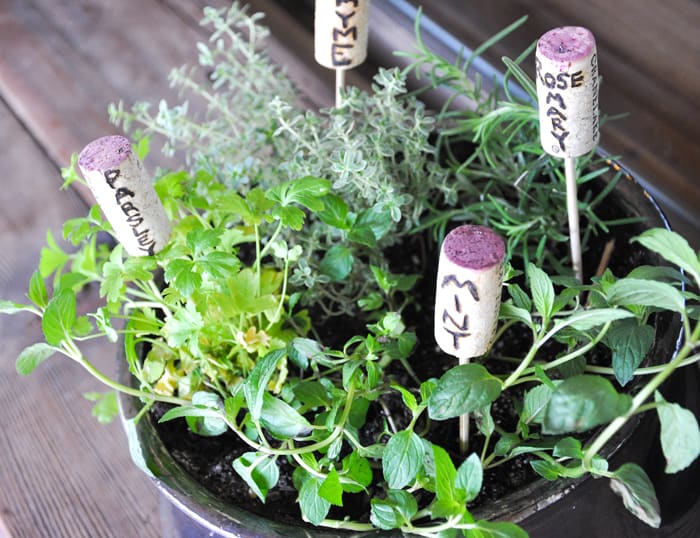
Check out our Cocktail Herb Garden
Want to grow your own delicious strawberries?
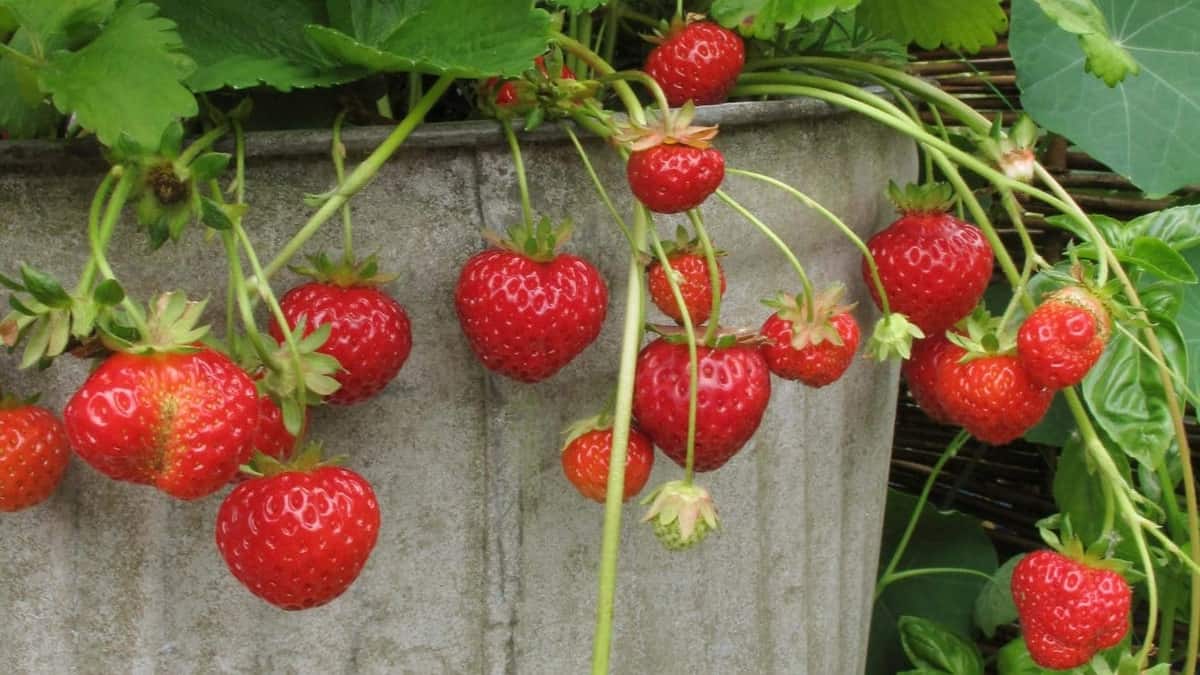
Hortzone has some great ideas!