Learn How to Press Flowers
Pressing flowers is an easy way to preserve their beauty so you can enjoy them for a long time to come. Expert floral designer and California Grown Creator, Rochelle Wall, shares how to press flowers at home, the tools you need, and how to store them.
How to Press Flowers at Home
By Rochelle Wall, Delightful! by Rochelle Leigh Wall
Finding ways to preserve and prolong the beauty of nature has long been something I strive for – pressing flowers is a time old practice that generations have enjoyed helping preserve and reuse cut flowers after they have been plucked from their garden. Pressing flowers can be easy, using only a few supplies from around your home. And pressed flowers are excellent for placing in a frame or gluing to a handmade card or even an autumn pumpkin.
The supplies you will need to press flowers include:
- Flower Press with a lot of scrap paper
- Cardboard
- A large, heavy stack of books
- Flat, or ‘face’ flowers
Optional:
- Modge-podge or similar glue
- Paint brushes
- Card stock or other heavy paper for mounting
- Tweezers
- Storage containers
What are the best tips for successfully pressing flowers?
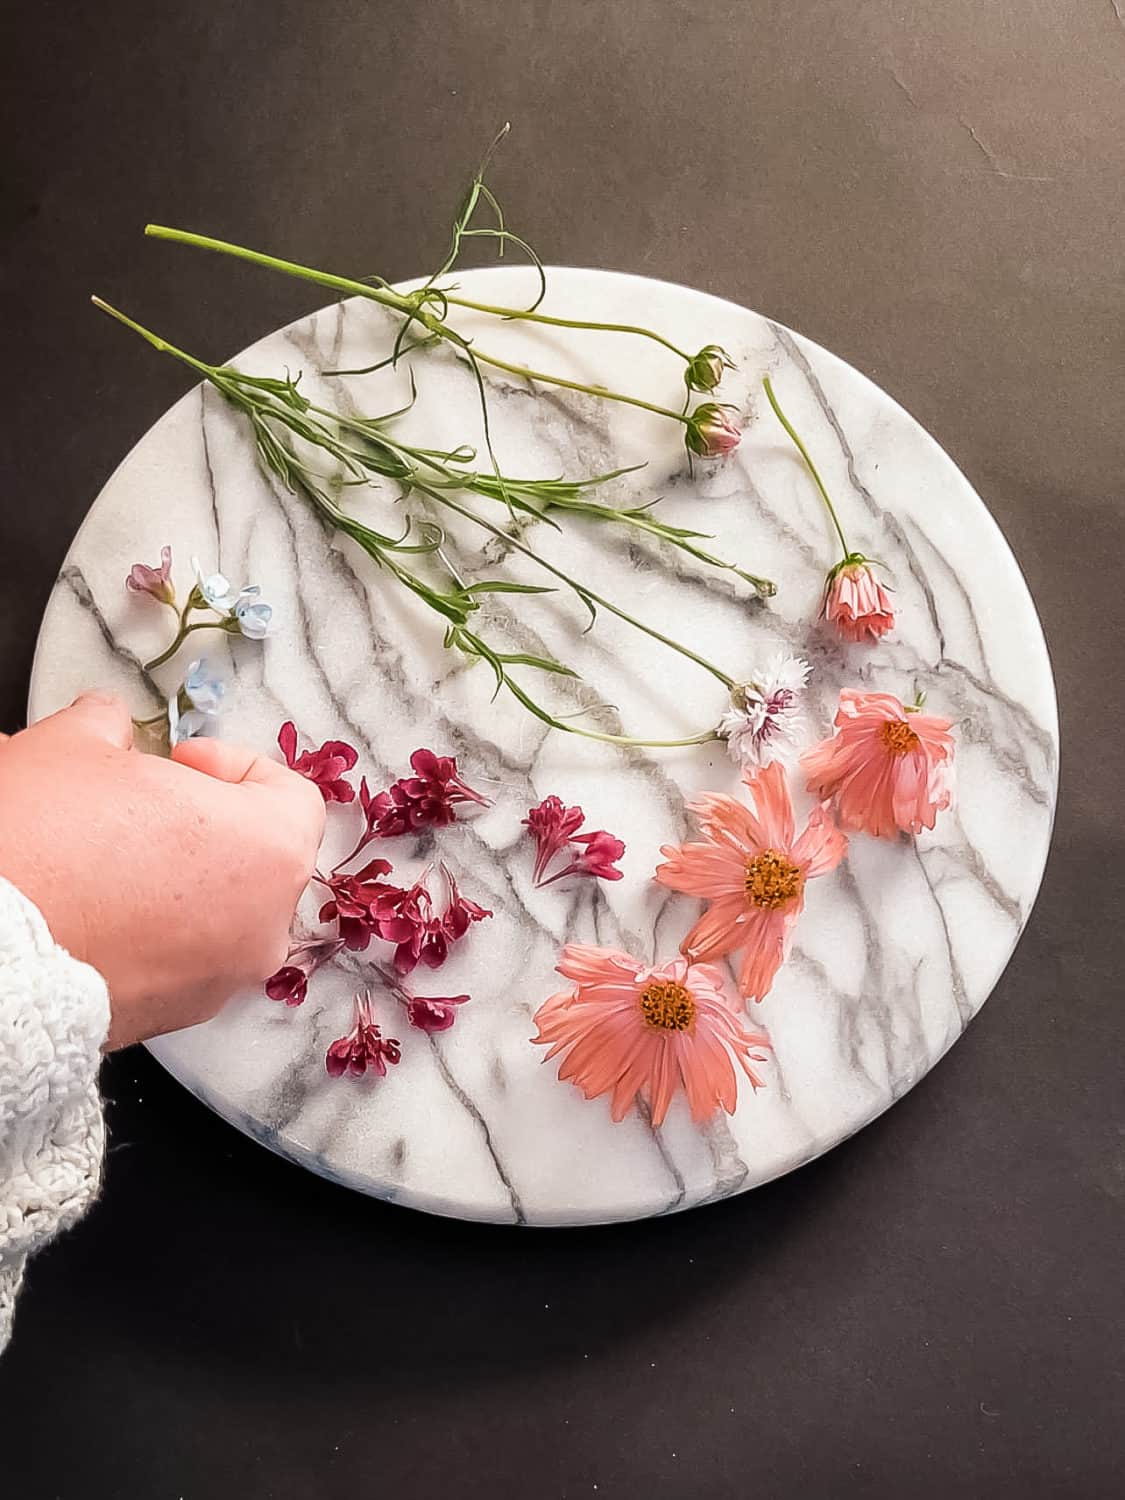
Select flowers that are pristine with no blemishes, dark spots, or wilting.
Select flowers that have no water or dew, preferably in the morning or evening when temperatures are cooler.
Flowers should be completely dry to avoid mold developing in your press.
Make sure flowers aren’t too thick, or if you have larger flowers, consider deconstructing the flower, petal by petal to press, and reconstructing the flower later
Maintain your flower press regularly.
What flowers should I select for my press?
The best flowers for pressing include ones with a single layer of petals and flat faces such as pansies ad violas, geraniums, and cosmos, all grown in California. I love visiting local flower farms (there are over 225 cut flower and greens farms in California!) to not only support local agriculture, but family run operations in my own community. Also, greenery such as ferns, jasmine vine and heuchera make lovely, pressed specimens.
I often press flowers in varying stages of development that are blooming right in my garden to give my designs a natural feel but finding unique plants and flowers that add texture and interesting color to your pressed flower collection can be enjoyable. Don’t be afraid to also dissect flowers into smaller parts, like removing each petal of a garden rose for pressing. Try finding new plant varieties at your local garden center or picking up a CA Grown bouquet from your favorite grocer.
Loading Your Flower Press
To press the flowers first gather all your supplies. Then create a sandwich with your bottom cardboard layer, your paper, flowers, more paper, and finally a top layer of cardboard. Perhaps the most time-consuming part about pressing flowers is loading your flowers into a flower press. Also, using plenty of paper in your sandwich layers is important when pressing flowers. According to pressed flower expert and artist, Tricia Paoluccio of Modern Pressed Flower, maintaining your flower press is the key to preserving the color of the flowers in your press. Pressing flowers can tend to take approximately three weeks to a month, depending on the thickness and overall moisture content of the plant or flower.
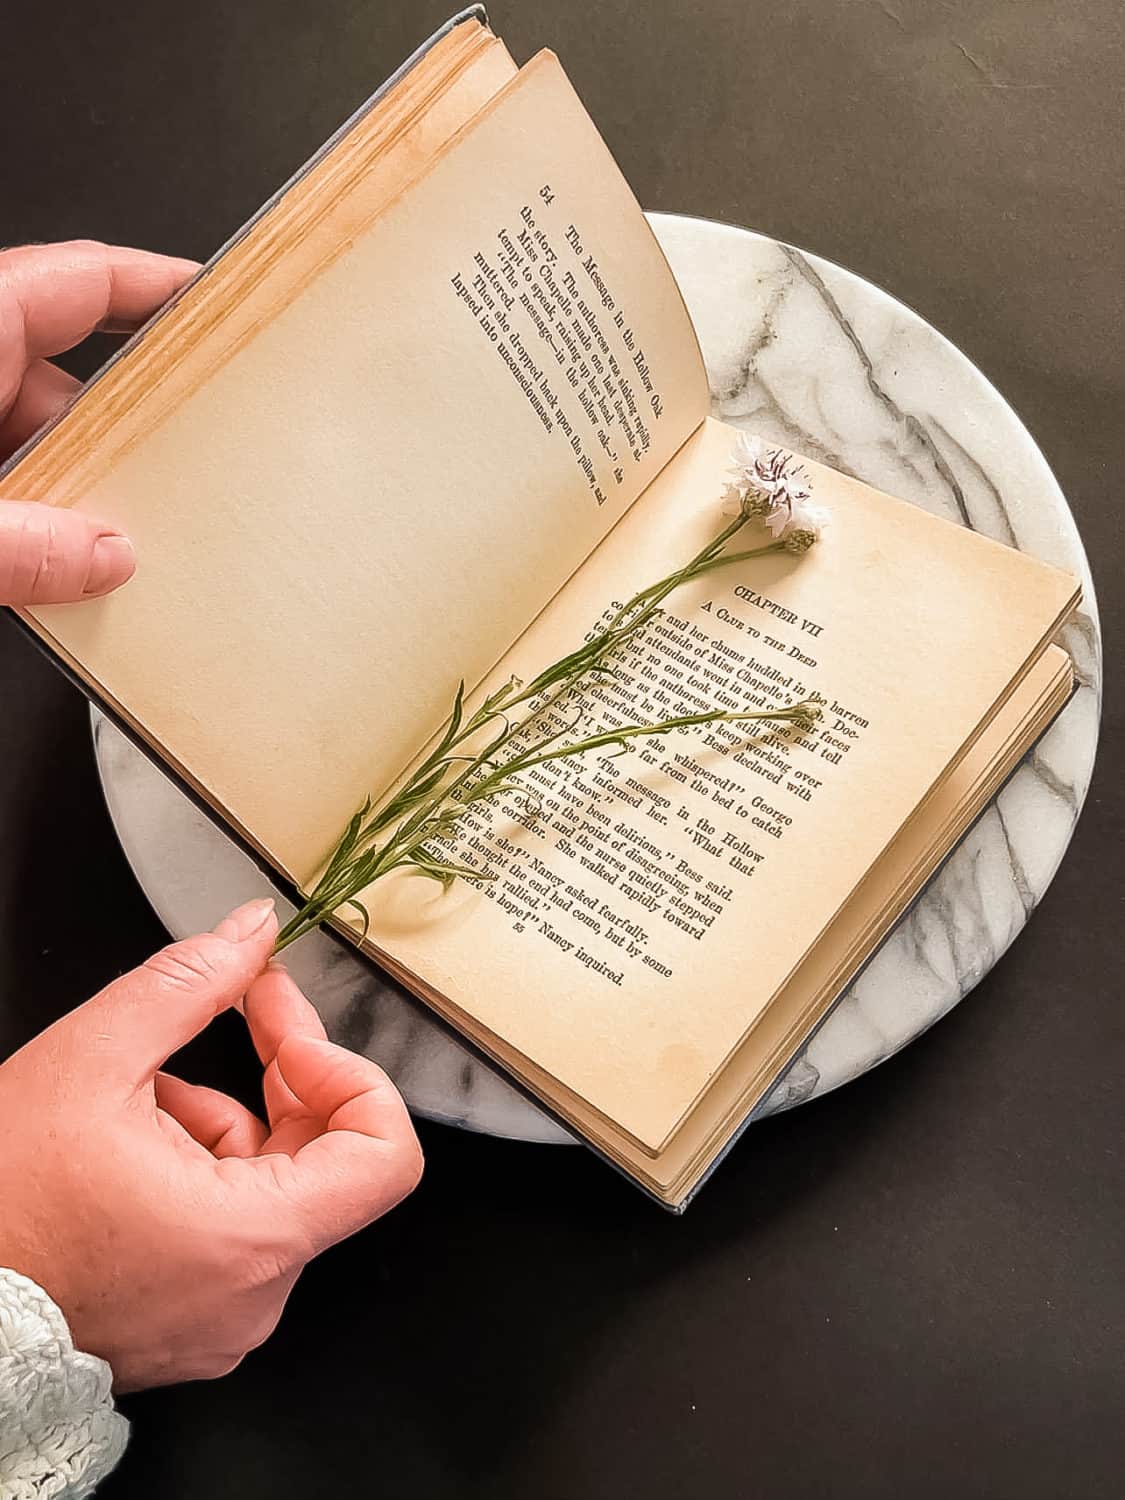
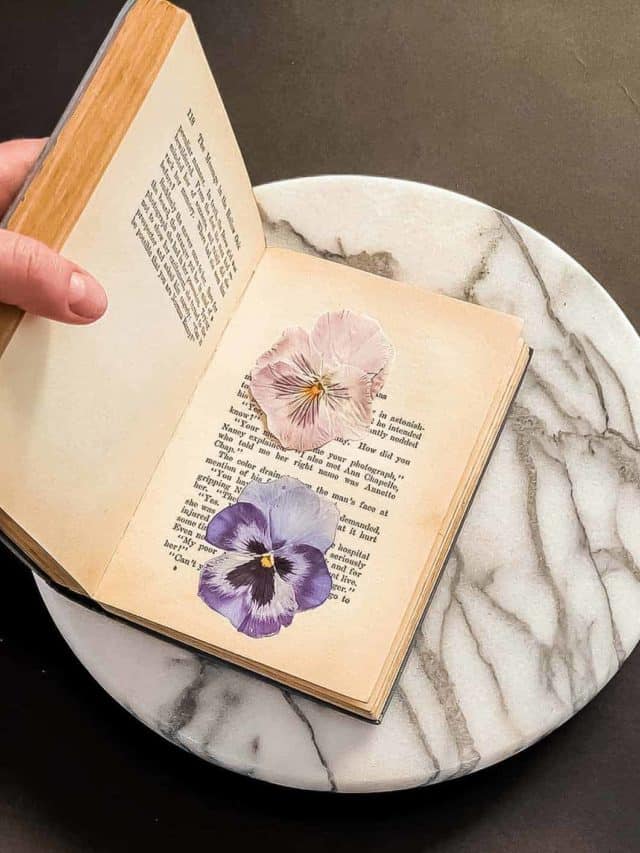
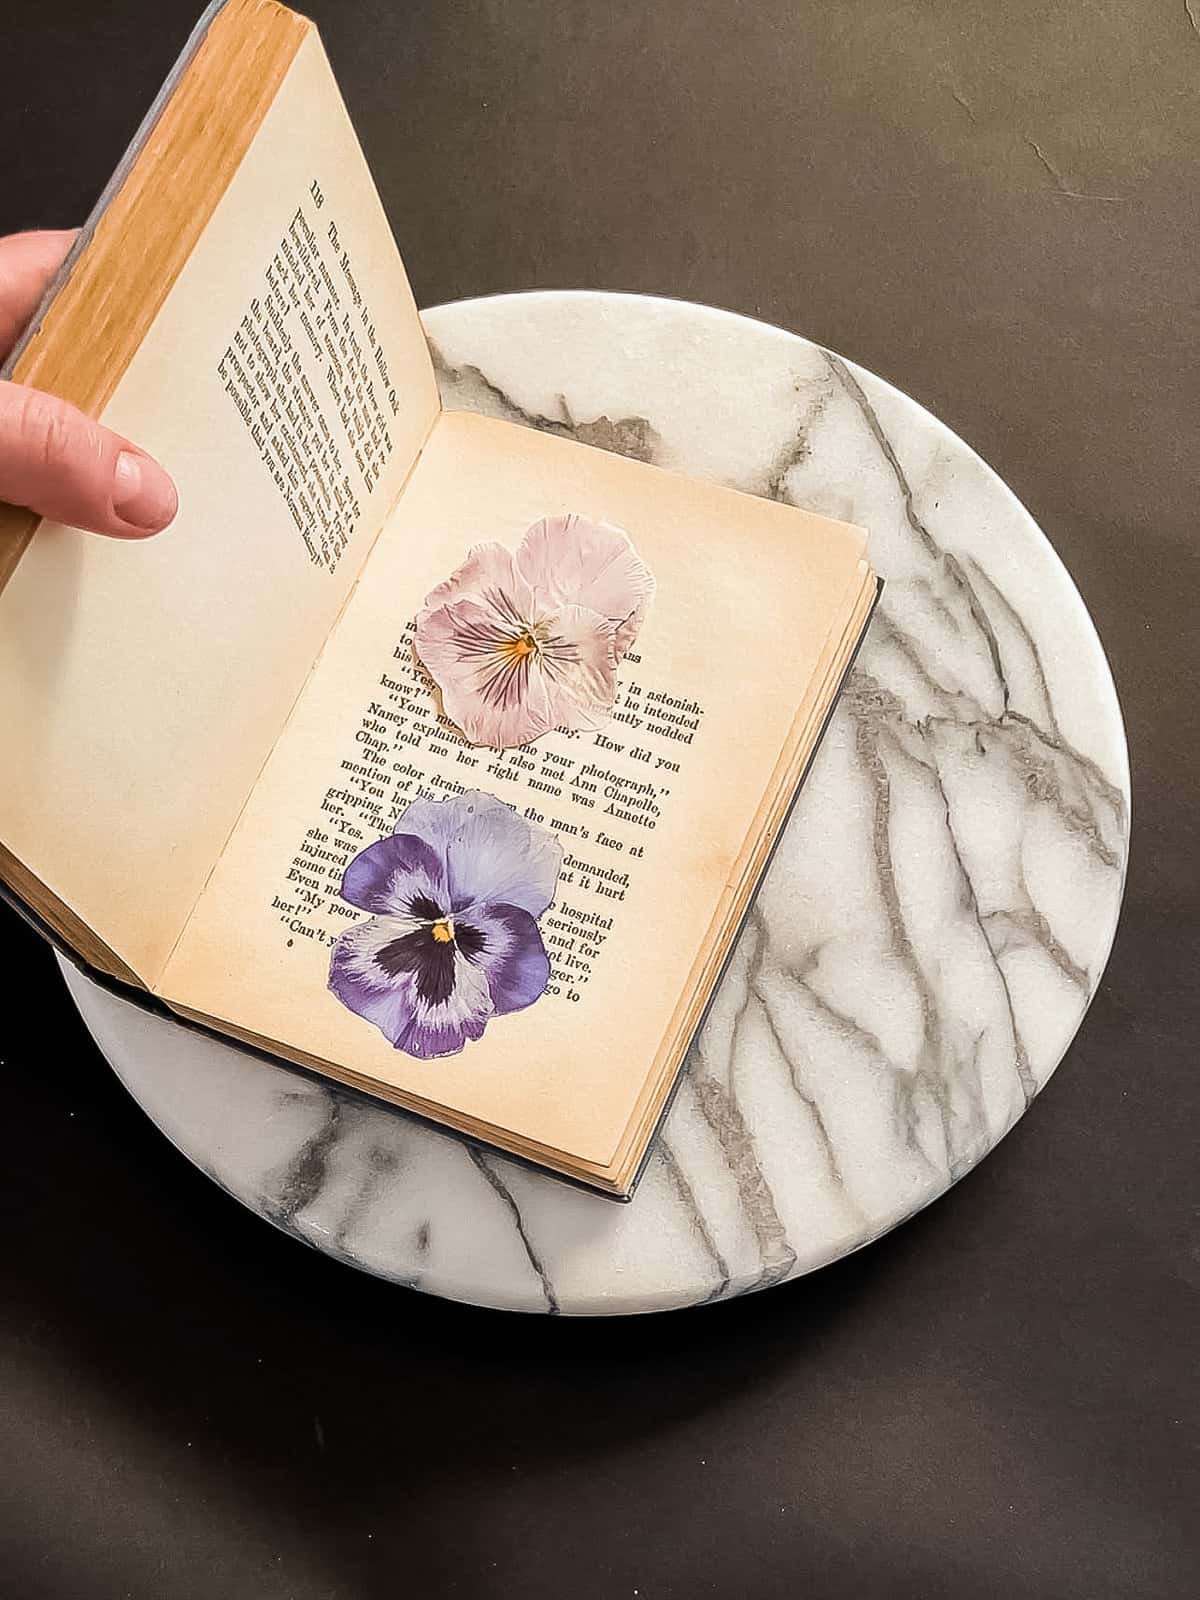
My larger flower press comes from Modern Pressed Flower since I often press en-mass. However, smaller flower presses are adequate for most projects and for smaller blooms and are readily available online. If you don’t want to buy a flower press, you really can just “sandwich” your flowers in the middle of a heavy book. I’ve been known to then put the book back in my bookshelf and forget about it — one day taking the book off the shelf to find pressed petals falling out, which is quite magical.
My Flowers Are Pressed, Now What?
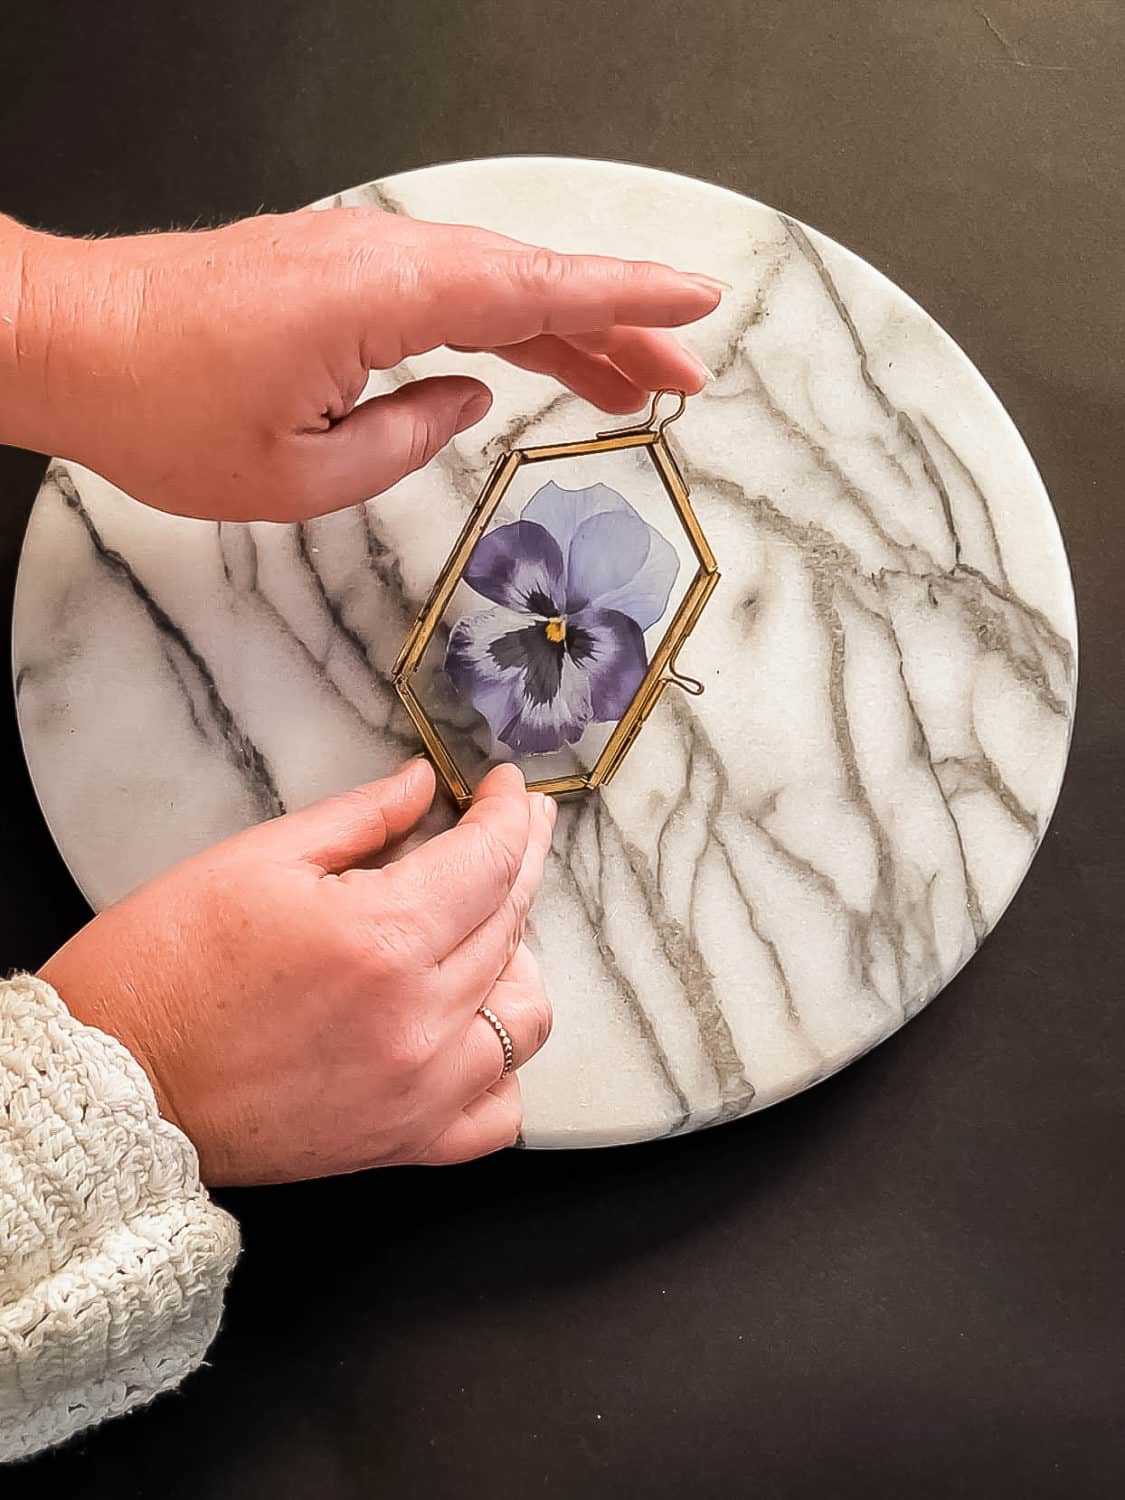
You’ve determined your pressed flowers and foliage are completely dry, and now you can carefully remove them from the press, and store in a dark, dry location for later use in a glass frame, or attached to lovely handmade cardstock as a greeting card. I love to decorate cakes and pumpkins with pressed flowers.
When you take on your own flower pressing project using these steps and California Grown flowers, I’d love to see what you create! Please share on Instagram and tag @delightfulflower.co and use hashtag #CAGROWN.
Rochelle is a Los Angeles-based floral designer who specializes in floral designs that are romantic, modern, and wild. She works with locally grown flowers as often as possible, and in color palettes that create a unique and artful feel. Rochelle has made a personal commitment to work with only the very best purveyors of California Grown flowers, including local flower farmers and flowers sourced from her own farm. She creates unique, unusual, and provocative arrangements and installations for a range of events, small to large, including weddings, birthday parties, showers, dinner parties and more!