How to Make Boutonnières for Weddings with Cut Flowers
It is California Grown Flowers Month and there is no better time of the year to get crafty and make boutonnières for weddings and graduations! We love taking advantage of all the beautiful blooms available for growing, admiring, and displaying this time of year and can’t think of a more memorable way to pout them to use.
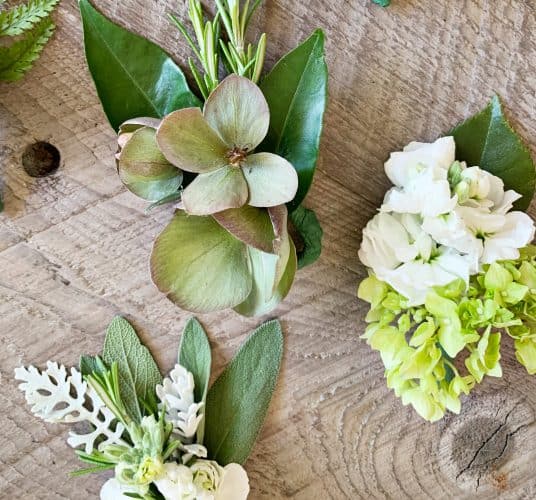
Boutonnières for Weddings & Graduations
With graduation and wedding season in full swing, there is a lot of need for boutonnières.
This post will teach you how to create gorgeous boutonnières for weddings and graduations from fresh California-grown flowers!
The fun thing about making boutonnières for weddings and graduations is that you can really step outside the normal offerings at the florist and create something spectacular!
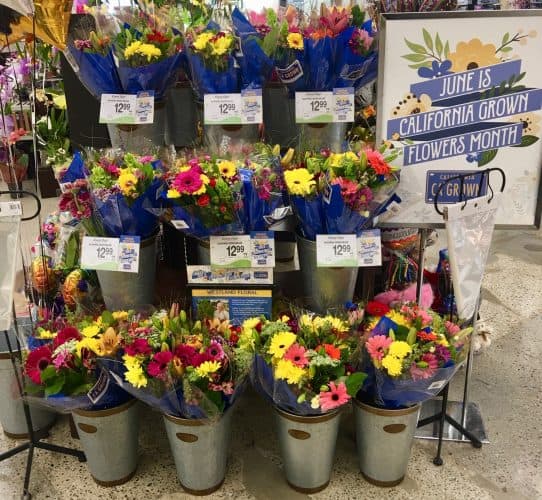
How to spot CA GROWN cut flowers!
Look for CA GROWN license plates displayed on bouquets of cut flowers in grocery stores. Sometimes flowers will be displayed prominently in blue buckets.
If you don’t see either of those, ask the retailer where their blooms are from and request that they stock domestically grown cut flowers if they don’t already.
For the boutonnières in this post, I selected a bouquet of Gerber daisies, chrysanthemums, hydrangea, and roses. I personally like lots of options to play with when creating boutonnières.
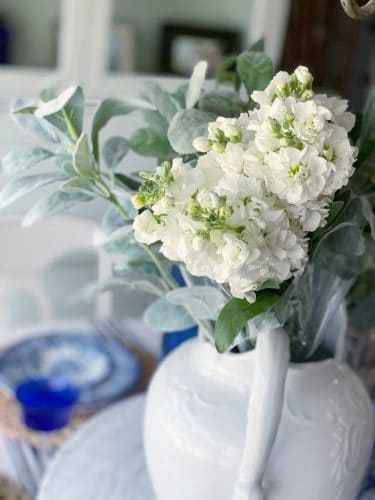
Designate “star flowers” from your bouquet.
A bouquet of “star flowers” is always a good idea when making boutonnières for weddings. “Star flowers” are ideally colorful or just a pop of white, sturdy, and provide a bright focal point to offset vibrant greens.
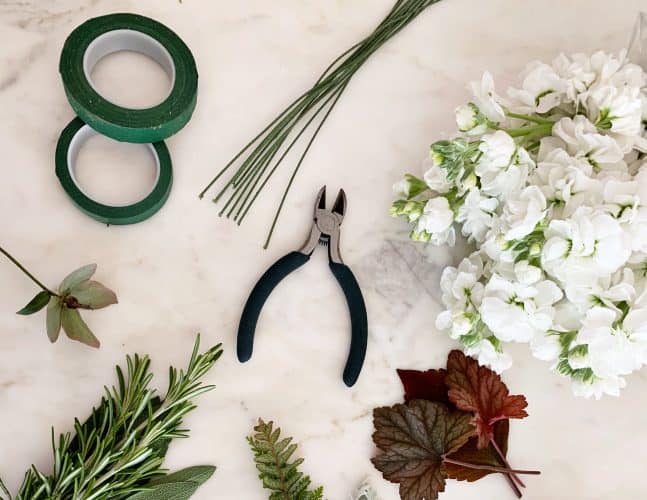
Also, look around your yard for unique blooms and greenery.
Non-traditional options like fresh rosemary, sage, fern leaves, Hellebores flowers, and Heuchera leaves are all great choices.
Pro florist tip: to keep your cut flowers fresher, longer, keep cut flowers and greenery in a cool place in water until ready to use.
Now that the flowers for our boutonnières are selected it is time to gather the rest of the supplies and get started!
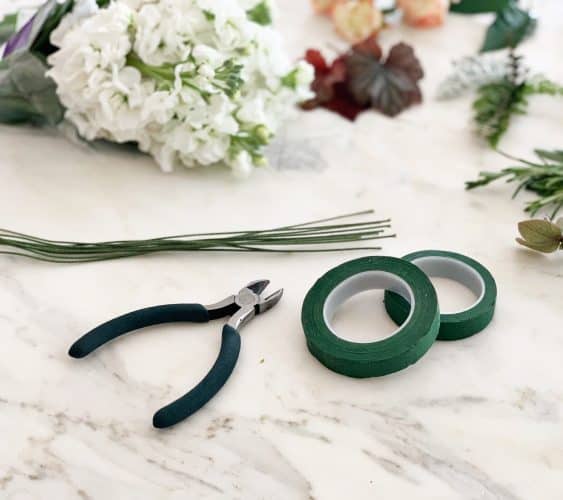
Supplies needed to make boutonnières.
- Floral stem tape – you can find this online or in almost any floral/craft supply store
- Floral wire – depending on how sturdy the stems of the flowers you will be using are, choose an 18-22 gauge floral wire to help support your boutonnière arrangement.
- Wire snips – grab a pair of wire cutters in the floral department of your craft store also. Scissors or garden clippers can be used to cut stems, but you don’t want to ruin those tools by trying to cut the floral wire with them.
- Floral Pins.
First, if needed, give the “star flowers” some extra support. You can keep the bloom sturdy and upright for a longer period of time if you place a 4-5 -inch piece of floral wire parallel to the stem and pierce it up into the flower from the base. Do not push the wire all the way up through the petals – just firmly into the base will do. Now your centerpiece of the boutonnière won’t flop!
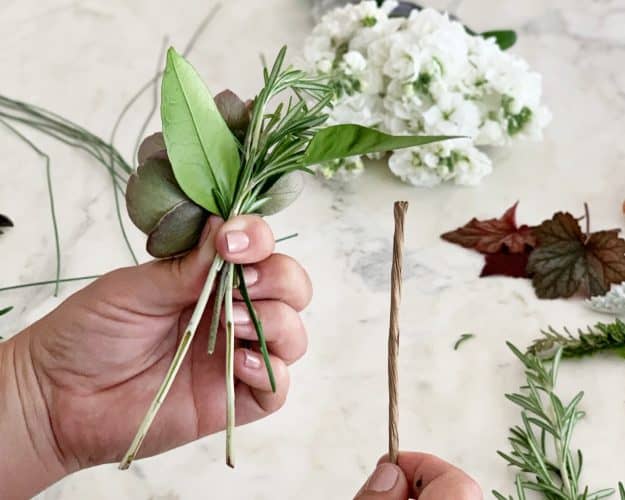
Step 1
Stack the other flowers, leaves, and/or filler behind and around the “star flower” until you like the way the arrangement looks. Be sure that you have several inches of stem on each piece to work with – we will trim these later, so no need to worry about uneven stem lengths now – just be sure you have enough to work with.
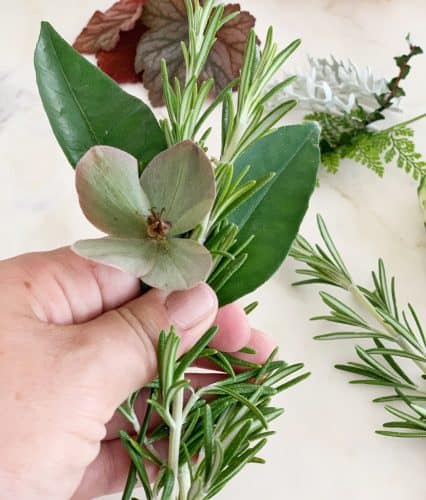
Step 2
For an arrangement such as this, please note that it is very important to strip the stems of all flowers/greenery below the base of that “star flower”.
Pinch the arrangement at the base (like I’m doing here with my left hand) and drag your other hand down the stems to remove all the extra leaves, etc.
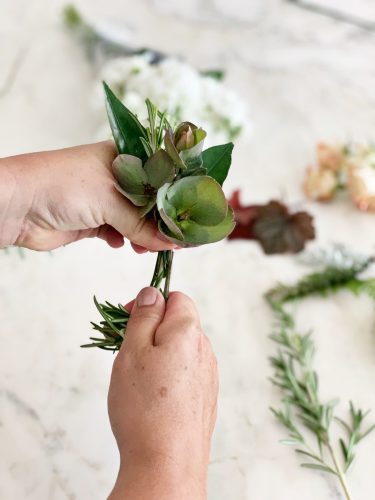
Step 3
Starting up at the base of the flowers, begin wrapping the floral stem tape around the stems. This type of tape is a bit tacky and it easily sticks onto itself. Wrap firmly several times at the base and then continue on down the stems in a spiral pattern so that you’ve covered the stems into one bundle.
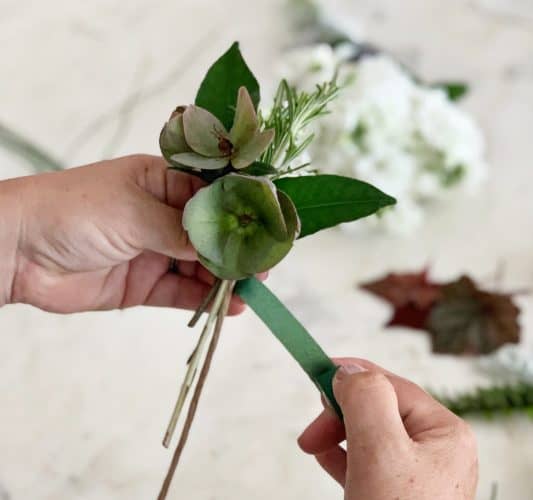
Step 4
When you have wrapped about 1 – 1 1/2 inches of the stem, go ahead and trim the excess stems and wire and discard. Continue wrapping the tape to cover the “raw edge” and then back up the bundle again. Cut the tape and press the loose end down so that everything sticks together.
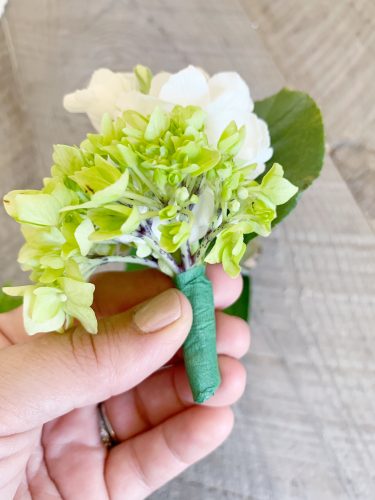
Step 5
Place a floral pin into the taped stems and refrigerate the boutonnière until it’s ready to be pinned onto the lapel of someone special!
If you do not have a chunky base flower that you can press floral wire up into, you can still use a piece of floral wire to support your boutonnière. Place the wire in the back of the cluster and wrap it right into your stem packet.
That’s it! You’re all ready to start making boutonnières for weddings and garduations! I can’t wait to hear what you create with California Grown Flowers!
Looking for more cut flower inspiration? Keep scrolling!
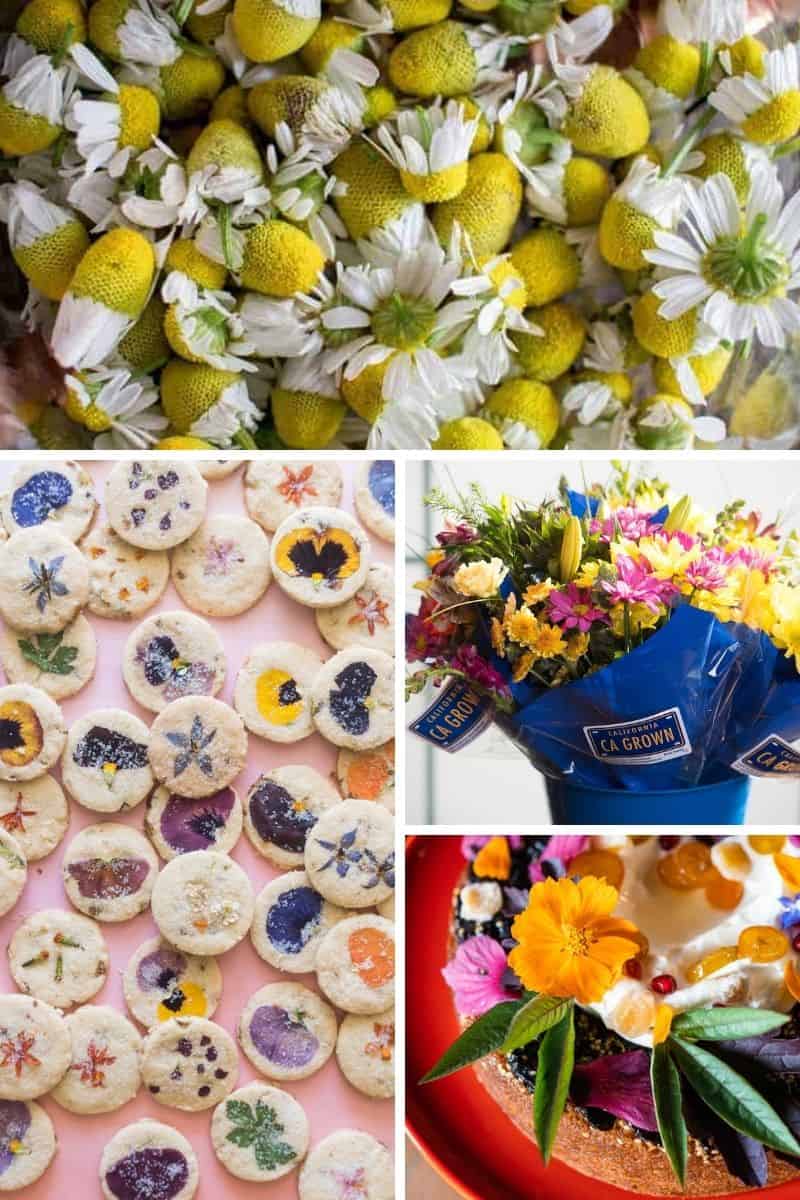
How to Shop For, Cook, and Decorate With Cut Flowers From California
Did you know that California is America’s leading producer of high-quality cut flowers and greens? Our state supplies over 75% of all domestically grown cut flowers in the United States. We just happen to know a thing or two about how to cook and decorate with cut flowers too!
