Preparing your California garden for Fall planting
Remember our CA GROWN Garden?
It’s been pumping out loads of fresh veggies and flowers for a year and my family and I have been enjoying every minute of it. I’ve learned that I don’t know as much as I thought I did about gardening. I’ve had to play around and test different methods of fertilizing and pest control. I’ve discovered that some plants like to be staked…. and some don’t. It’s a constant learning experience! But with anything in life, experience is the best approach to master a trade, right?
After I pulled out all of my spent summer plants, I noticed my soil that was so airy and nutrient-rich last year, had basically been depleted of it’s color and looked extremely sad. I knew that my soil was lacking in calcium. My dad, who has been a life-long tomato farmer, took one look at my tomatoes over the summer and noticed the bottom of my tomatoes had a small brown spot where the blossom had been. He called it ‘blossom end rot’ and said the culprit was a lack of calcium in the soil. Thanks dad! Now, can you just move in with me so I have a constant master gardener to reference when needed?

I just knew the soil needed a major boost. Most resources I found said to plant a cover crop during the fall, but I think they were written to an audience that is outside of California! Aren’t we so blessed to live in a state where you can actually grow a garden year-round? I don’t have time for a cover crop! I needed to amend my soil in one day and plant my veggies the next!
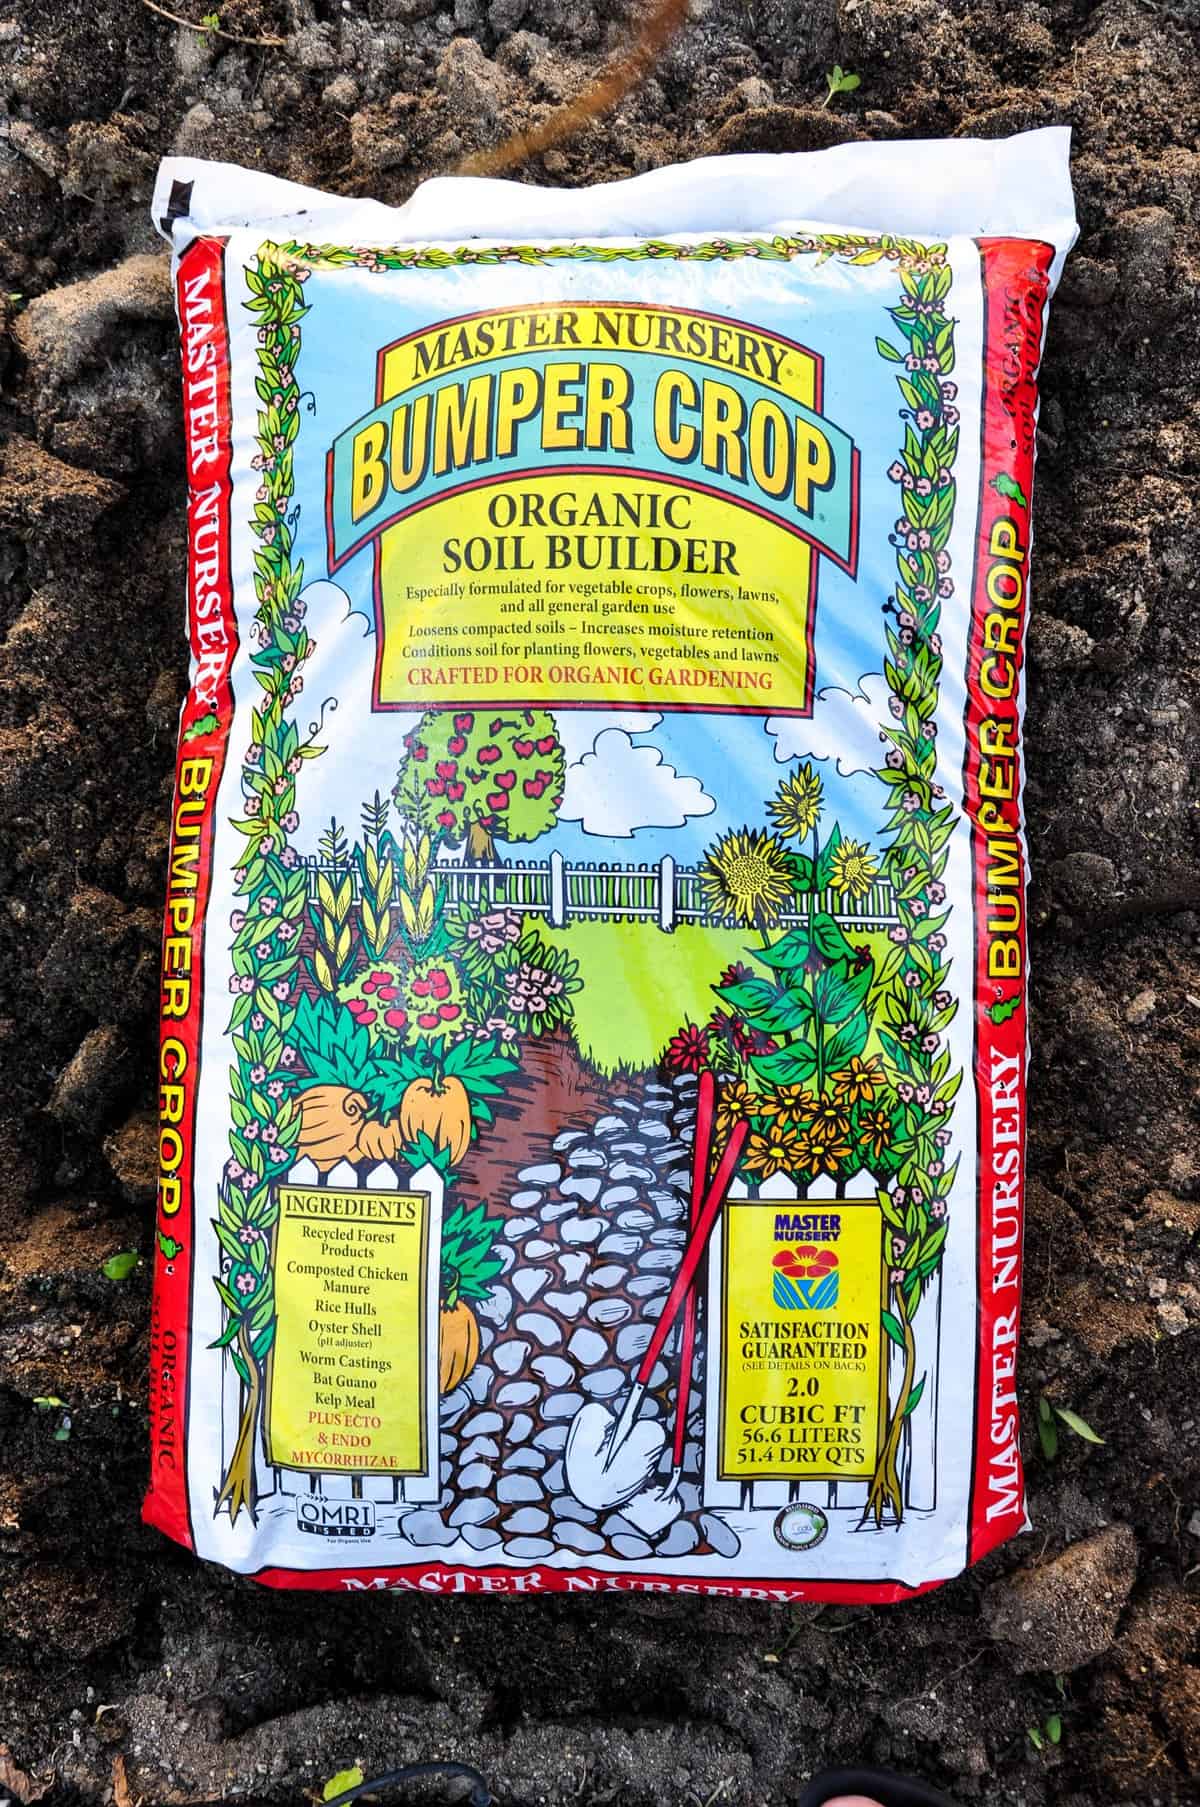
So, I set out one beautiful Saturday morning and headed to my local garden center, Belmont Nursery. This place is like a gardener’s mecca. I could’ve spent all day (and savings account) on all the beautiful plants and flowers, but I was on a mission to find the best soil builder to get my planter beds back in shape for immediate vegetable planting. After having a quick chat with one of their staff, I was introduced to a bag of goodness that I am calling my Botox for Dirt.

It’s like a cover crop in a bag. This stuff is chock full of important nutrients needed for healthy plants, especially flowers and vegetables. And let me tell you, if you had to do a smell test, this soil would get the blue ribbon. The aroma is one that only a gardener can love…. but that’s how you know it’s good, right?

It contains chicken manure (need I say more?…the good stuff), rice hulls (soil enrichment), oyster shell (pH adjuster), worm castings (earthworm babies), bat guano, aka poop (high in nitrogen), and kelp meal (high in vitamins). On top of all that, the recycled forest floor ingredients keeps the entire mixture light and airy and ensures maximum moisture retention.

I felt like my soil could use even more of a boost so I also used an all-purpose fertilizer; my go-to Miracle Gro Shake -n – Feed. The best part of this stuff is the time release. I shouldn’t have to think about fertilizer for at least a few months after mixing it in with the rest of the soil and bumper crop ingredients.
Here is what I did to get my soil ready for Fall planting:

Turn the soil over in each bed. I dug down about the depth of my shovel and turned it over. I didn’t remove any of the volunteer young shoots, I just turned them in with the soil… I figure those will eventually breakdown in the soil and add their own nutrients.

Once all the dirt is turned over, add the bumper crop bags. I used two bags per raised bed.

I added a thick layer of bumper crop and a light dusting of the fertilizer. I used about 4 cups of fertilizer per raised bed.

Now we need to mix the old soil with the new. This is a great time to get the kids involved! My daughter loved turning the dirt over until we couldn’t see most of the green ‘polka dots’. I used the shovel and dug the depth of my shovel again and turned the dirt over, leaving a top soil of lush, dark soil.

Smooth out and level the beds so when watered, each area gets the same amount of coverage.
Now is the perfect time to make any drip irrigation repairs or adjustments too. I had to add a few lines of drip and replace a few heads on several of the sprinklers. Test the irrigation system and ensure there are no major leaks. If you have your system on a timer, you might need to scale back the quantity and/or duration of the watering cycles.

Plant away!
I recommend waiting until the temperature has cooled to at least 85 during the day to get your plants in the ground. Fall and winter veggies tend to be more susceptible to the the heat and require a bit more attention if the temperatures get too high.
I’m planting lettuce, broccoli, bok choy, purple cauliflower and a few other varieties.
What are you planting?
For more Fall planting tips and project ideas like How to Test Garden Soil and Using Compost in Your Garden visit Plant California’s Learning Center!
