DIY Marbleized Pumpkins
Looking for a fun alternative to decorating pumpkins this year?
I think we might have found it!
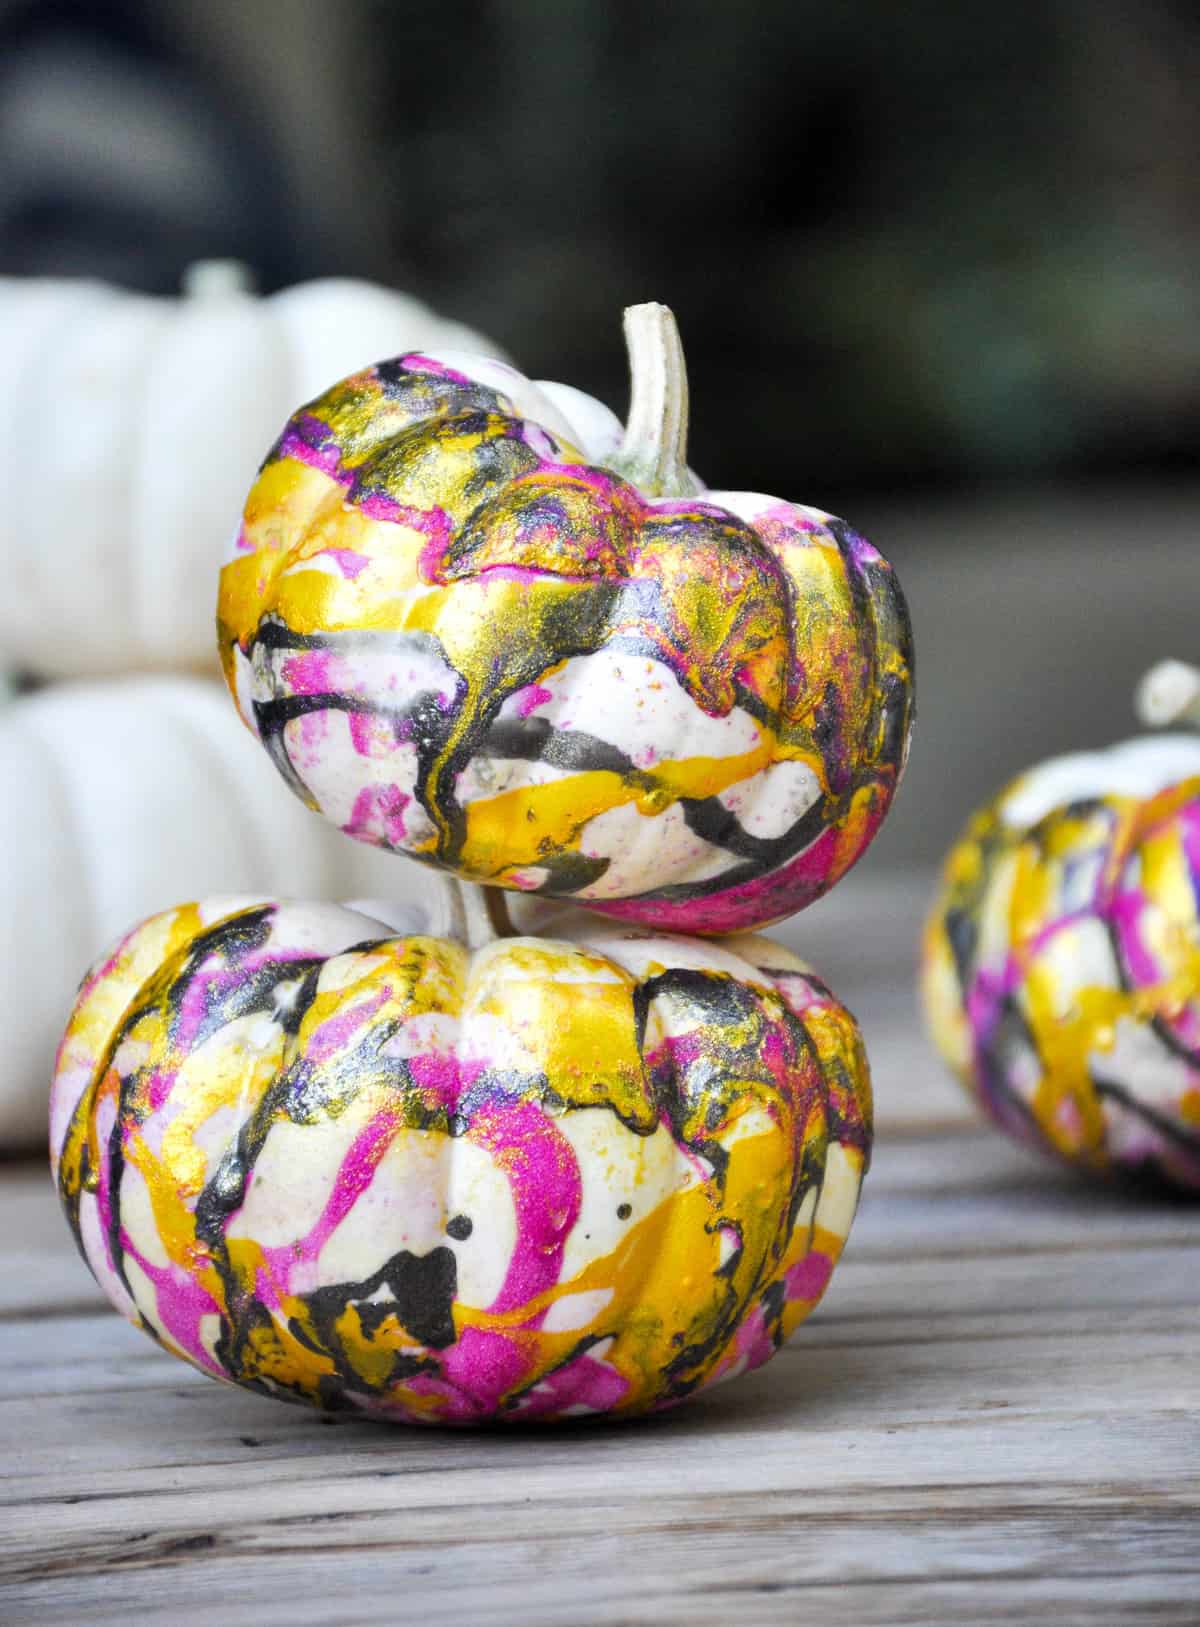
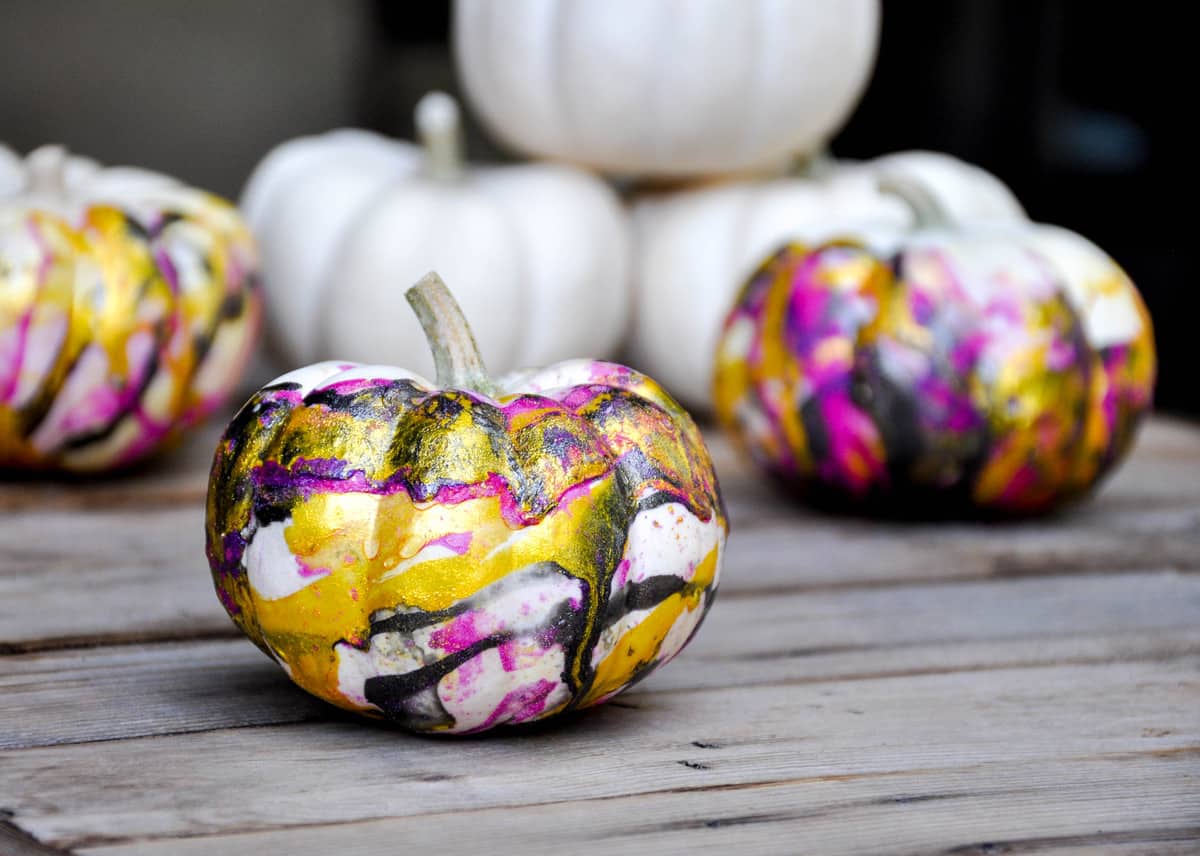
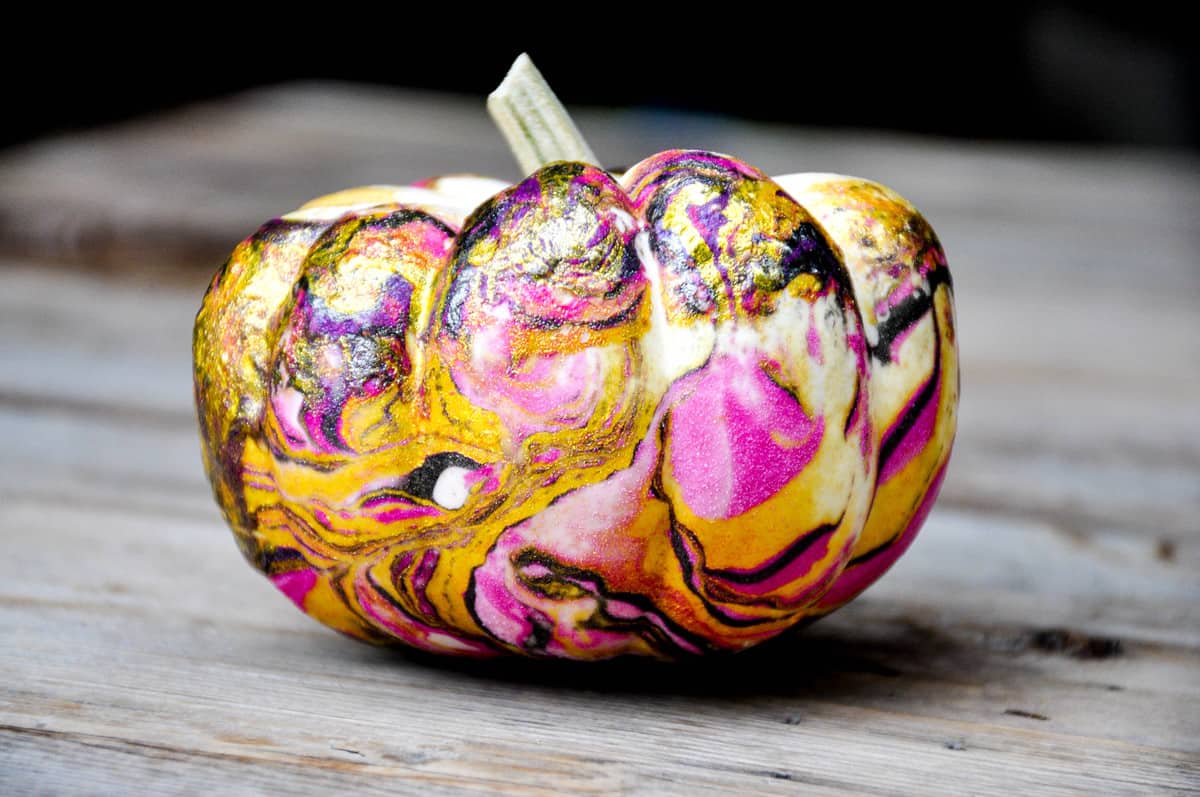
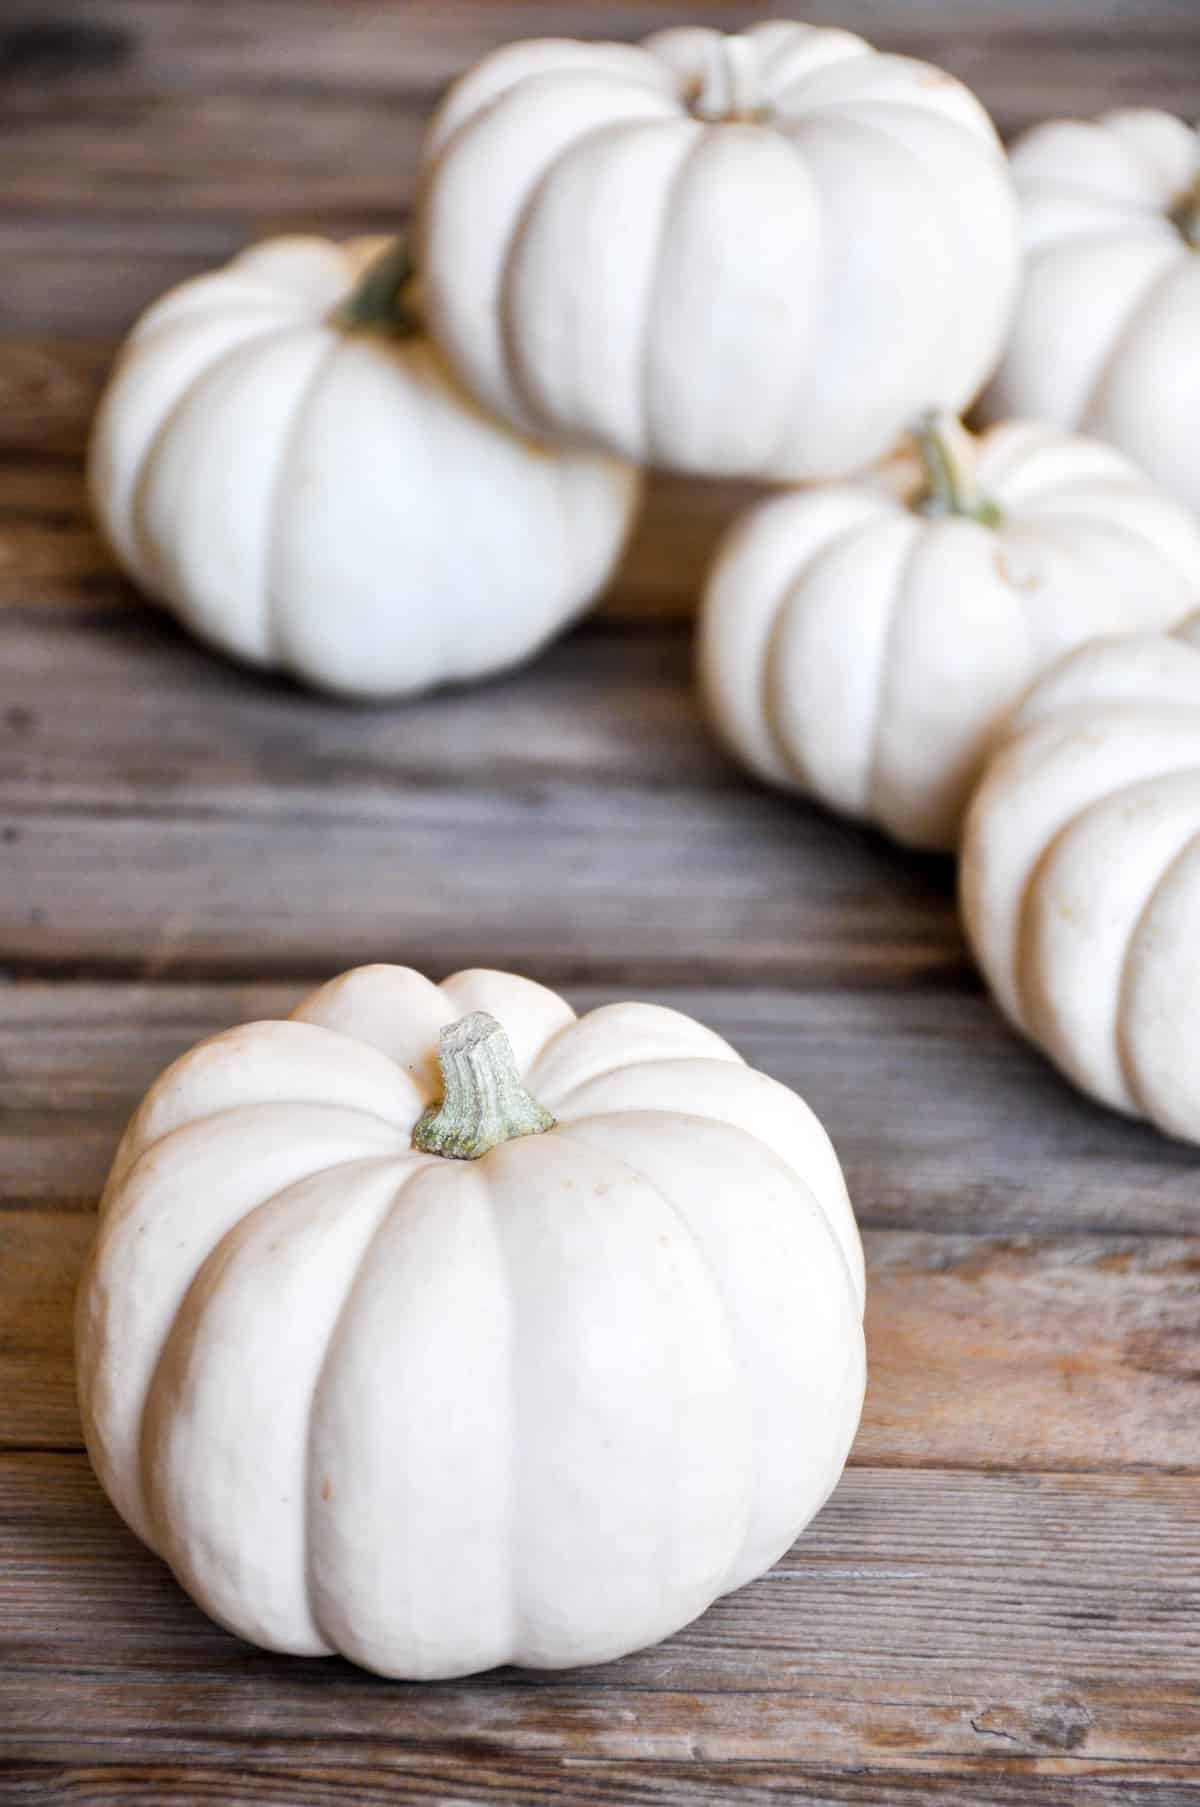
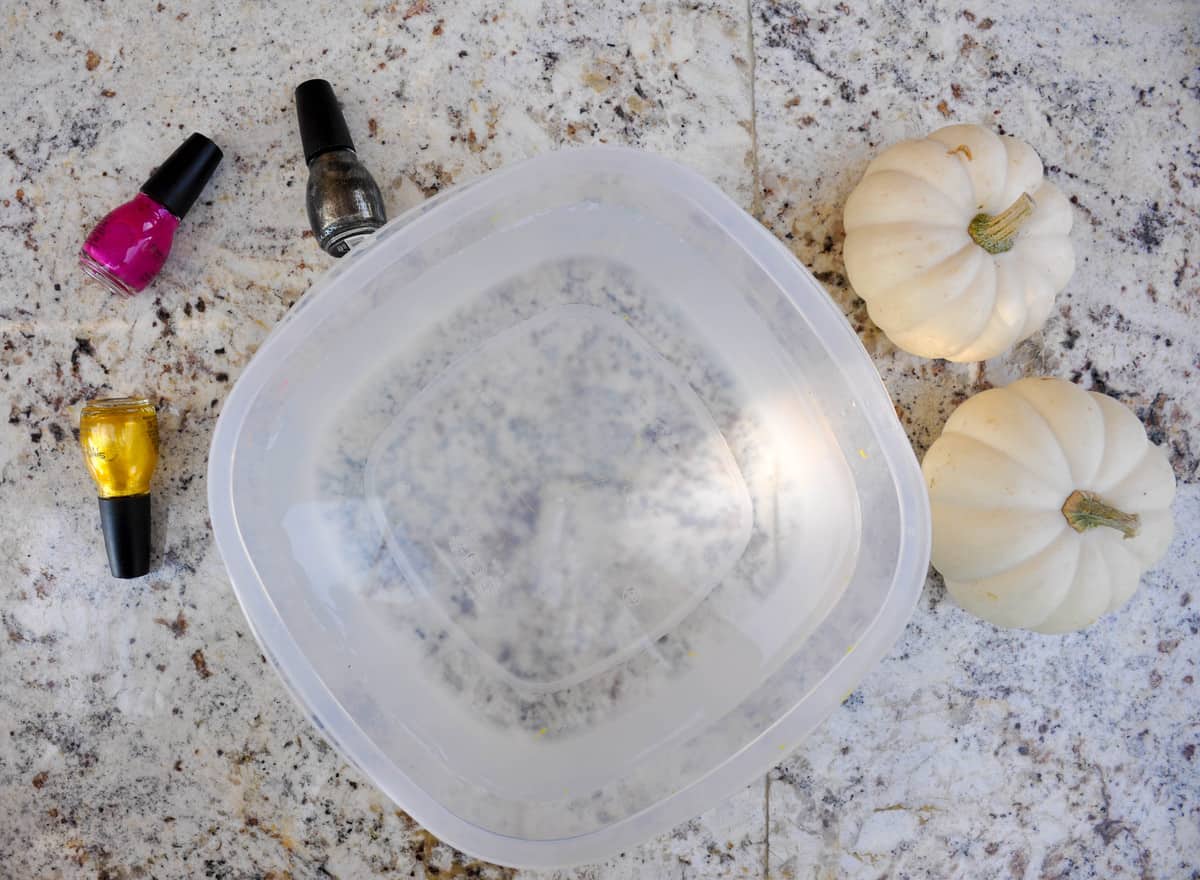
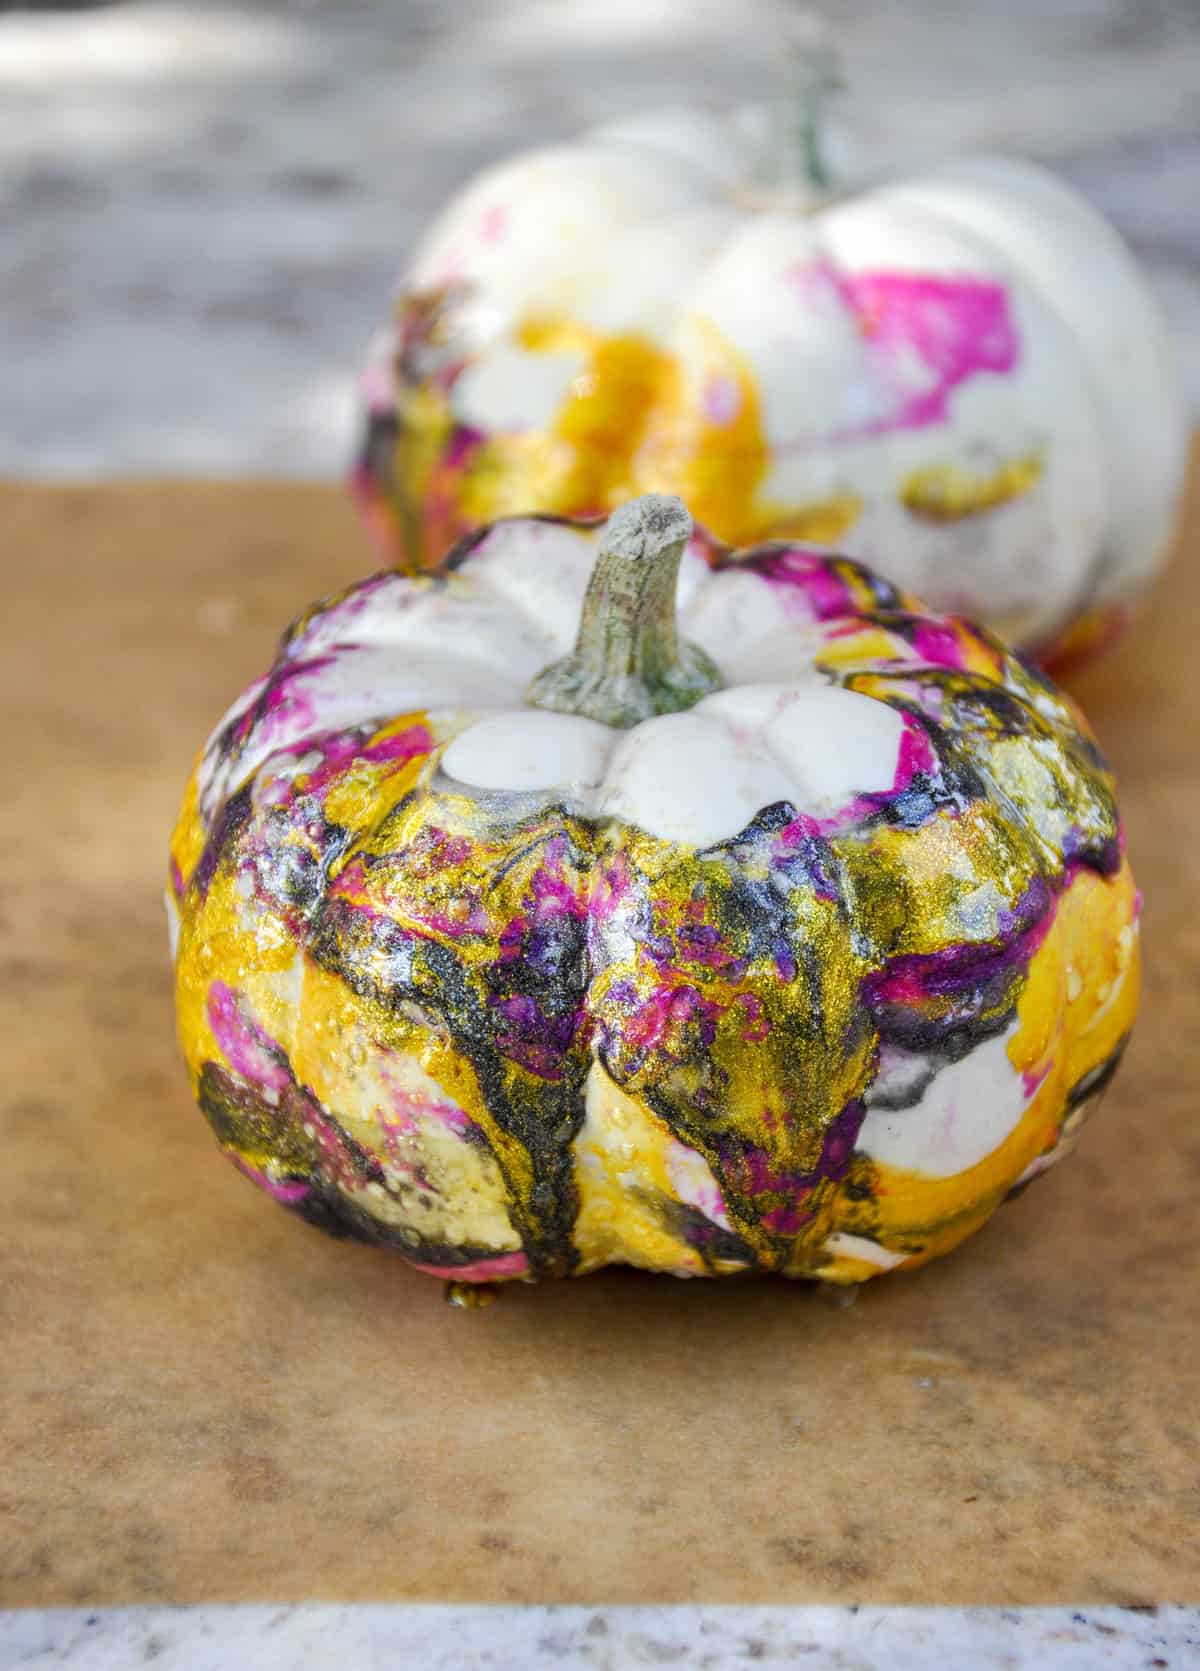
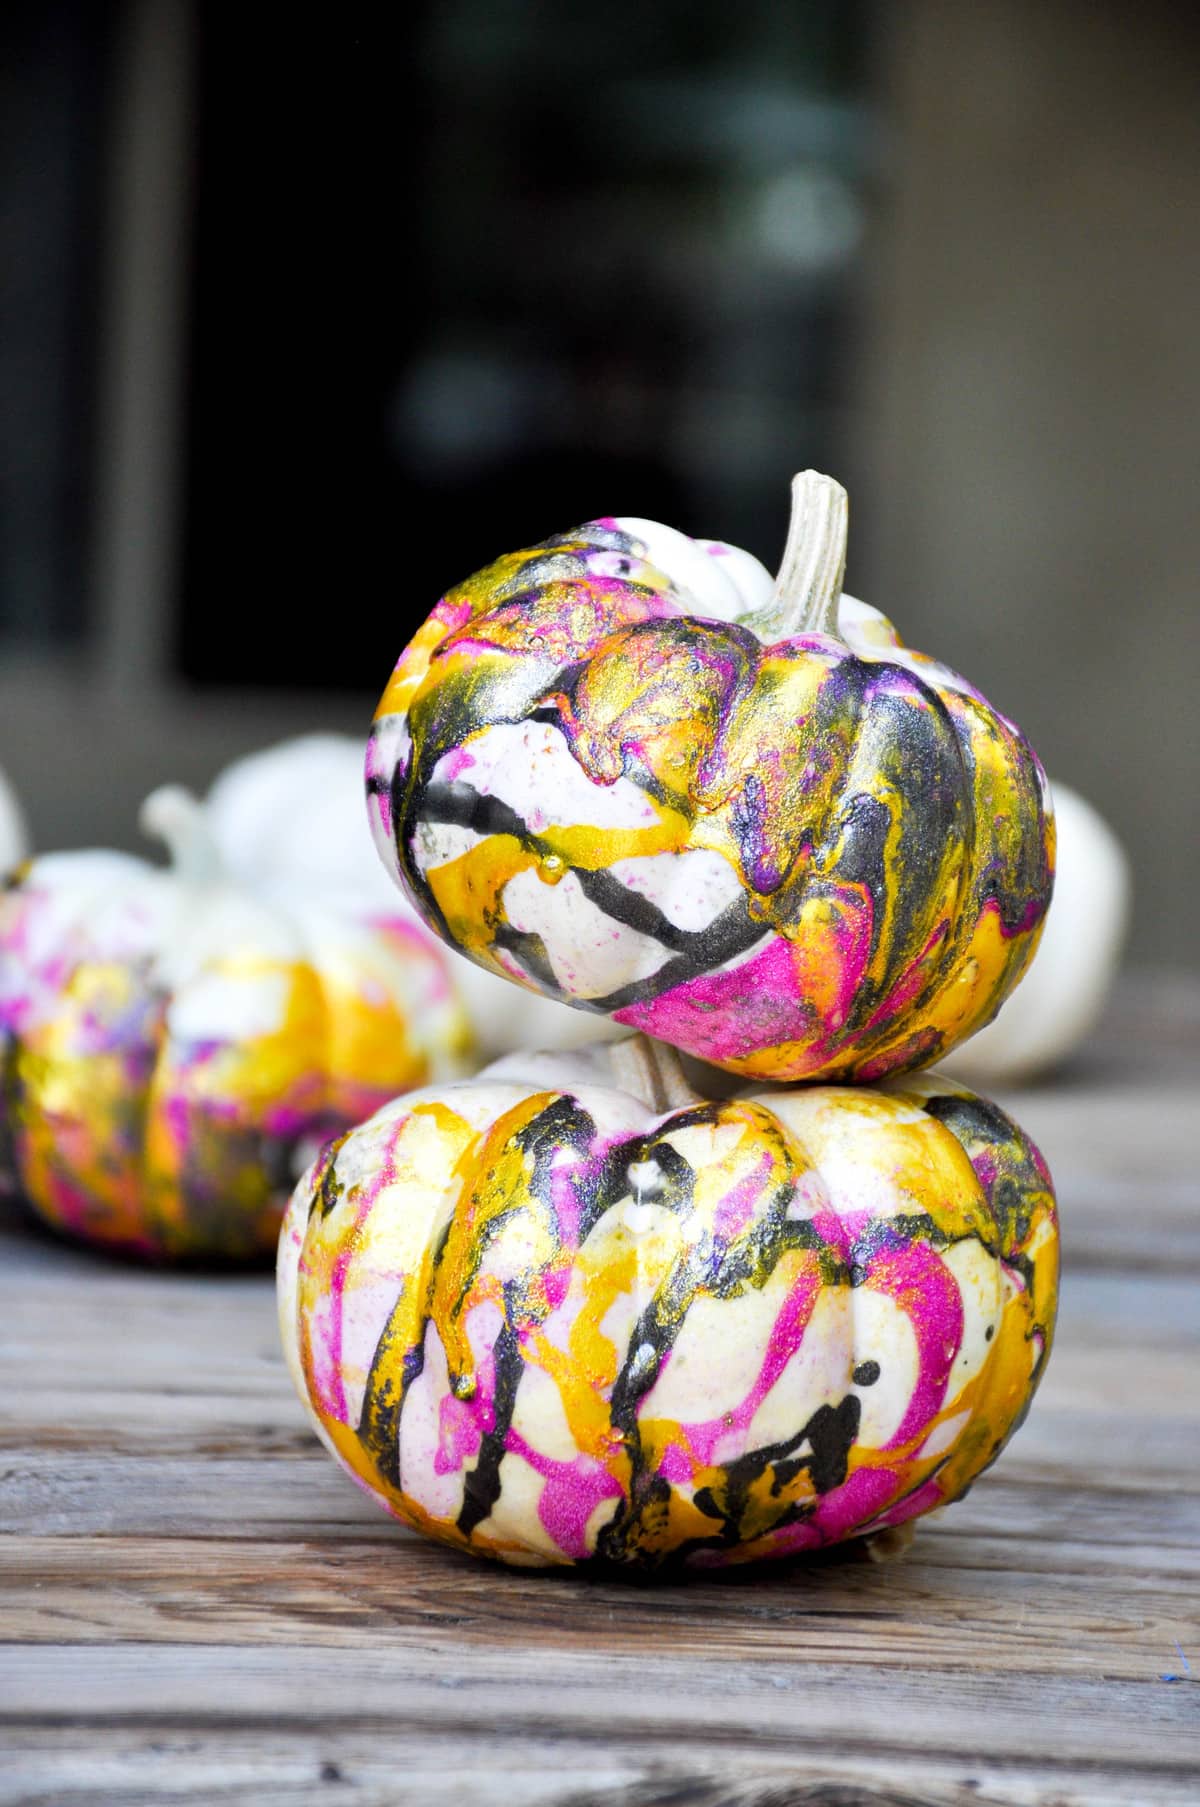
Using traditional nail polish, you can turn these California white ornamental pumpkins into a festive, colorful pop of fun. We use an easy marbelizing technique that is easy enough for the kiddos to help with and the drying time is really quick!
I used black, gold and fuschia for my color combo, but feel free to use any color blend to match your decor. I can see making these in your child’s school colors too!
You should be able to find these cuties in your local grocery store or farmer’s market. I couldn’t help myself and got 10!
All you are going to need is a plastic container that is deep enough to hold water that will completely cover your pumpkin once it is dunked in, along with the nail polish and pumpkins
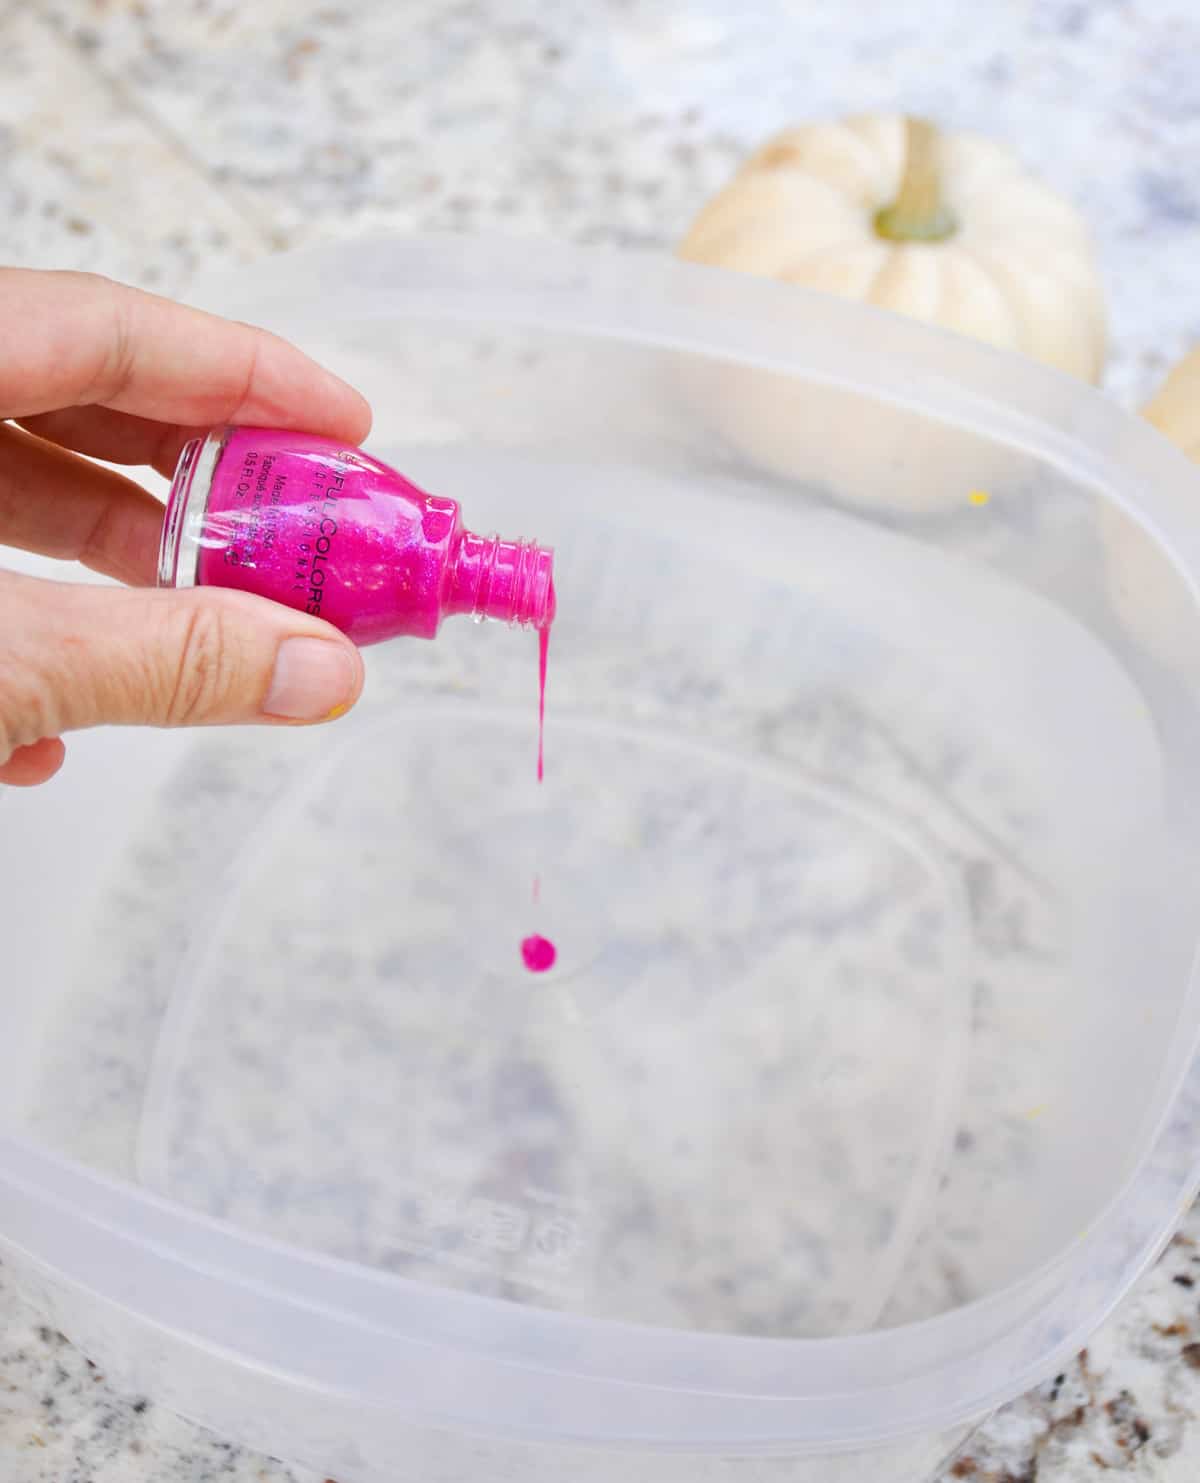
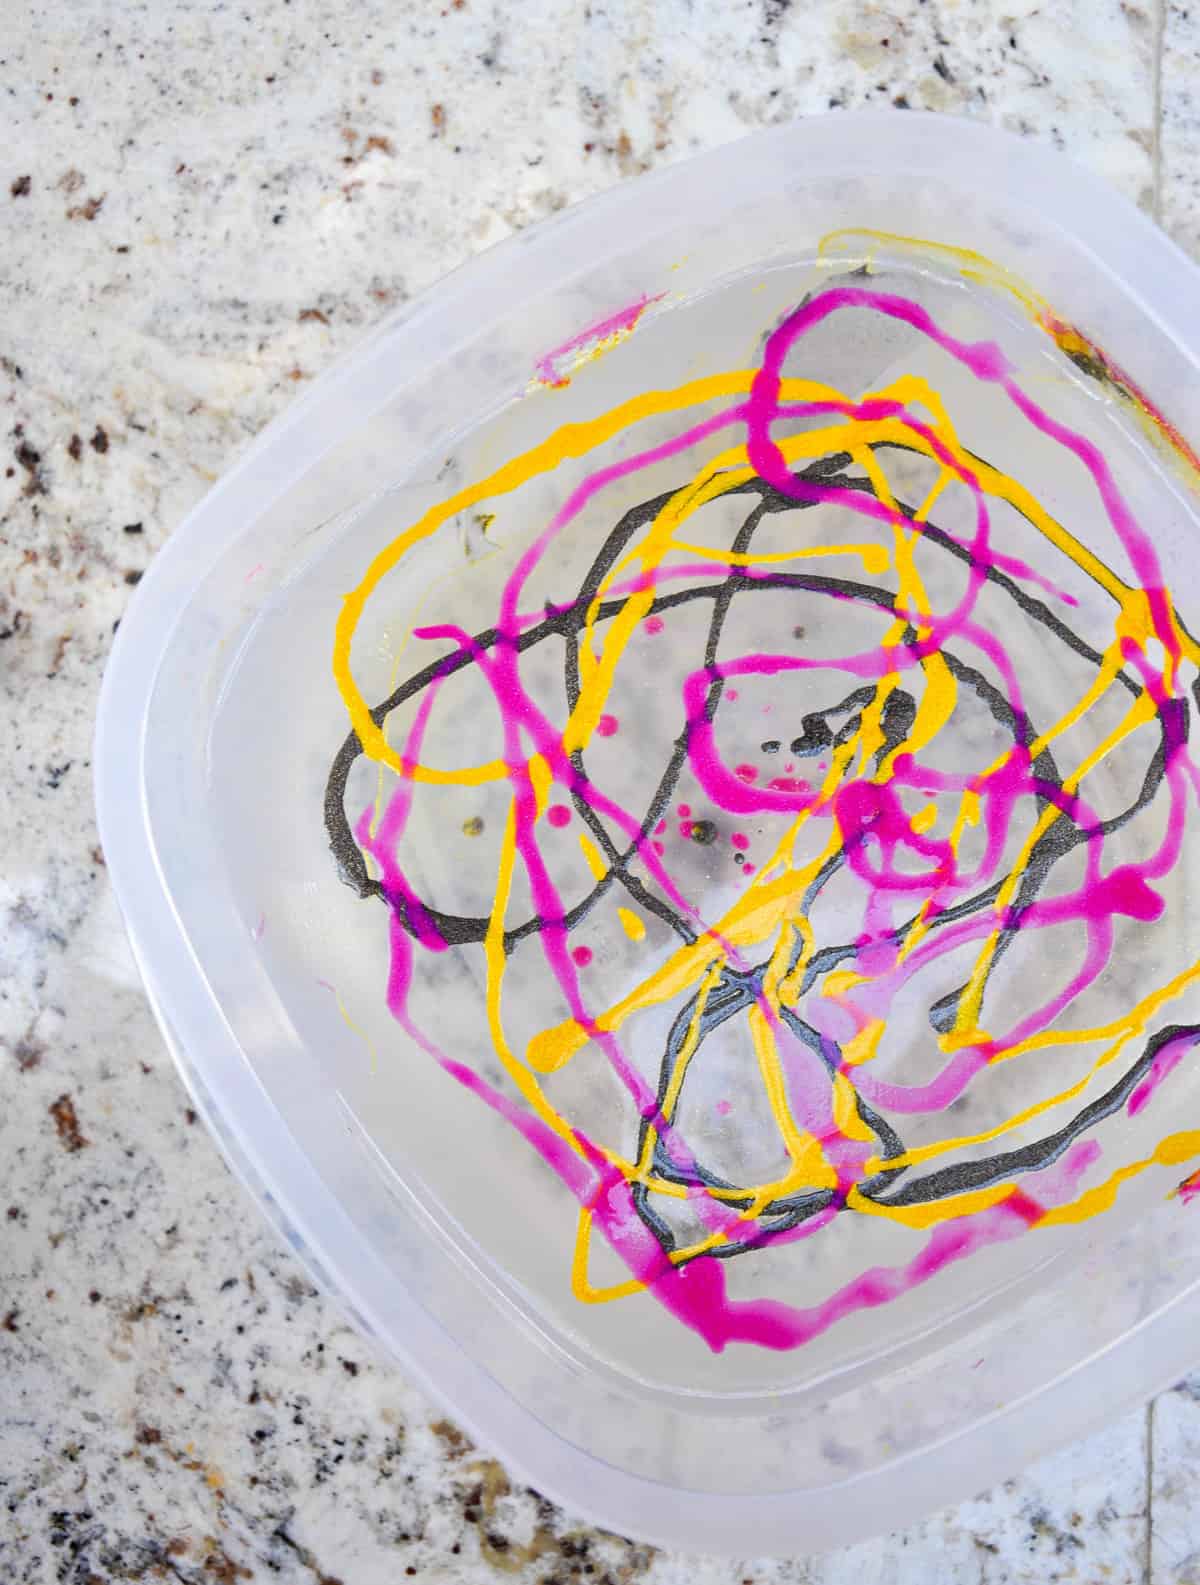
Fill the container with water and pour the first color polish right into the water. A slow, steady stream is best. You want the polish to float right on top of the water, not sink.
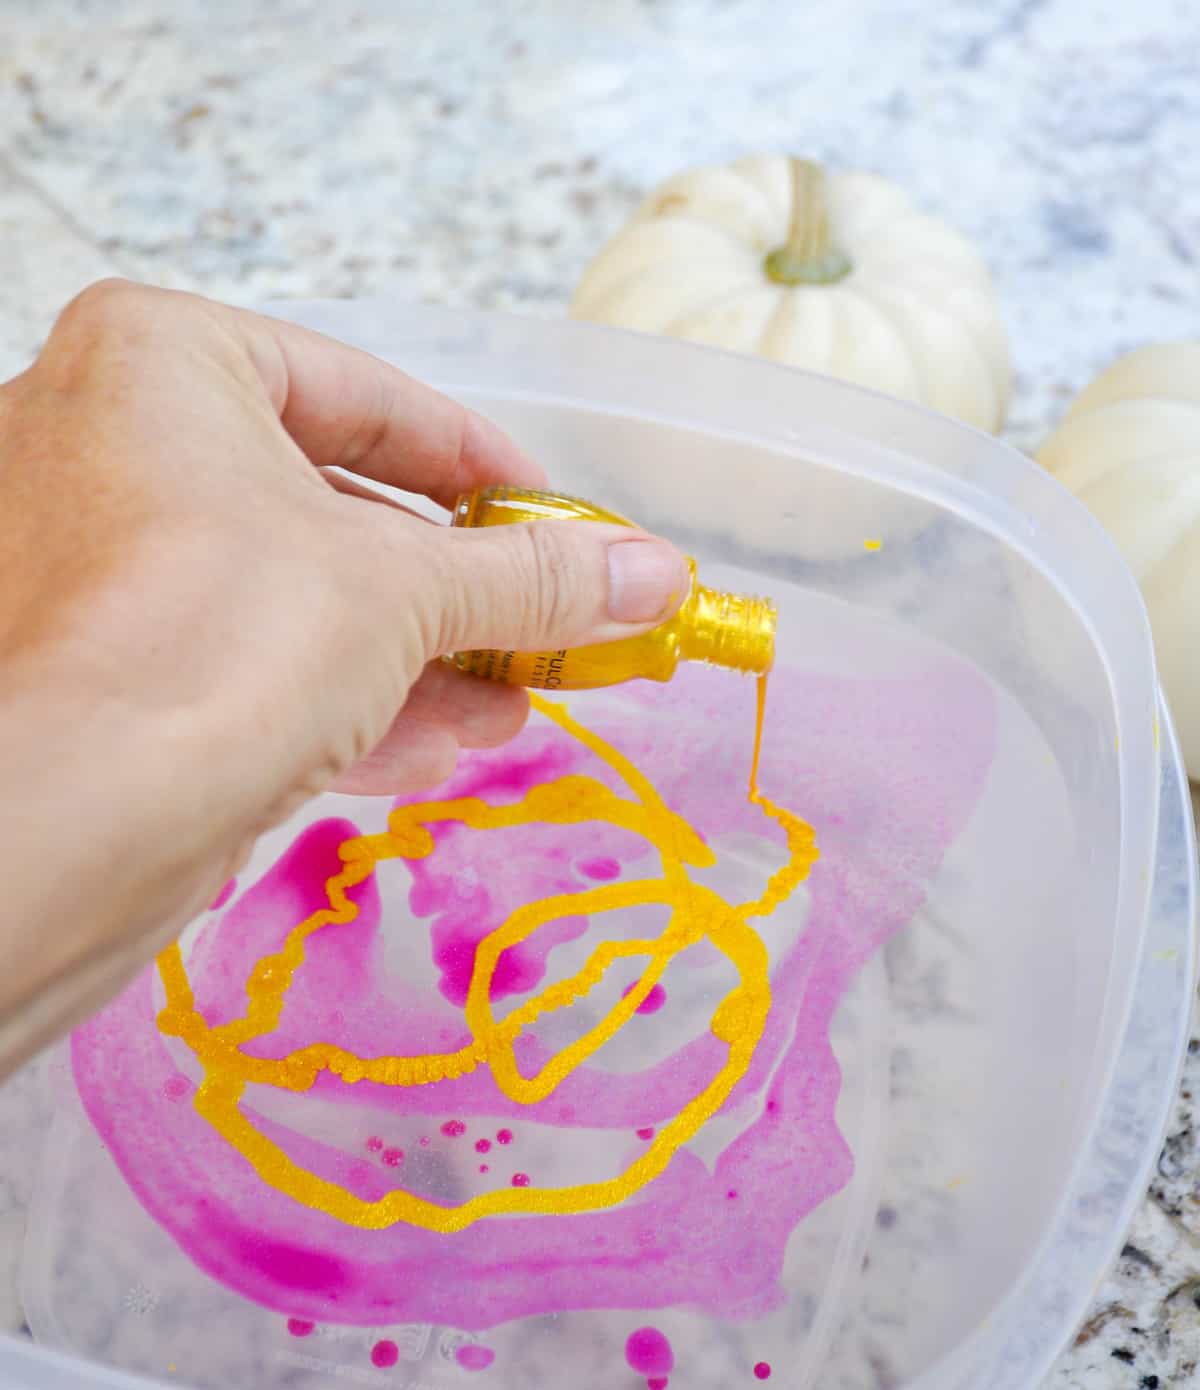
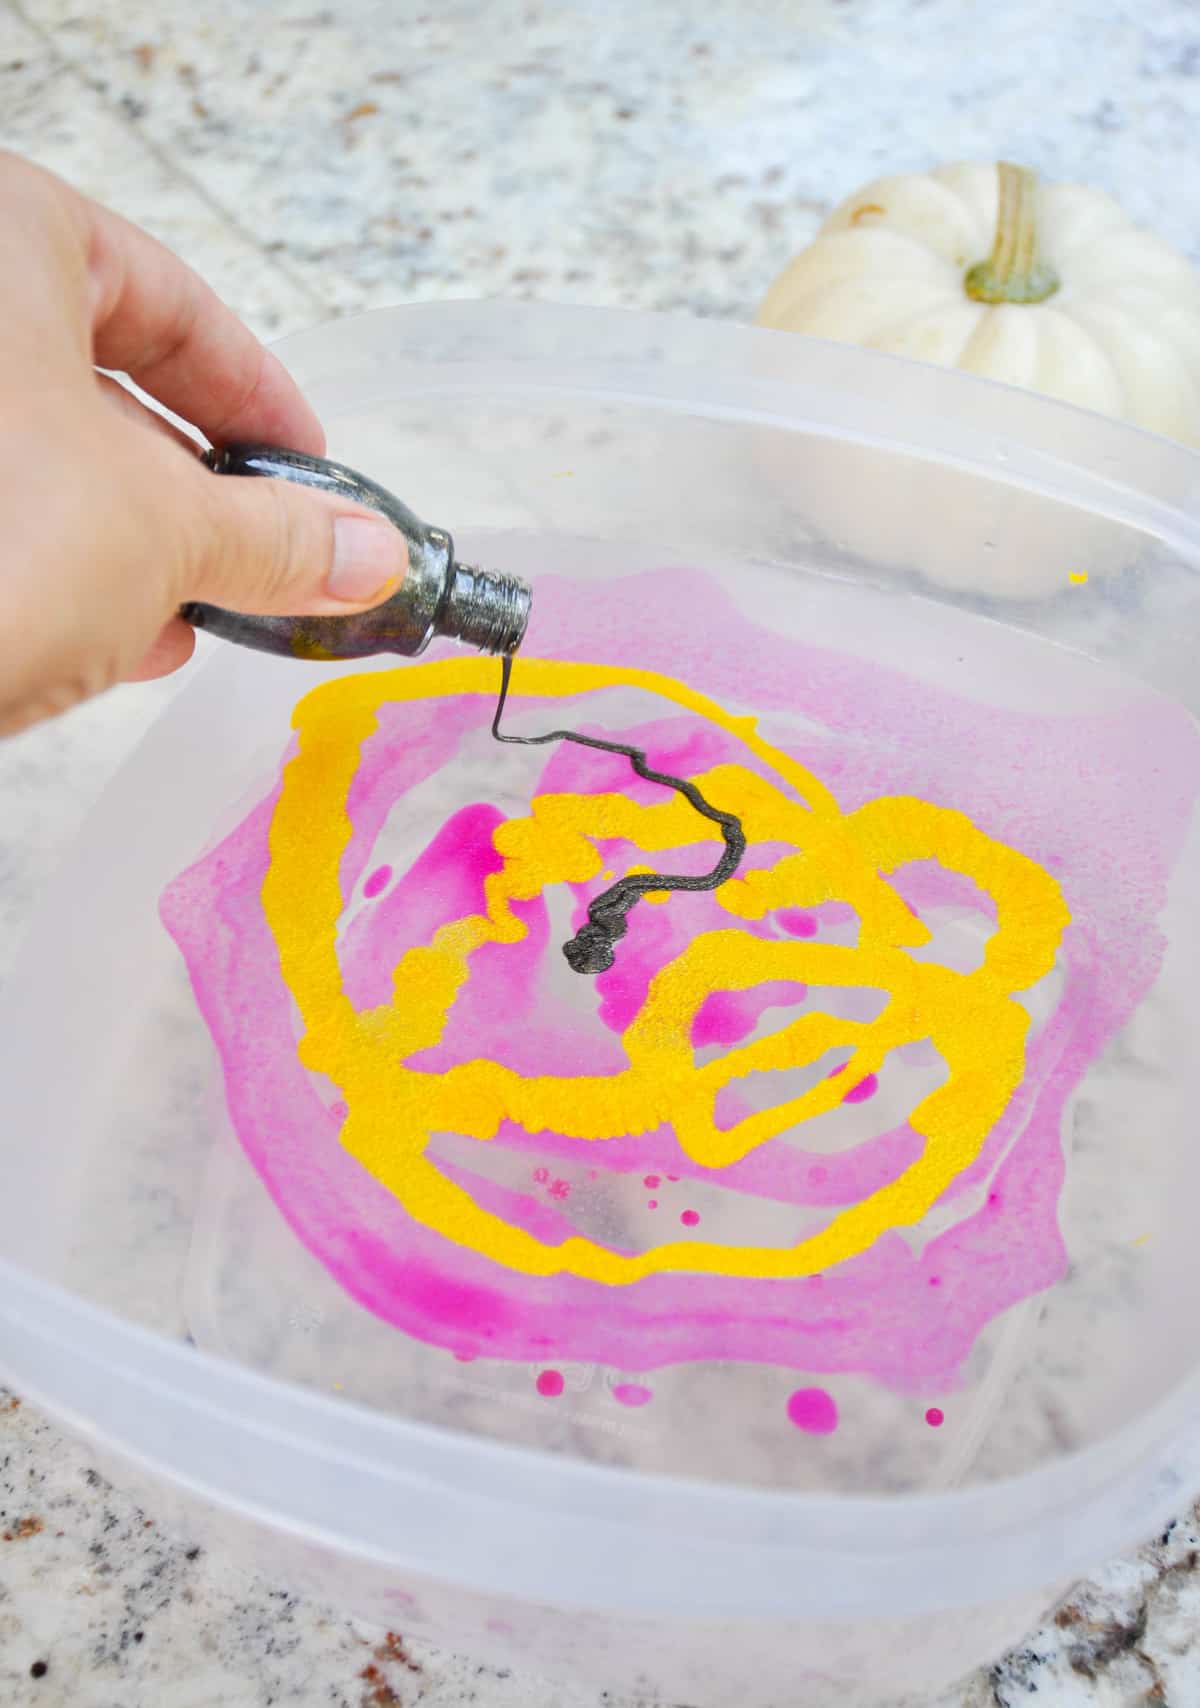
Pour in the other two (or more) colors
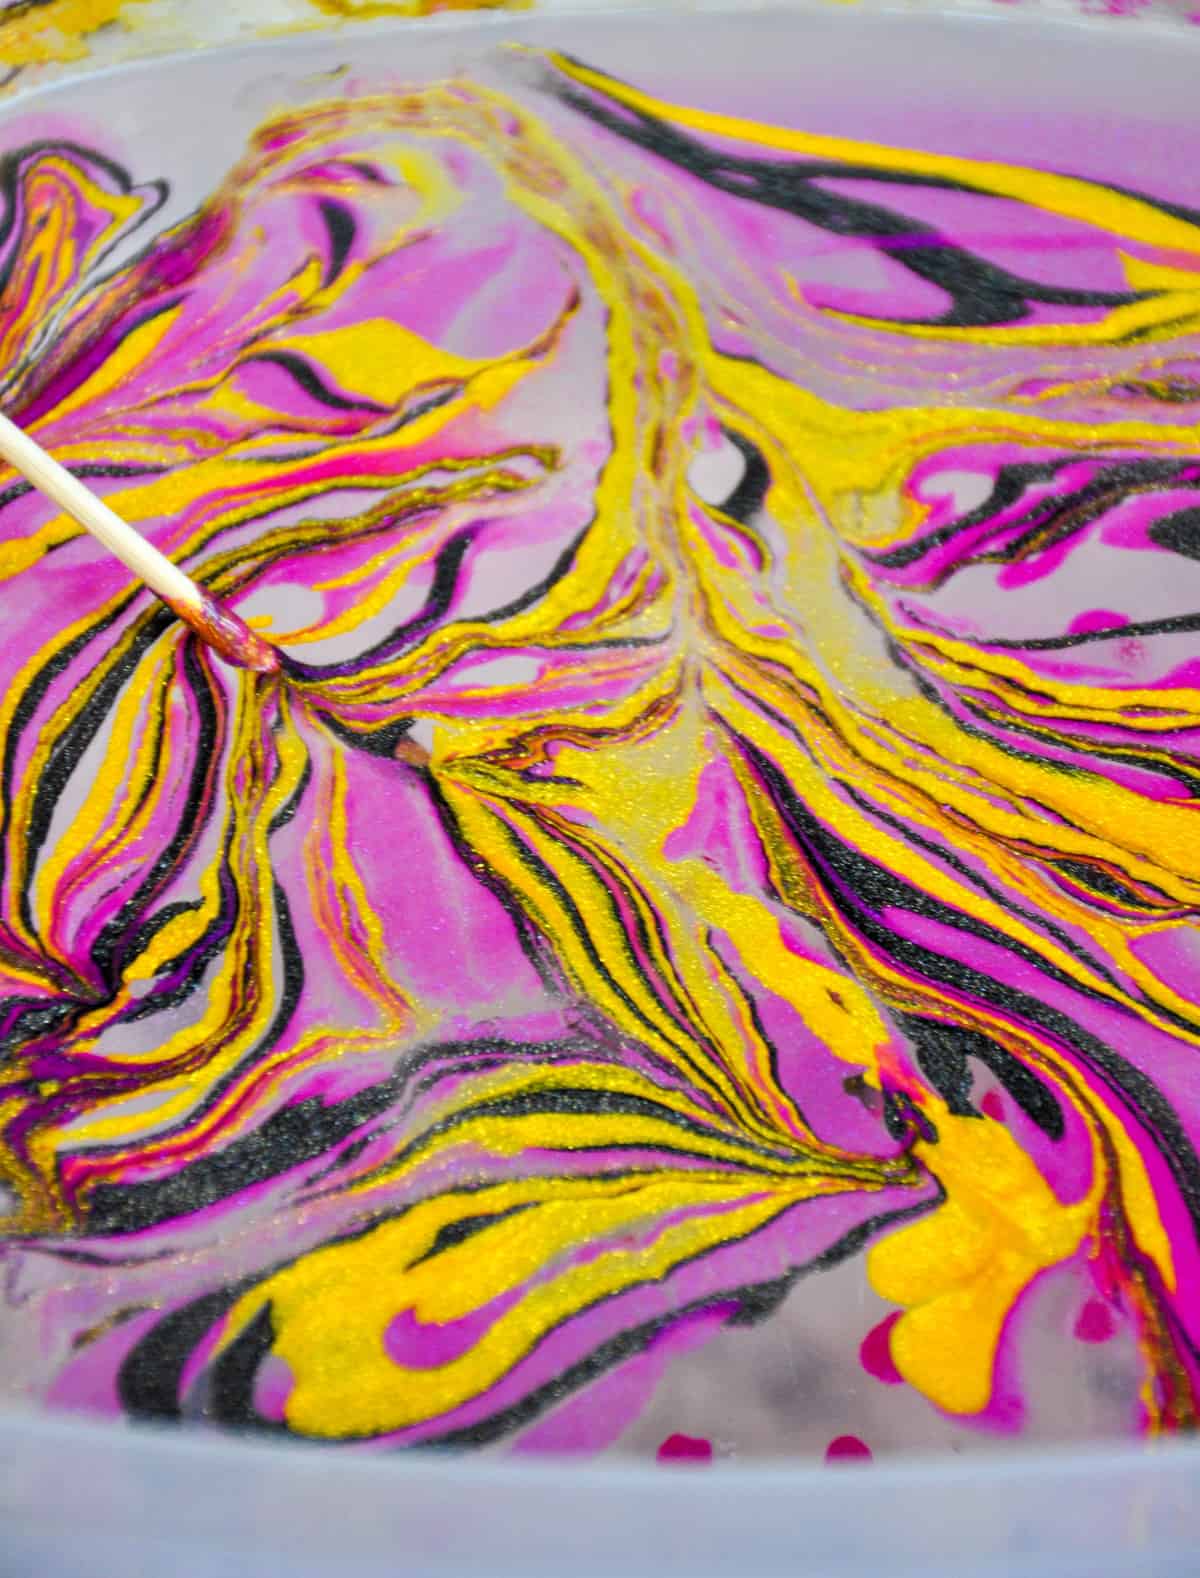
Run a skewer, plastic knife, or any other type of object through the polish to swirl. This reminds me of swirling my foam through my latte!
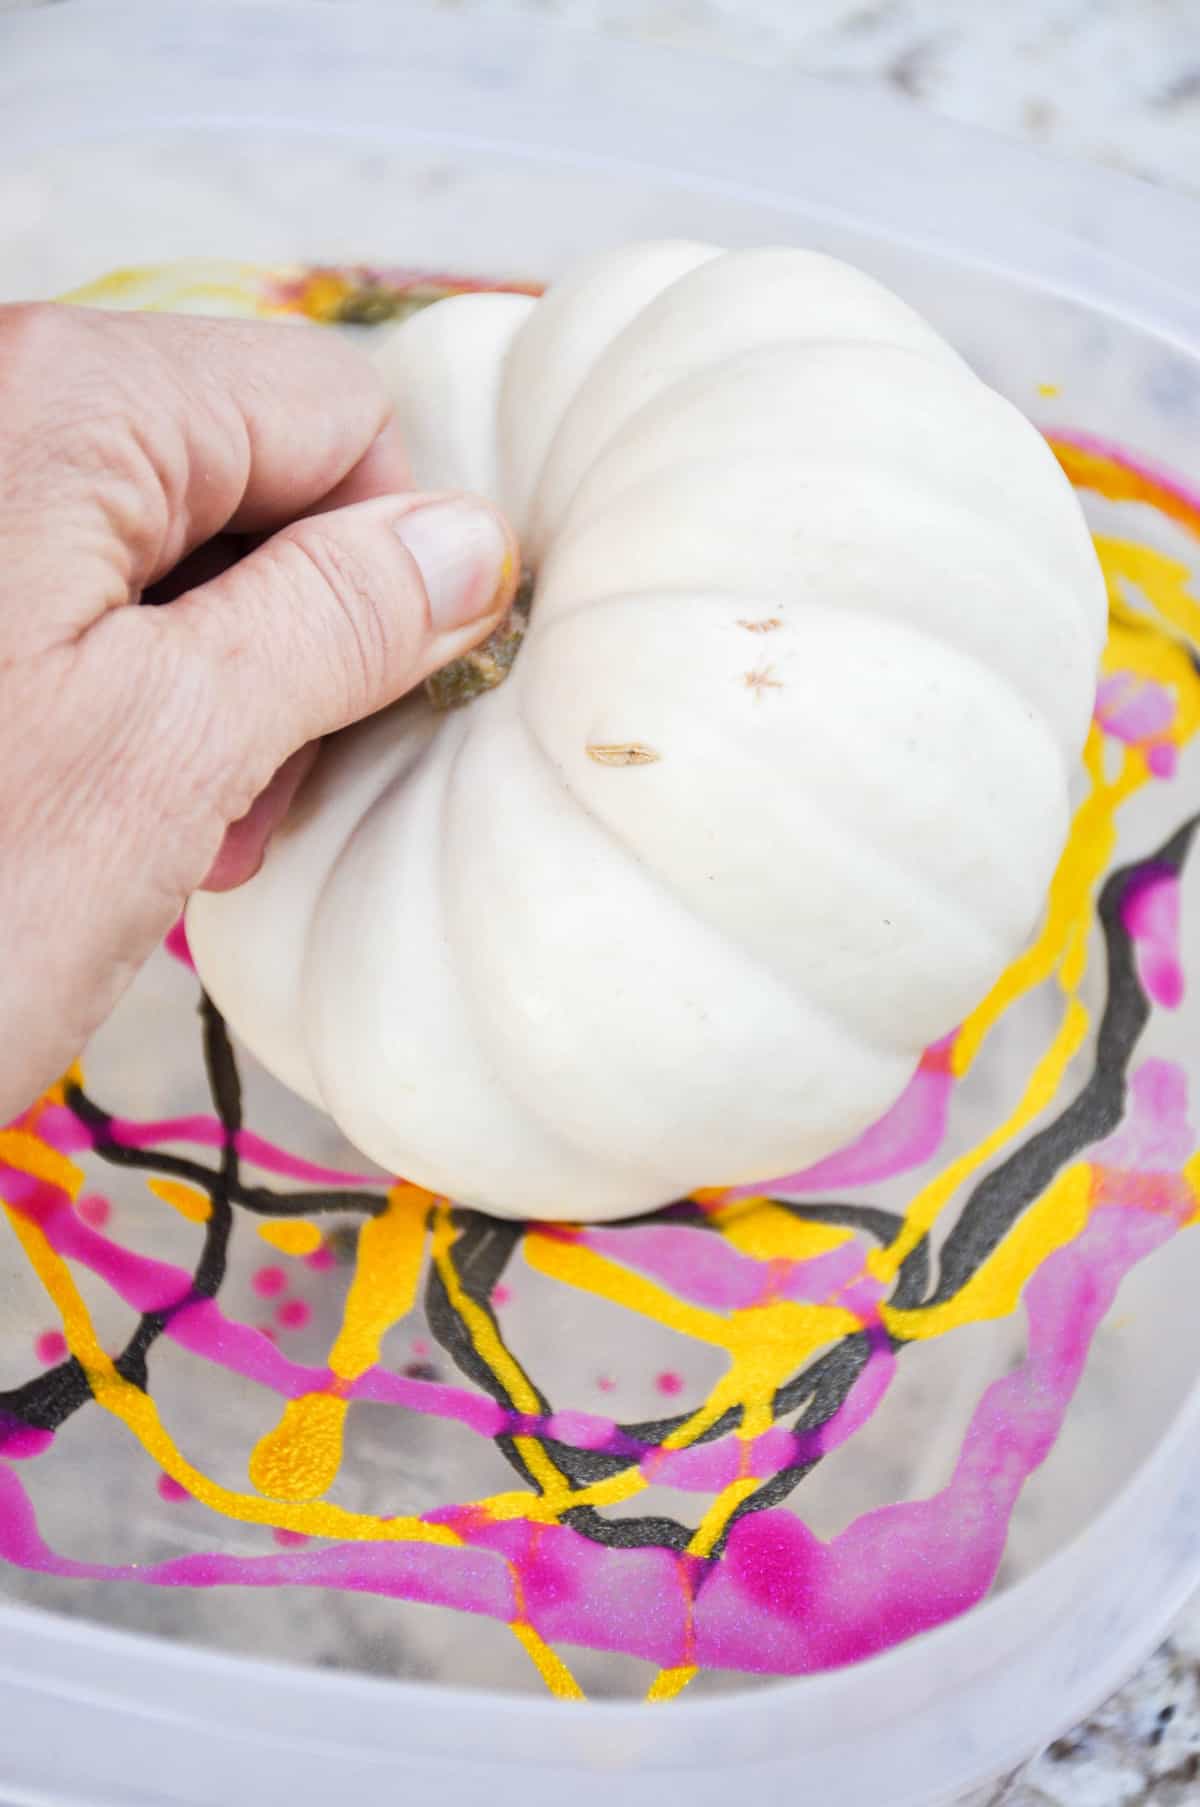
Dunk the pumpkin straight into the water and the polish magically clings to it. As you put the pumpkin in, slightly twist it around so all the polish clings to the outside of the pumpkin.
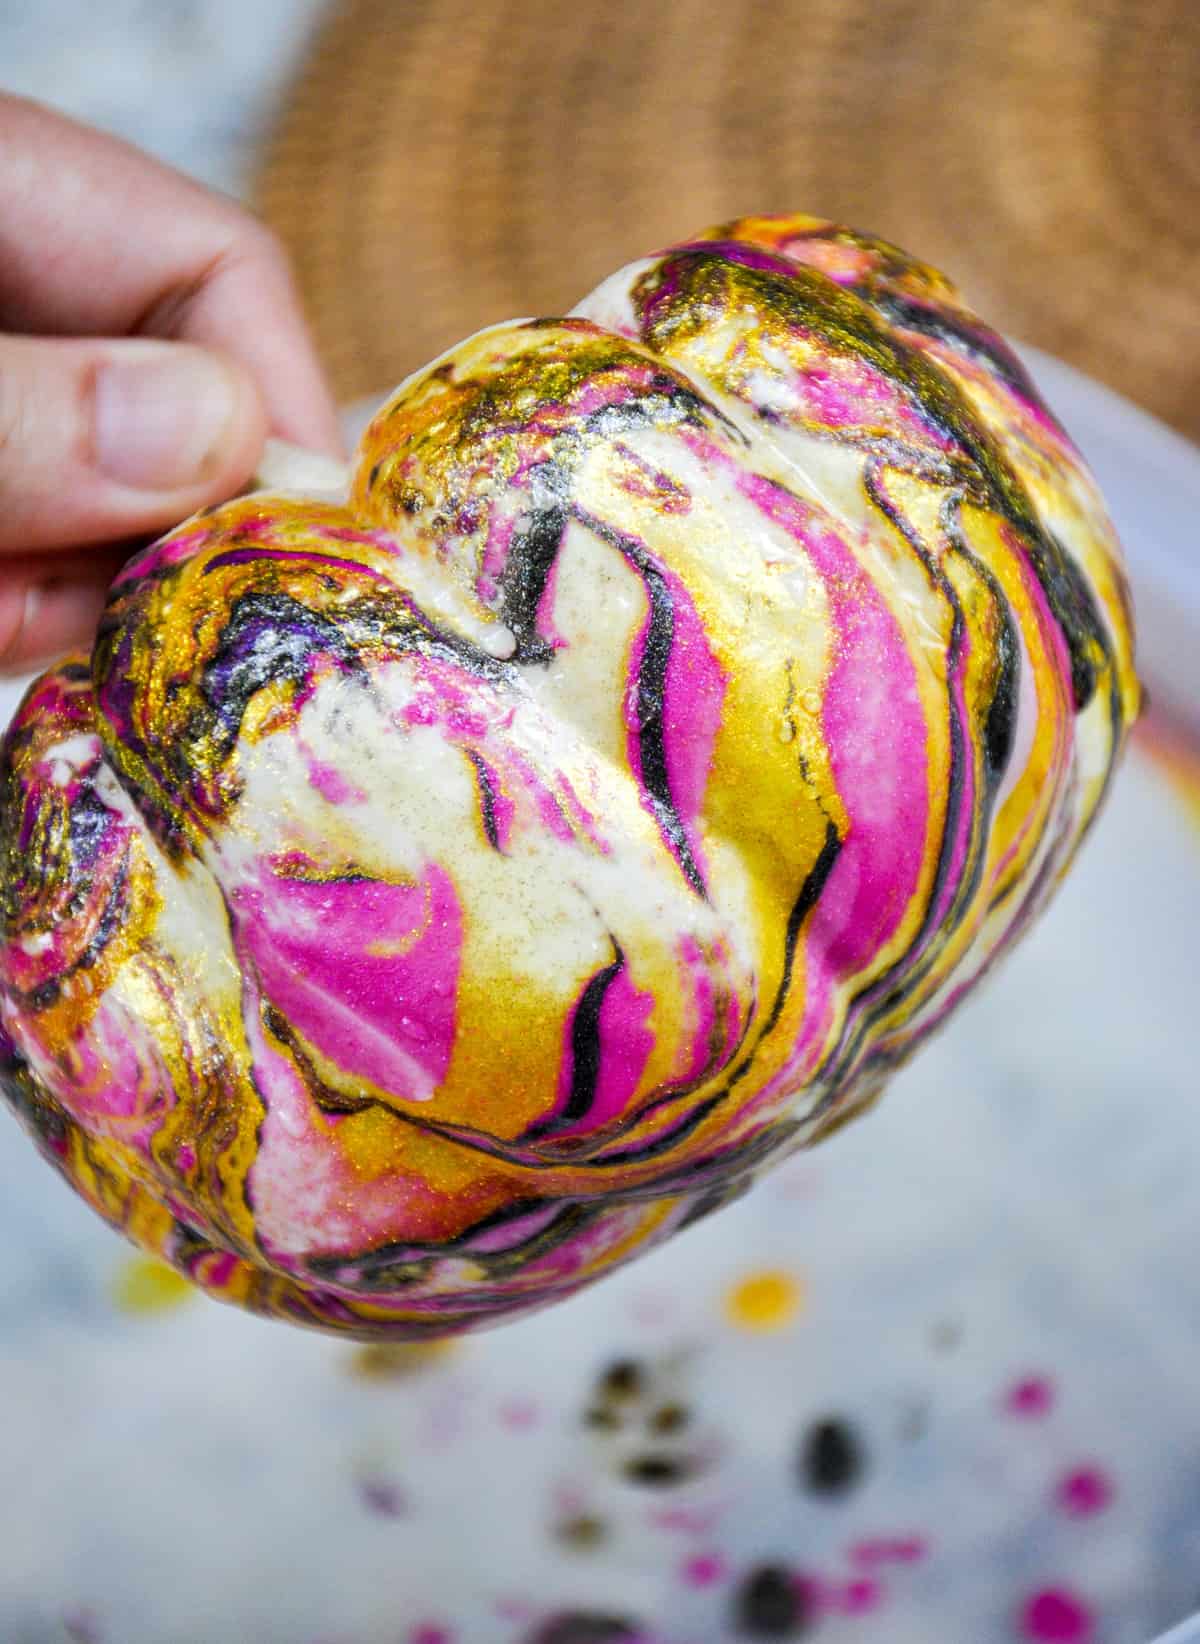
Pull it out and admire the beauty!
Allow to dry on parchment paper. Drying time is only about 5-8 minutes!
What colors would you choose?

