
Simple DIY Decorations for Fall
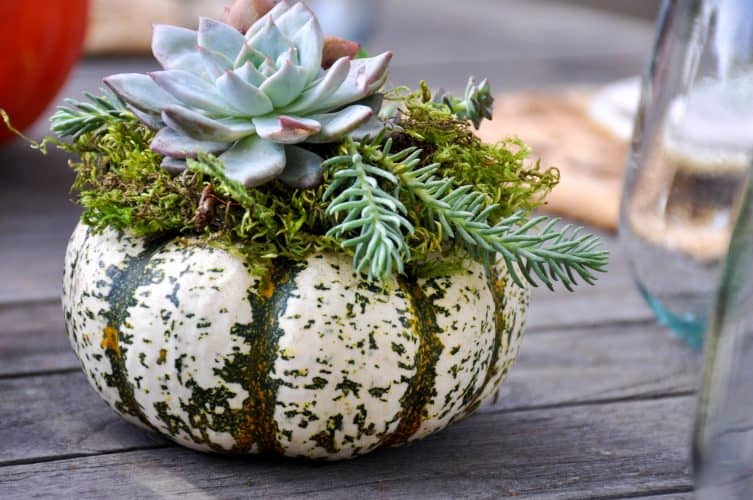
We love creating unique DIY decorations for fall and this Succulent Pumpkin Centerpiece just might be our all-time favorite! This succulent planter is made from all-natural materials and is easily transportable. This basically means this planter is the perfect hostess gift to make and gift this holiday season!
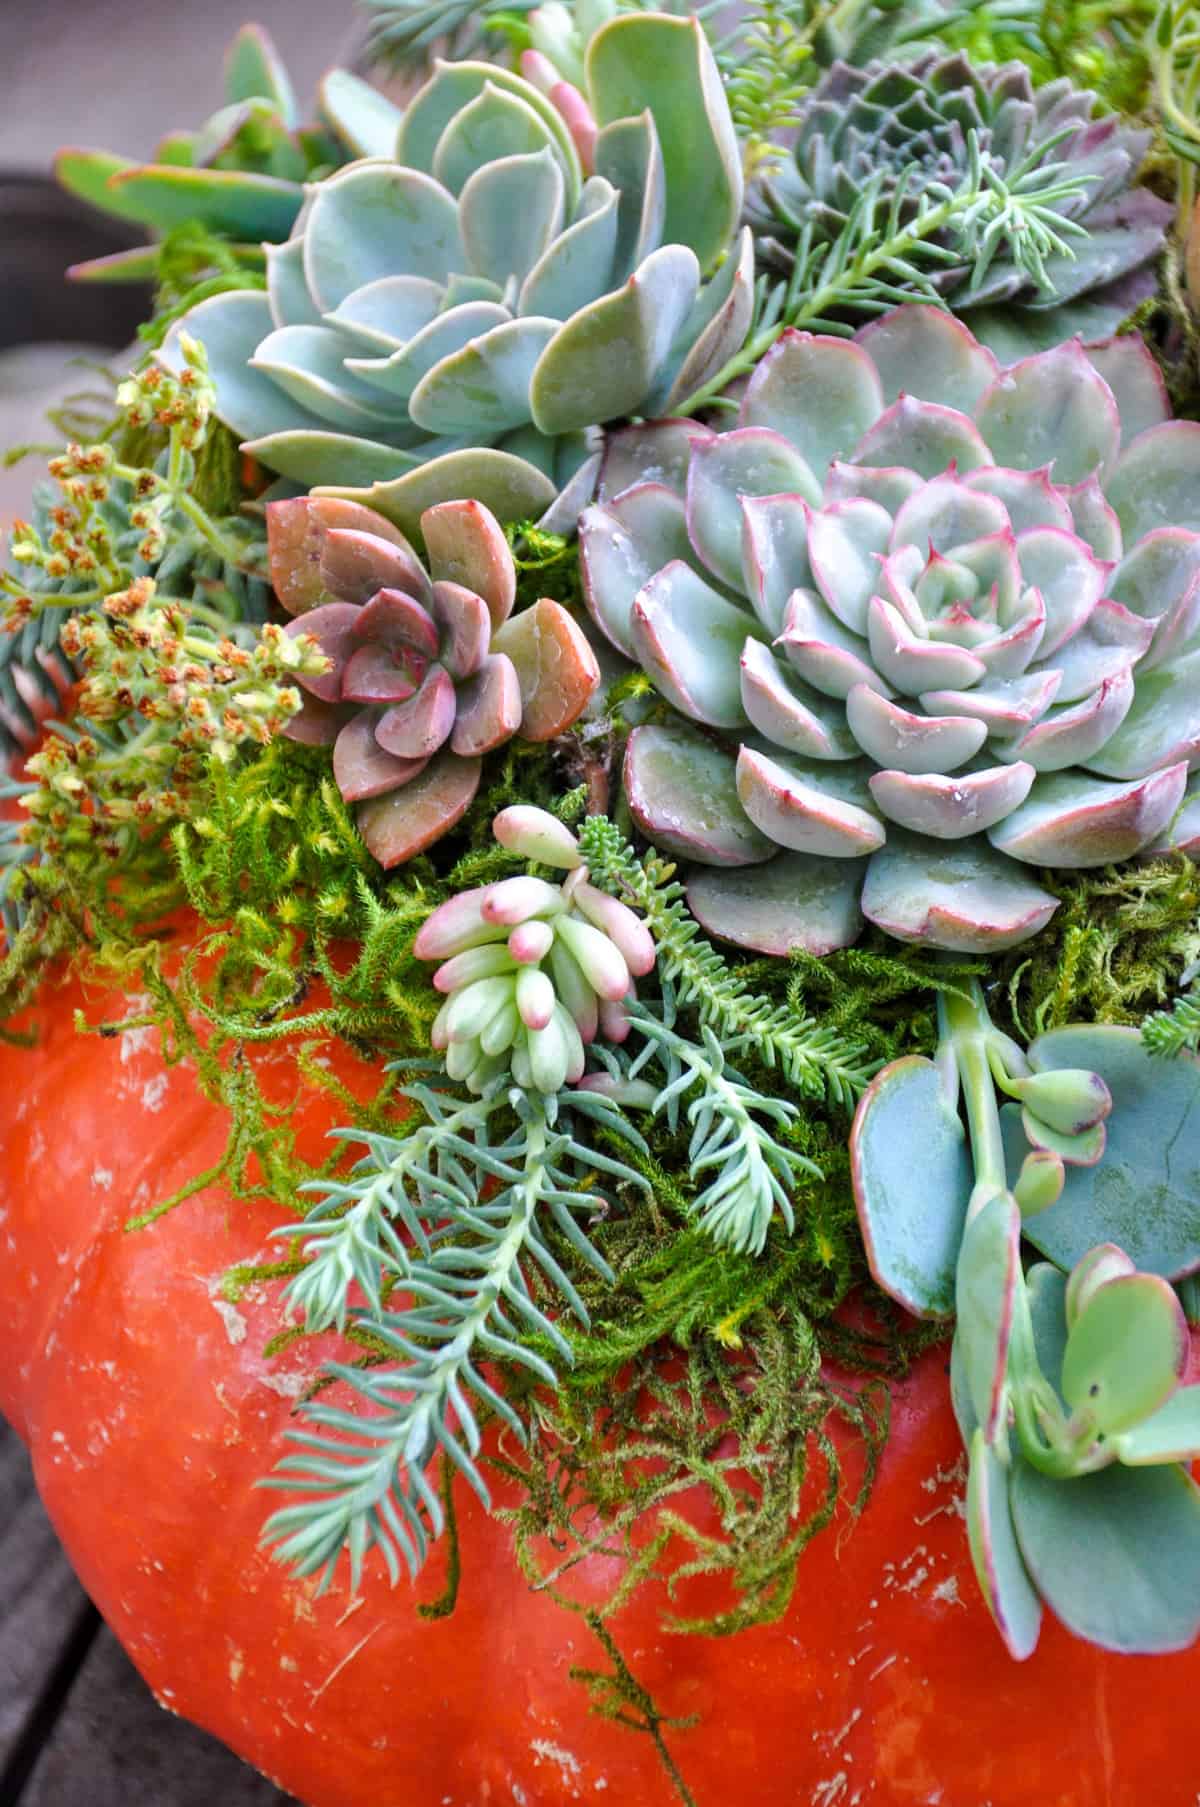
Our Succulent Pumpkin Centerpiece is simple to put together and you might just have the supplies to make one already in your home. Let’s walk through how to make one.
How to make a Succulent Pumpkin Centerpiece Step-by-Step.
Grab a few pumpkins and some succulents from your local Nursery or Garden Center and let’s get festive for fall!
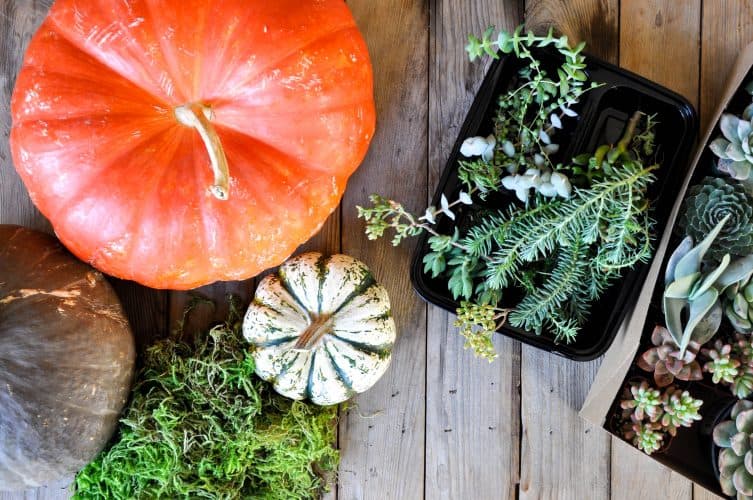
Gather your materials
You will need pumpkins of your choice, moss, a hot glue gun, and succulents in various sizes and types.
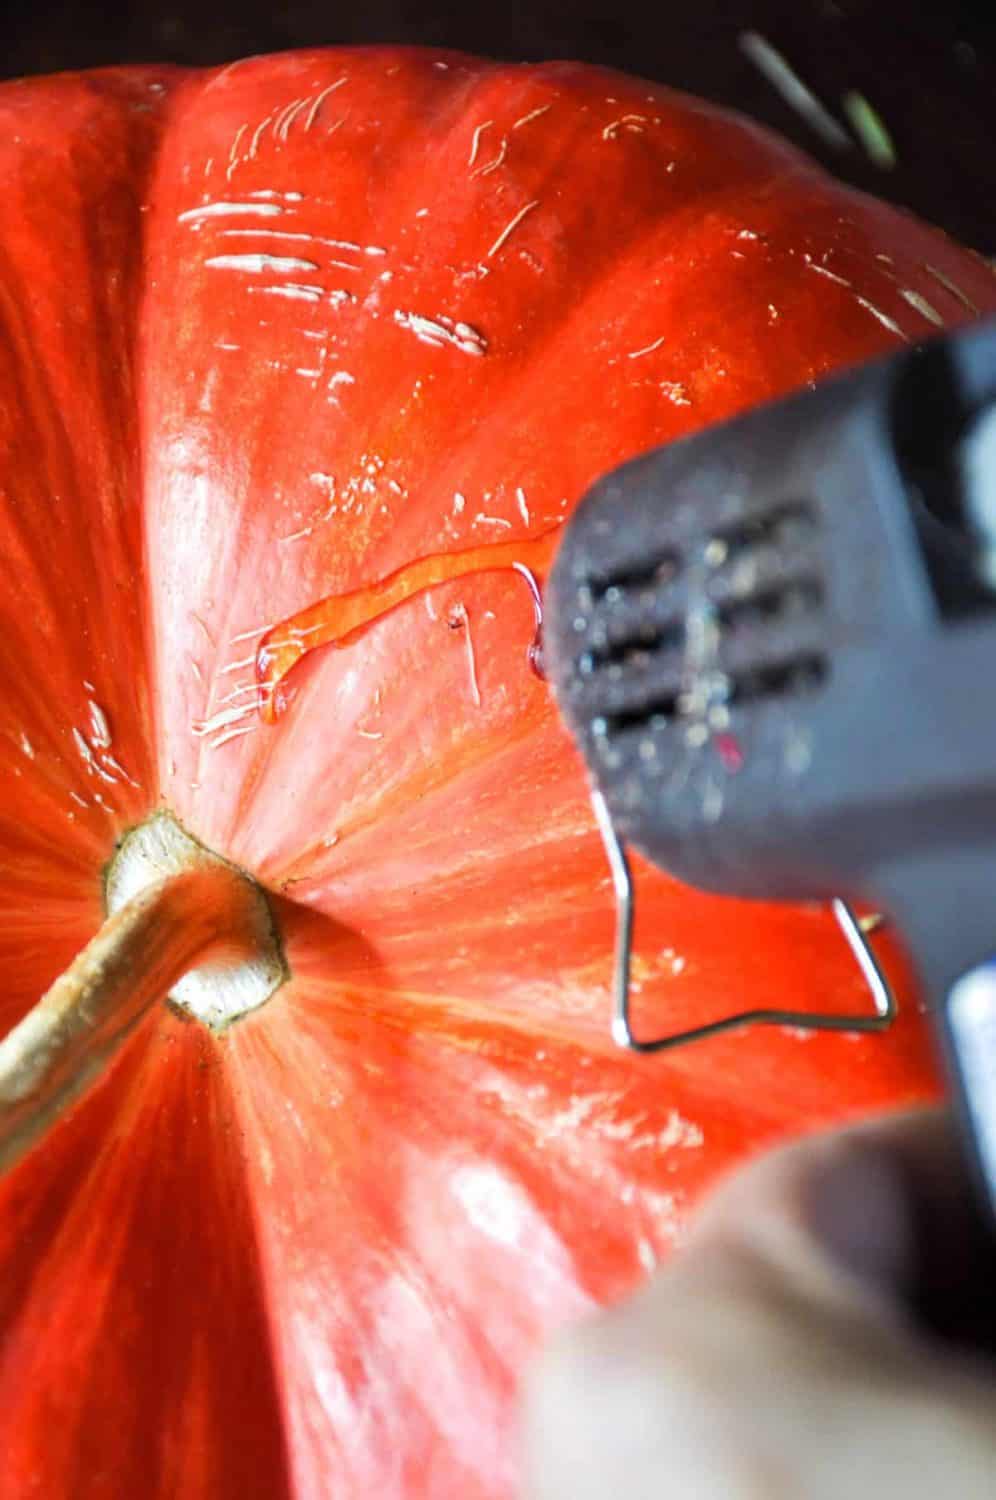
Heat the hot glue gun.
Once hot, add a layer of hot glue around the stem and shoulders of the pumpkin.
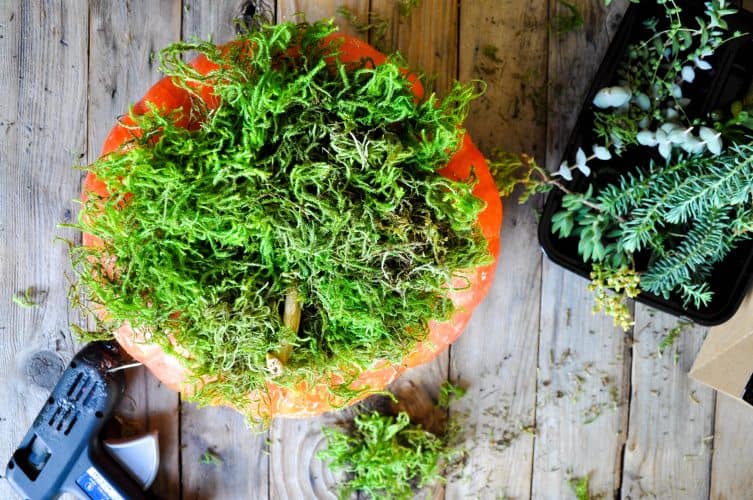
Make it fancy!
Press a generous amount of moss and press down so the glue sticks. You may need to spot glue a few places to make sure the moss stays put.
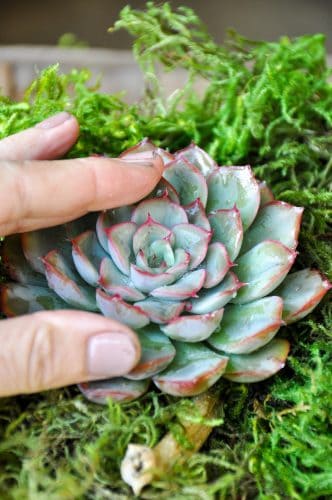
Let’s talk succulents for a second…
Did you know you can just cut most succulents off at the base, and they will reroot wherever they are put? True story!
And did you know they don’t need traditional soil to grow? They can grow in sand or even in moss as we are going to do here.
Pretty nifty huh?!
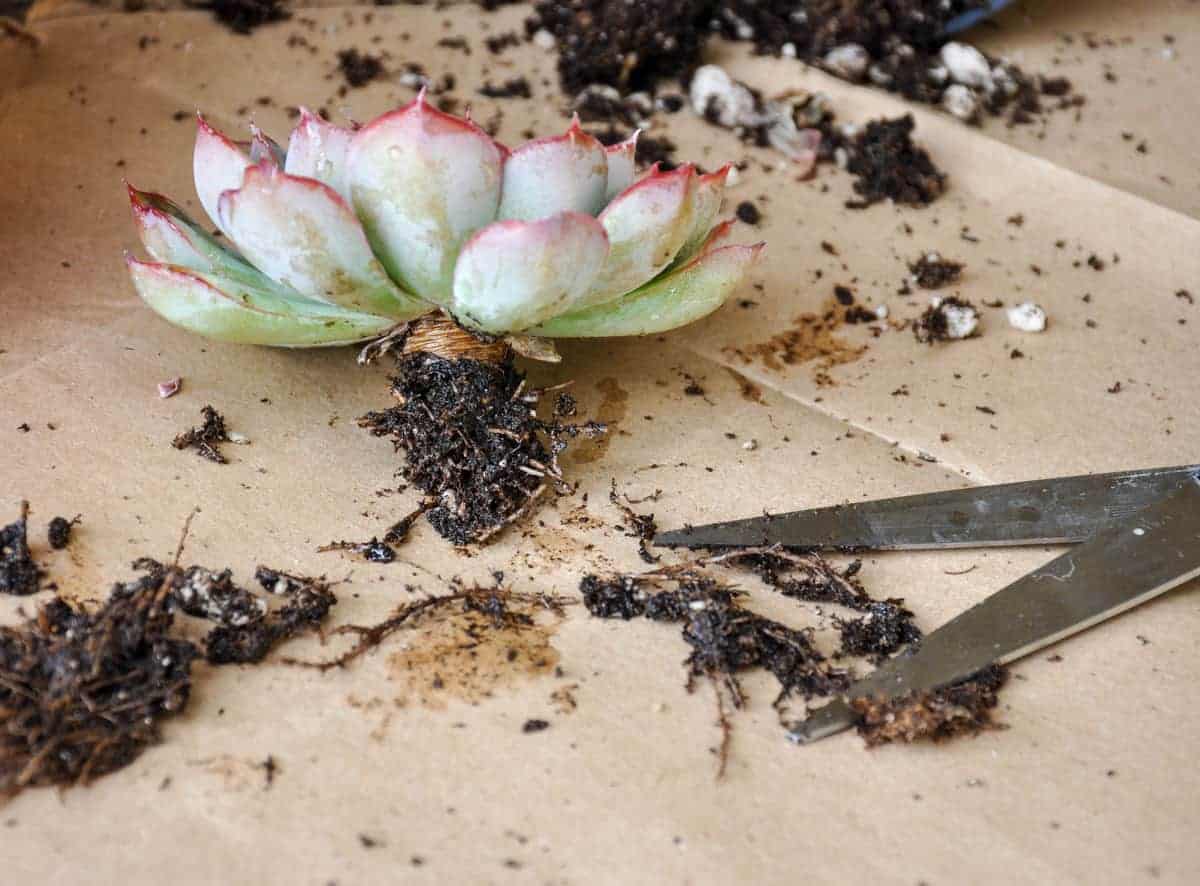
How to prep a succulent for planting…
Remove the soil from the base of the succulent gently with your fingers. Then cut away most of the side roots and soil. You can even trim the stem down a bit if needed.
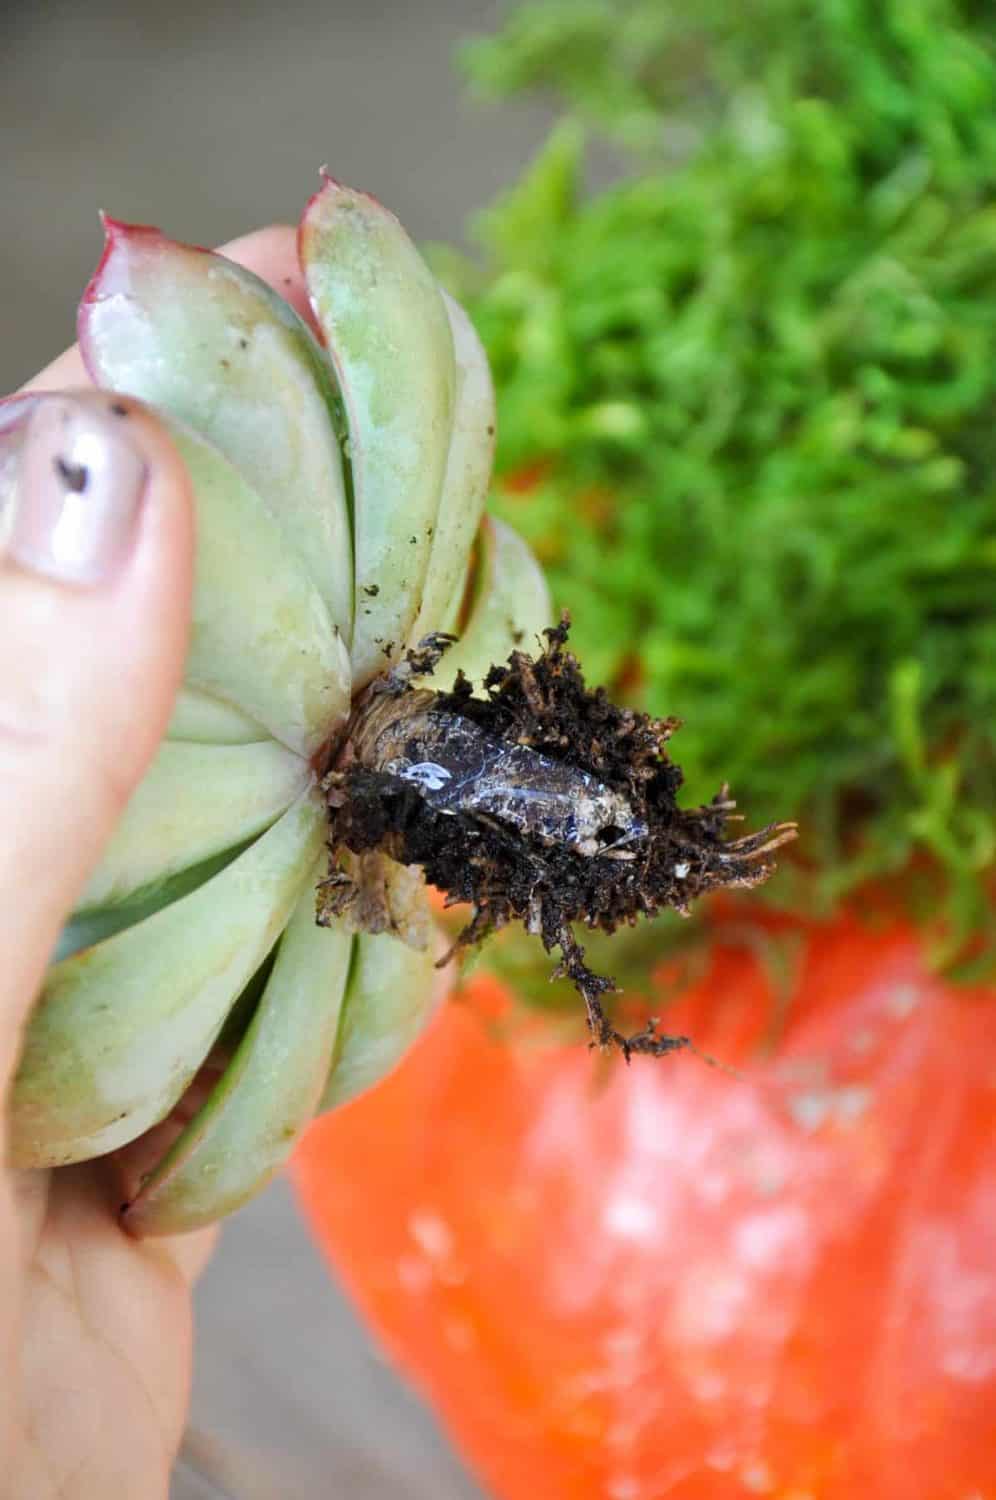
Make sure it sticks!
Add a strip of hot glue to the side of the succulent stem.
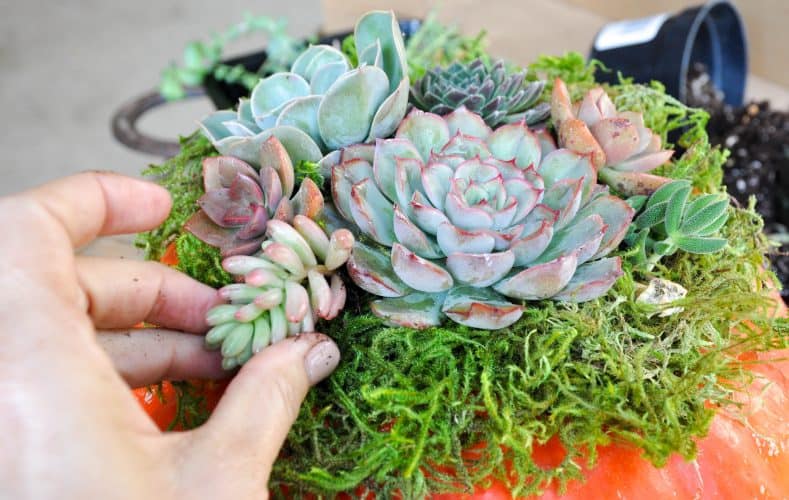
Channel your inner floral designer.
Push the glued stem down into the position you would like the succulent to stay. Hold for a few seconds so that the plant stays put until the glue dries.
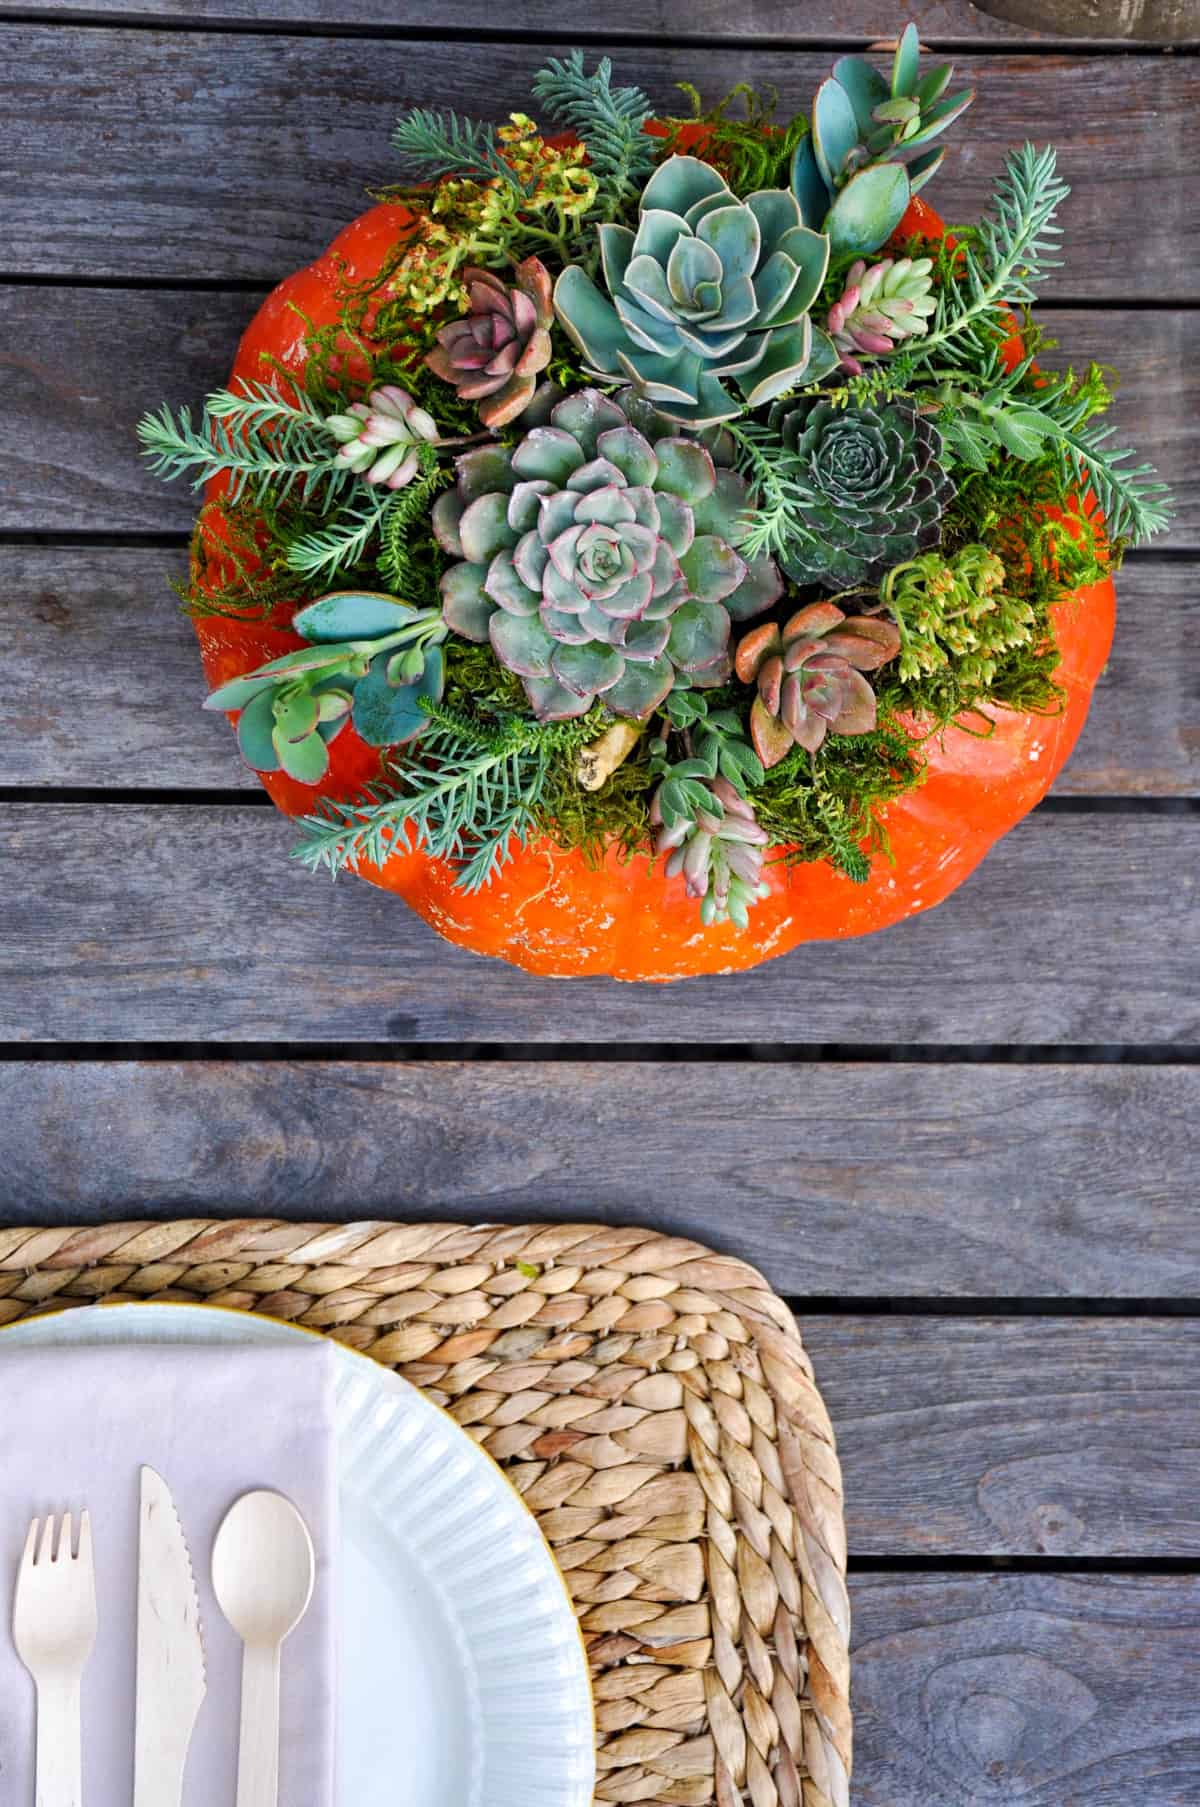
Continue the process until the top is filled with the larger plants, then start adding in trailing types of succulents.
Sit back, relax, and don’t forget to water!
Keep your arrangements fresh by using a spray bottle and lightly misting the succulents and moss once a day.
How to dispose of this Succulent Pumpkin Centerpiece when you are through with it.
What’s even cooler about this project is when you are finished with it you can let the pumpkin decay as it usually would. Before you do though be sure to cut the top off and plant the entire succulent design right into a pot or the ground! That way your pumpkin centerpiece is a gift that keeps giving all year long.
Are you looking for more simple DIY decorations for Fall? Keep on scrolling, we have your back!
While this Succulent Pumpin Centerpiece decoration for fall may just be our favorite DIY ever, we do have a few more ideas for how you can easily create festive decor this fall!
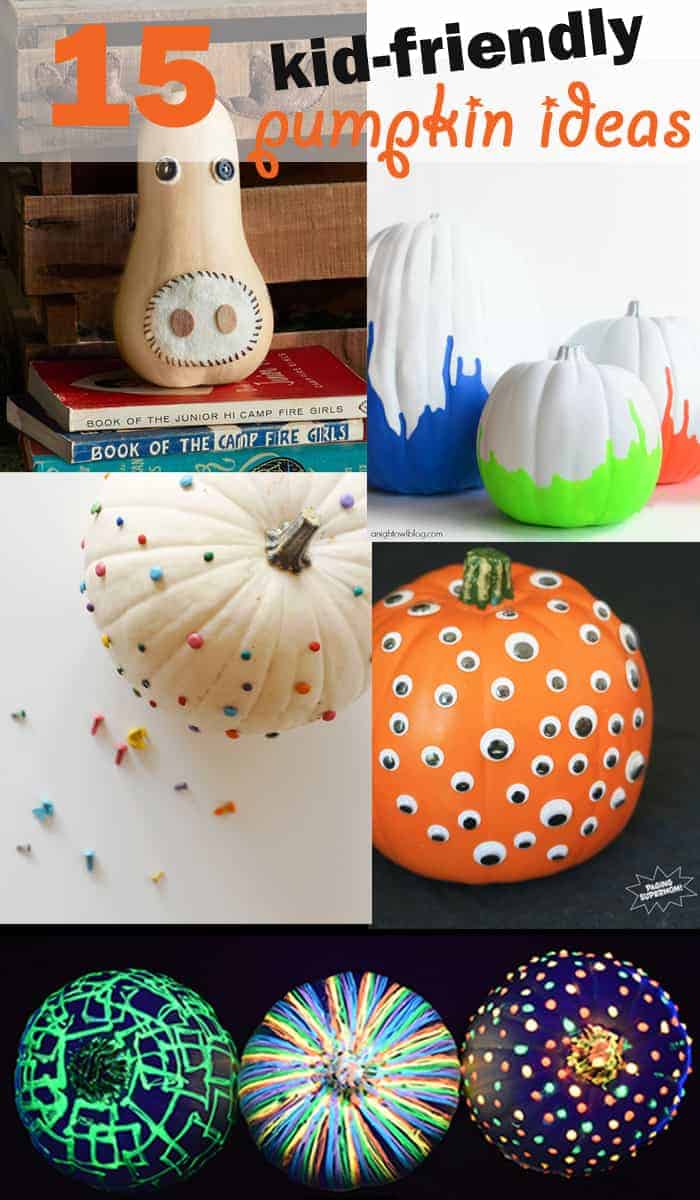
No Carve Pumpkin Ideas!
These super kid-friendly pumpkins are easy to make and last so much longer than their carved counterparts.
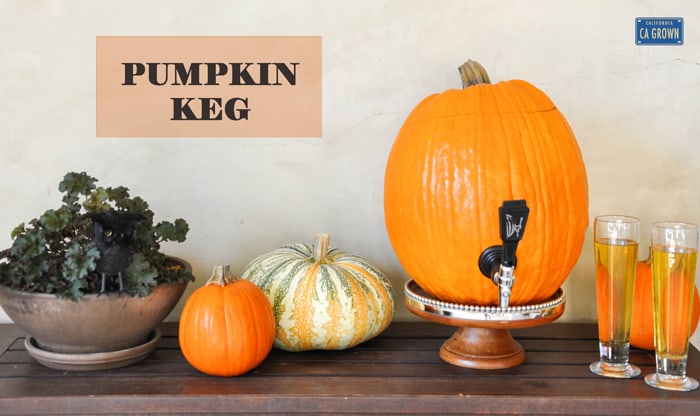
DIY Pumpkin Keg
What screams F-A-L-L more than a pumpkin? Nothing actually…that’s why all of your festive sips like apple cider should come from the tap of a pumpkin!
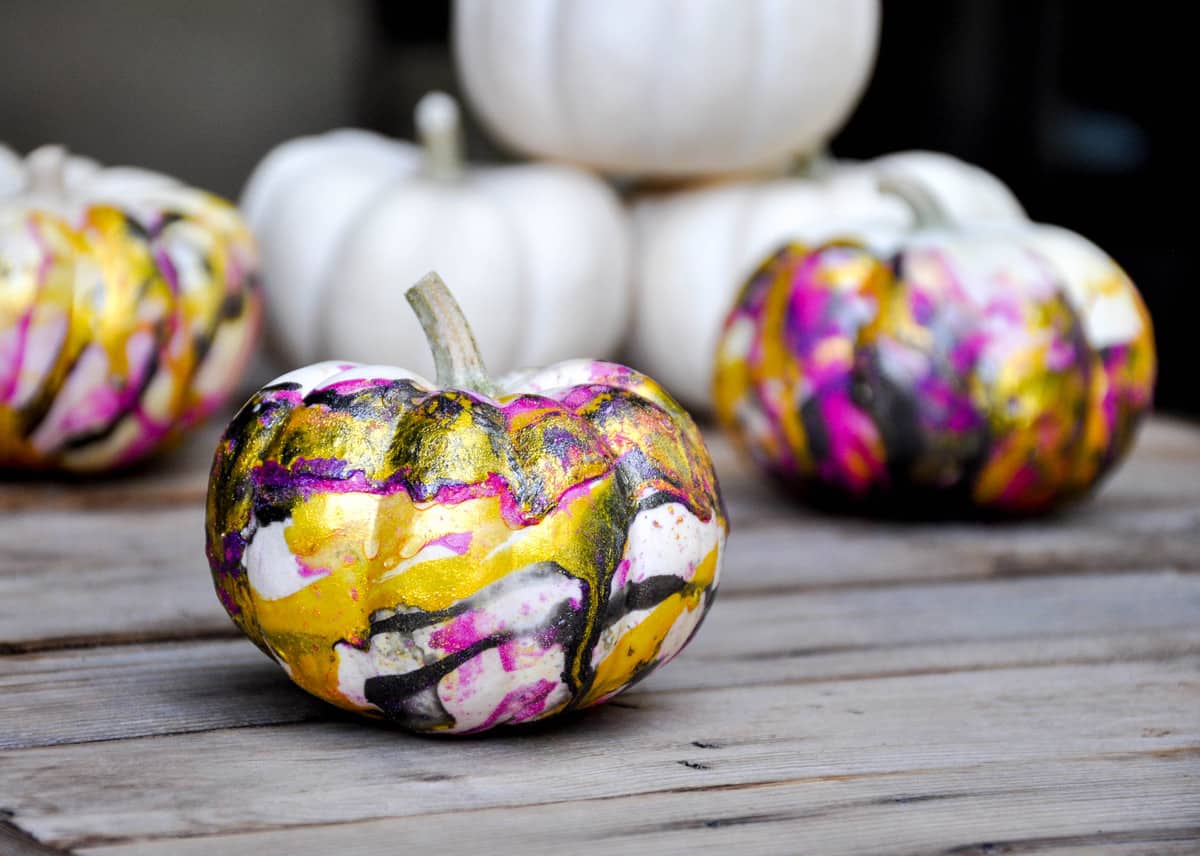
DIY Marbleized Pumpkins
Using traditional nail polish, you can turn these California white ornamental pumpkins into a festive, colorful pop of fun. We use an easy marbleizing technique that is simple enough for the kiddos to help with and is really quick on drying time!