
A Simple DIY for a Succulent Wall Planter
Adding a unique and beautiful piece like this succulent wall planter to your outdoor living space brings a bit of whimsy and personality to an otherwise predictable space.
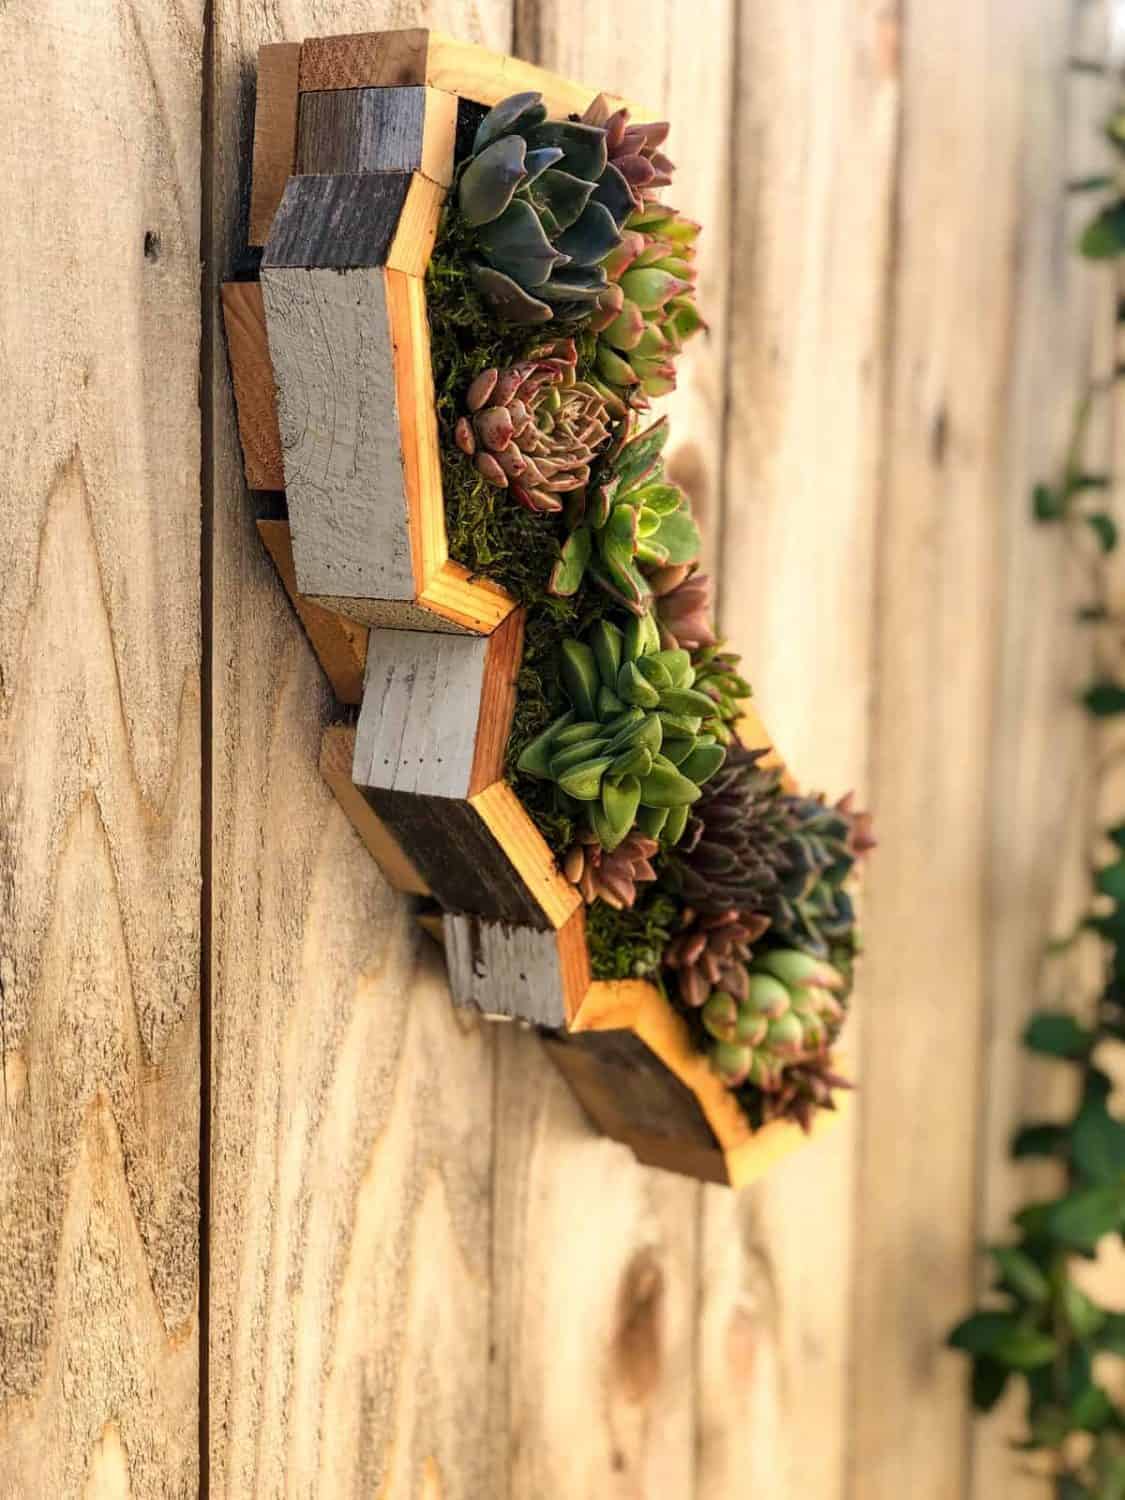
One of my favorite past times is to peruse through nurseries and get inspiration on what my next garden project will be. Of course, I am always drawn to the succulent section and today I really lucked out, because they had not only gorgeous plants but these cute wall planters shaped like California too!
*** This post updated 2/2022 with step-by-step tutorial-style images and information***
I mean what could be better to represent my favorite state but my favorite plant? It’s like a match made in heaven.
Did you know that California is America’s leading producer of high-quality cut flowers and greens? That includes succulents!!! There are more than 225 cut flower and greens farms in our state that you can support when you buy California Grown flowers. Pretty cool huh?!
How to make a succulent wall planter!
If you’d like to try your hand at creating your own succulent wall planter, we’ve got a simple step-by-step tutorial for you below! Choose any succulent planter you prefer. You can find them at most nurseries or even online.
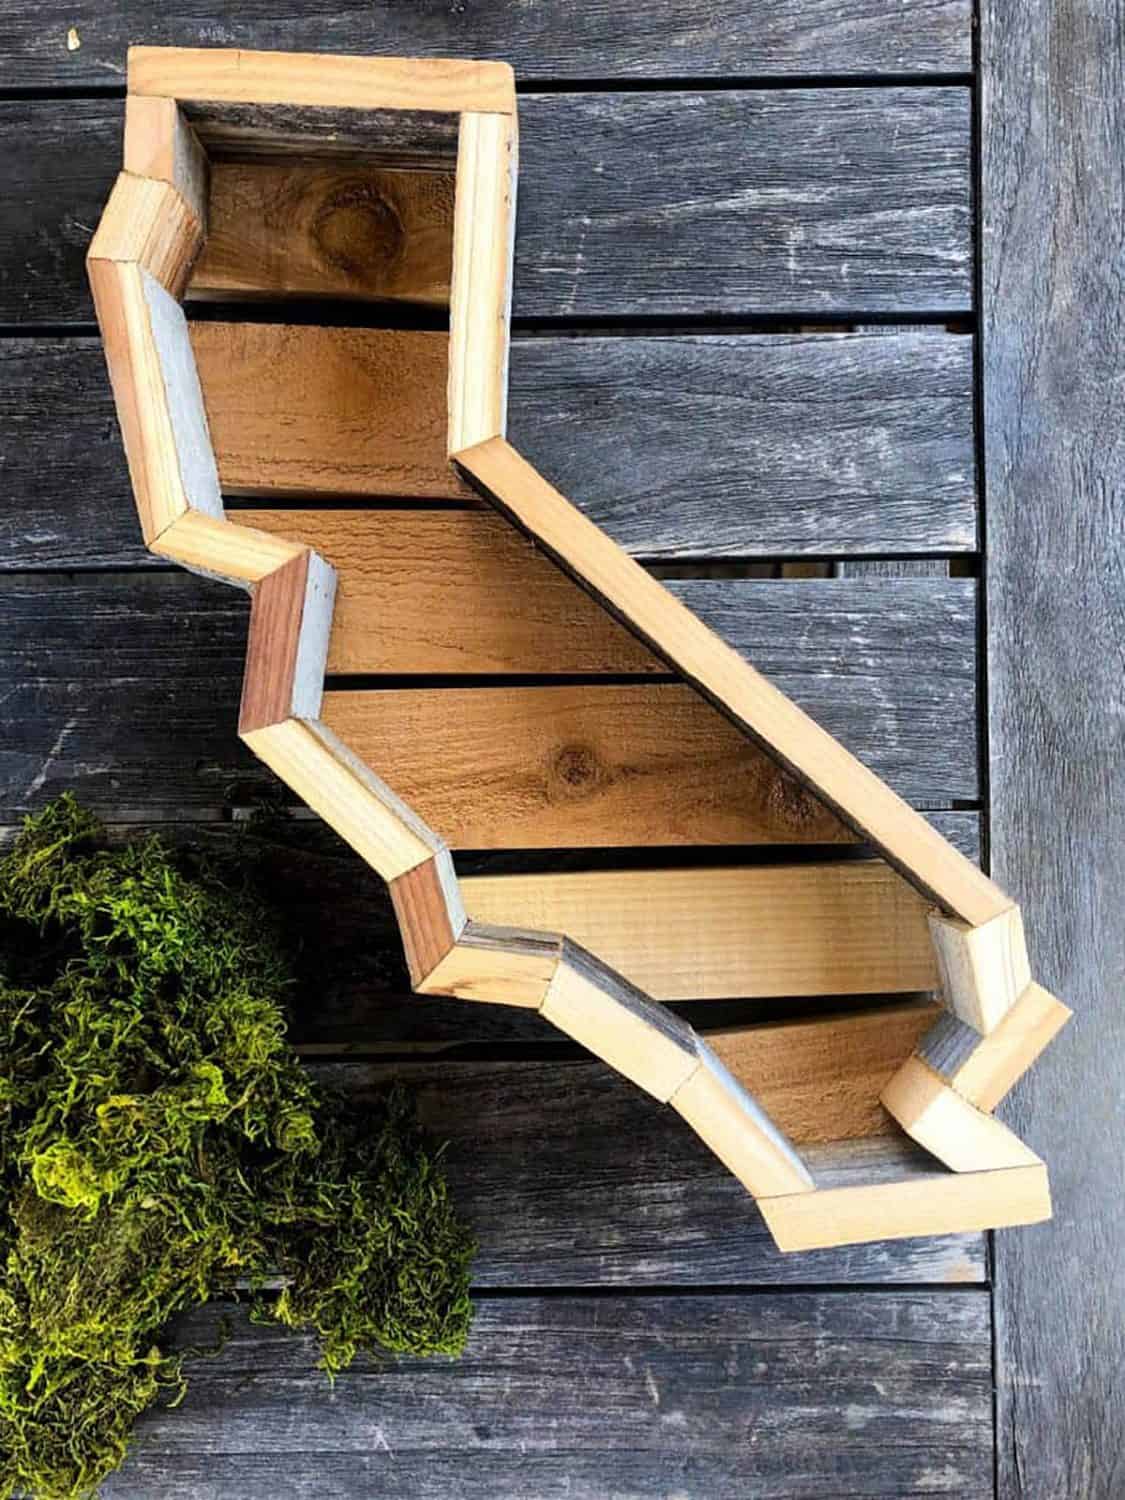
Gather the supplies to build a succulent wall planter.
You will need a wooden wall planter, dried green moss, various succulents, soil, and a fork.
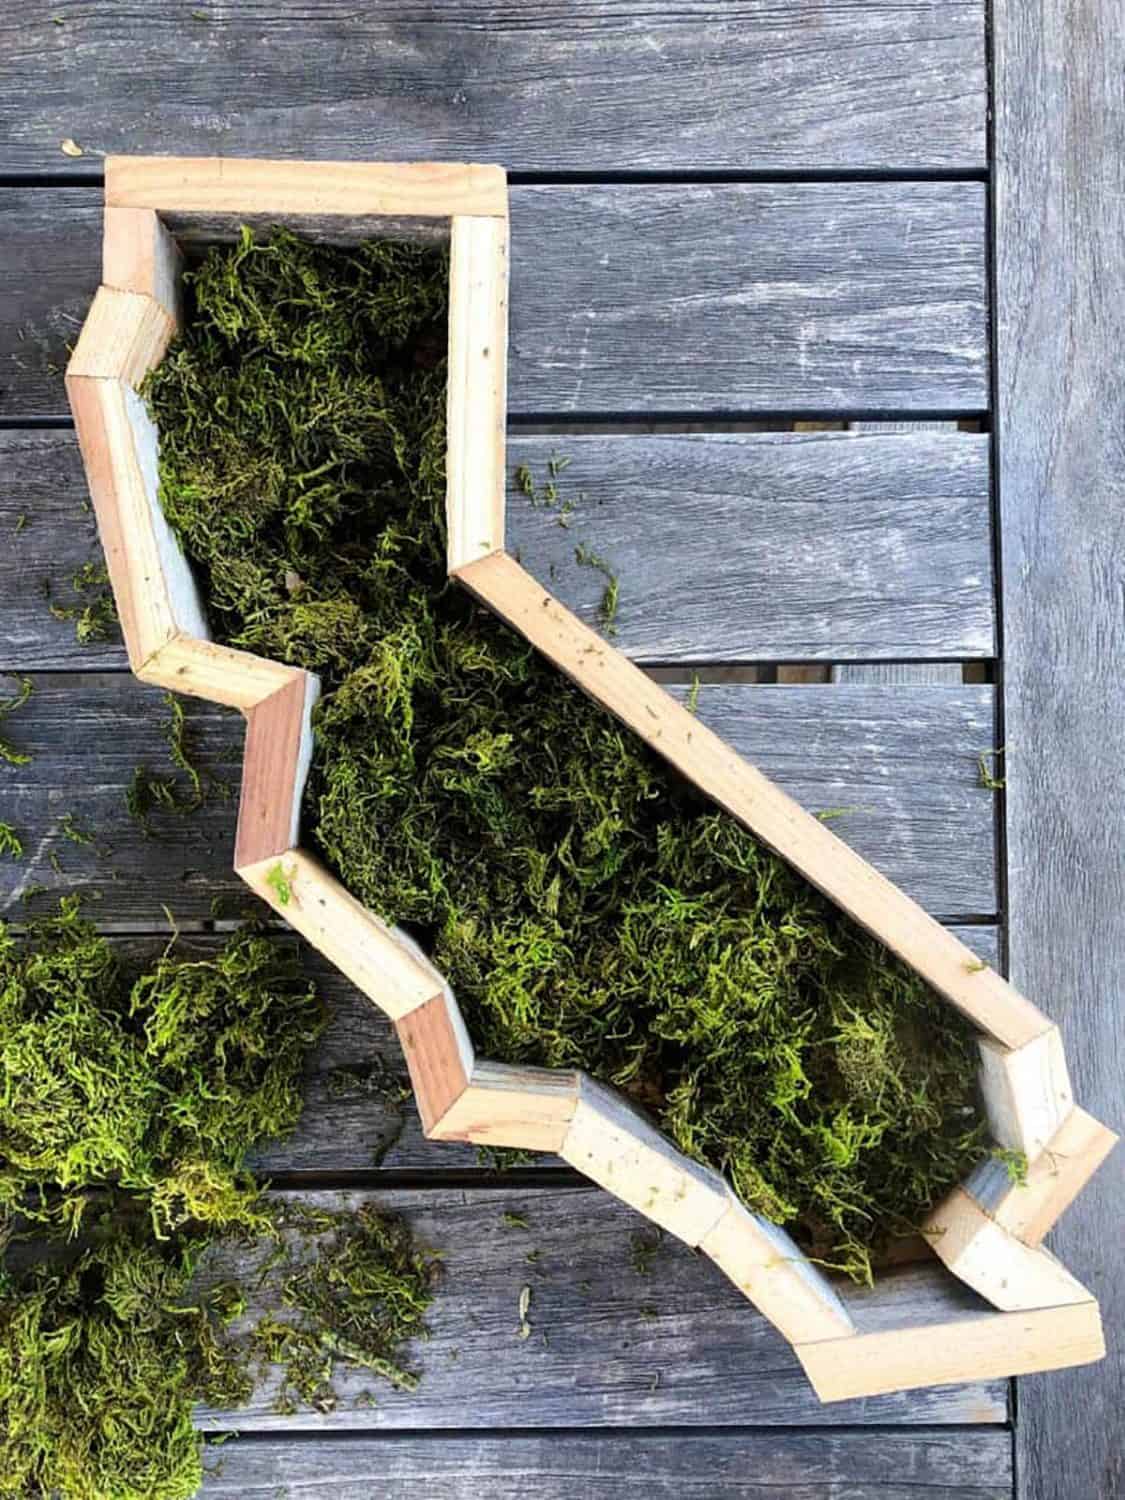
Prepare the bottom of the wooden planter.
Fill the bottom of the wooden planter with moss to cover any gaps and to provide a base for the soil.
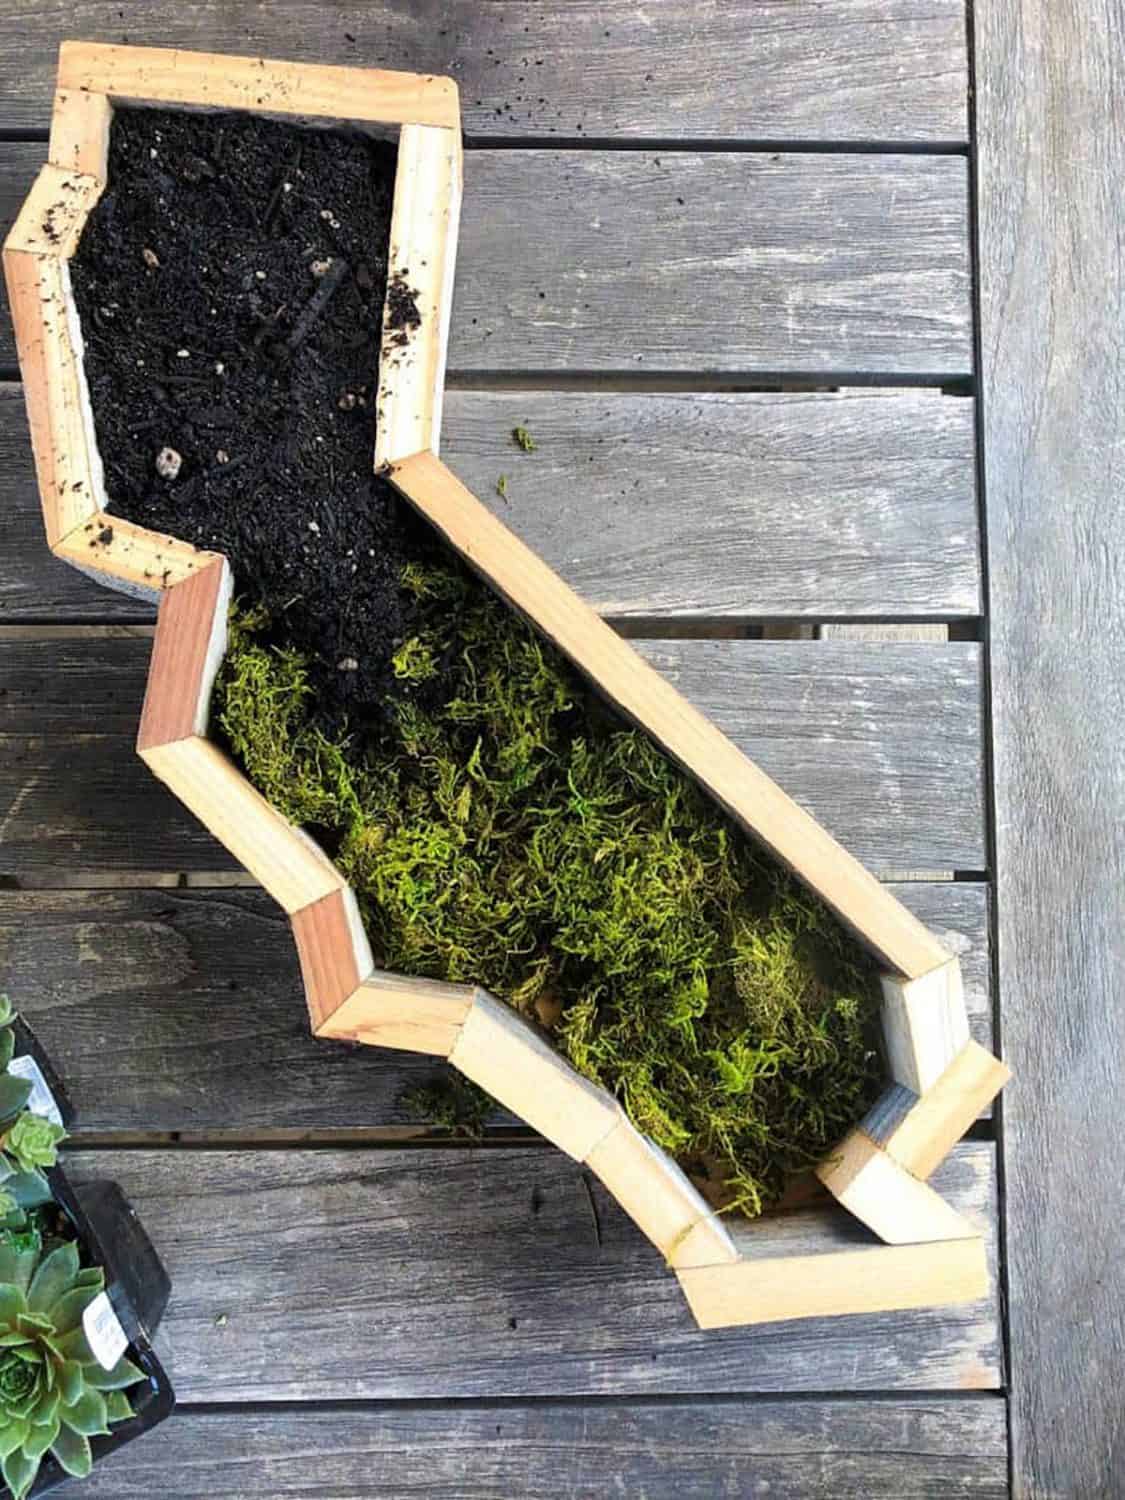
Cover the moss with soil.
Fill the entire cavity with soil all the way up to the top and pack it in as much as possible.
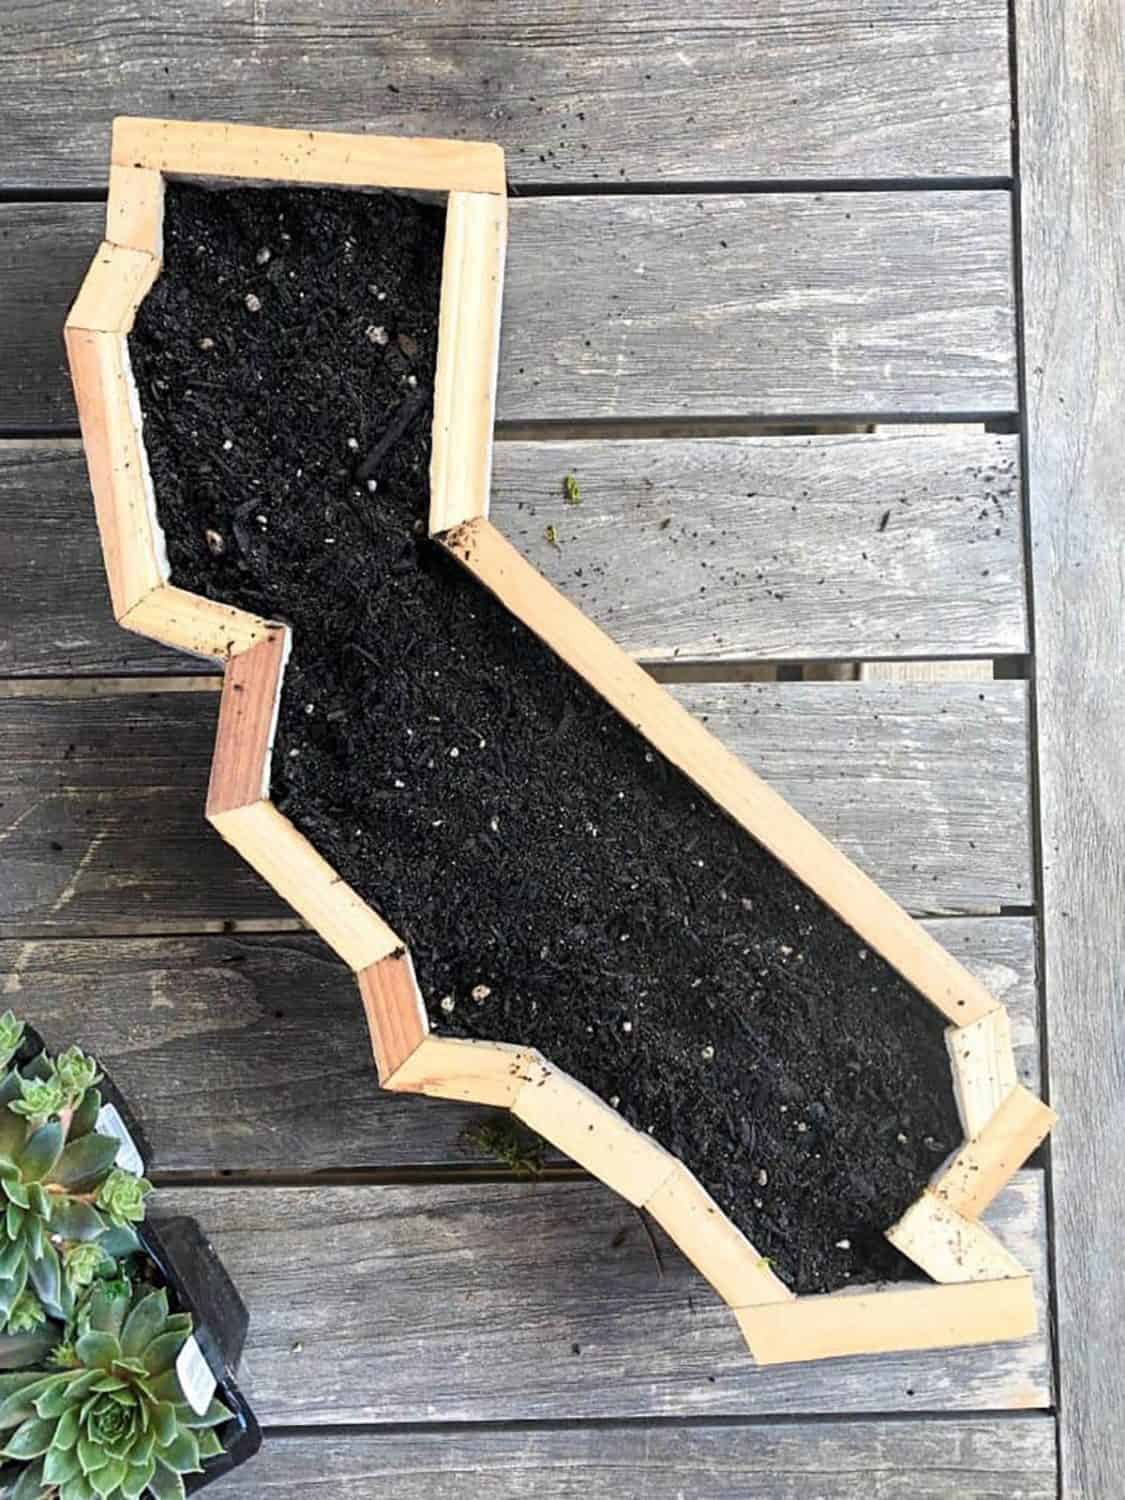
This is how your planter should look at this point. Not a speck of moss visible.
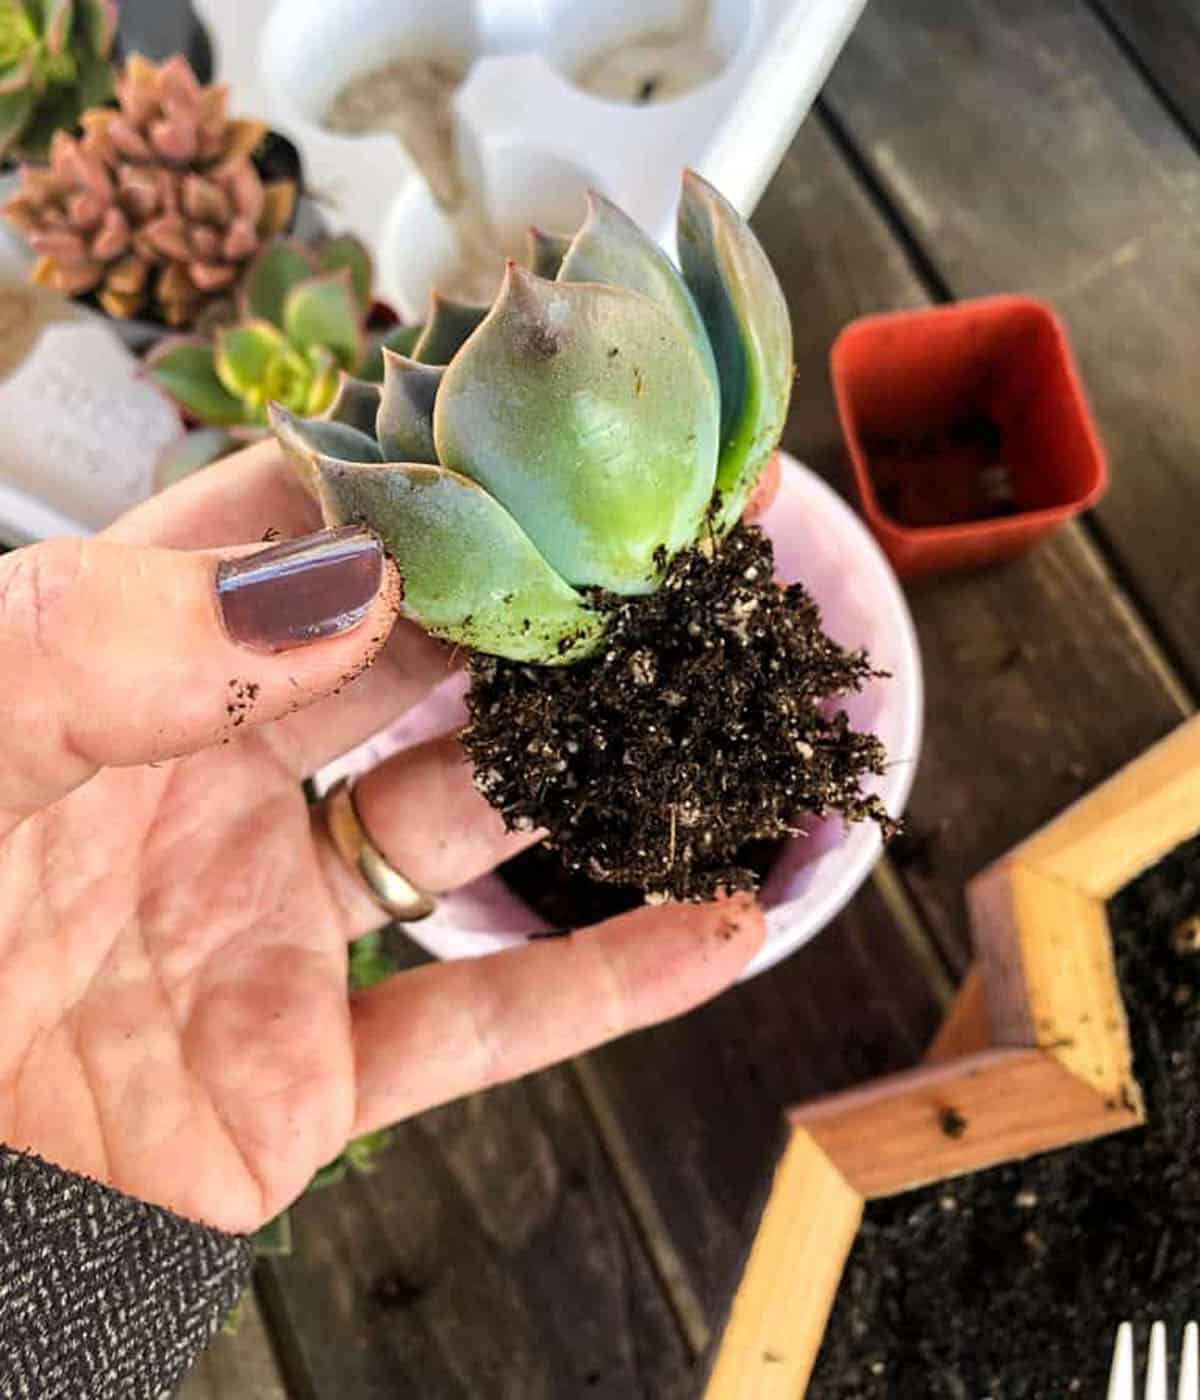
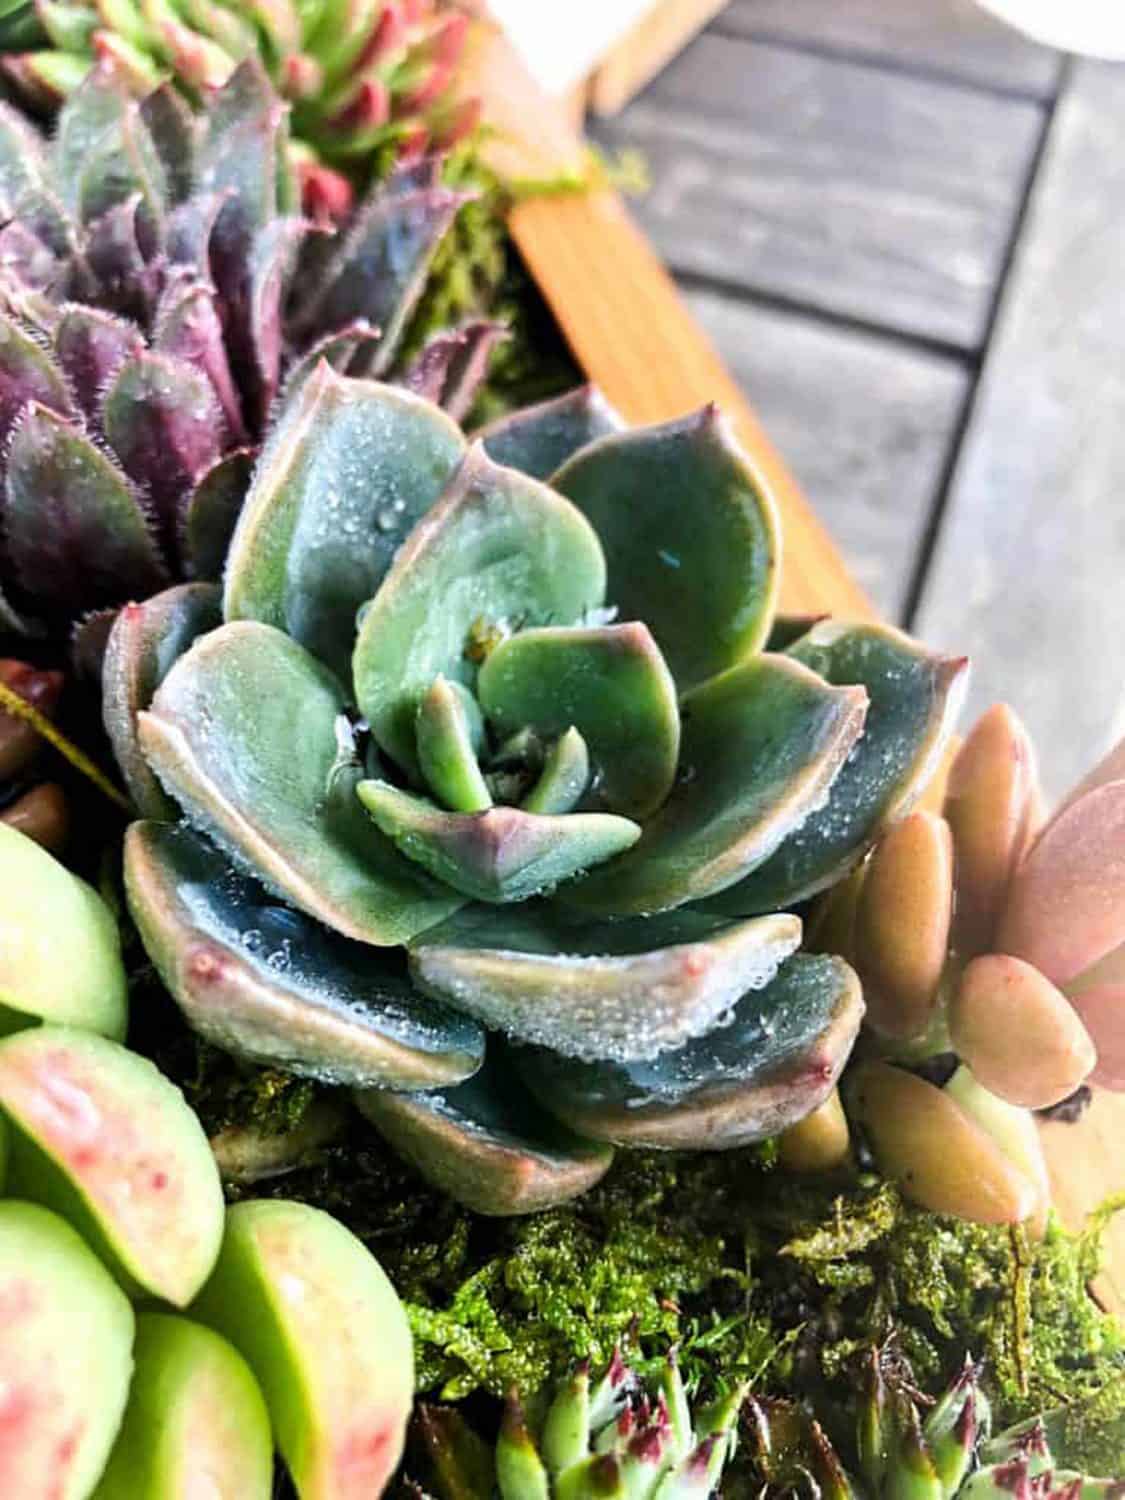
Prepare the succulents for their new home!
Remove the succulent from its pot and break off as much soil as you can to expose the rootball.
Don’t worry, succulents are very hardy and can take some abuse to their roots.
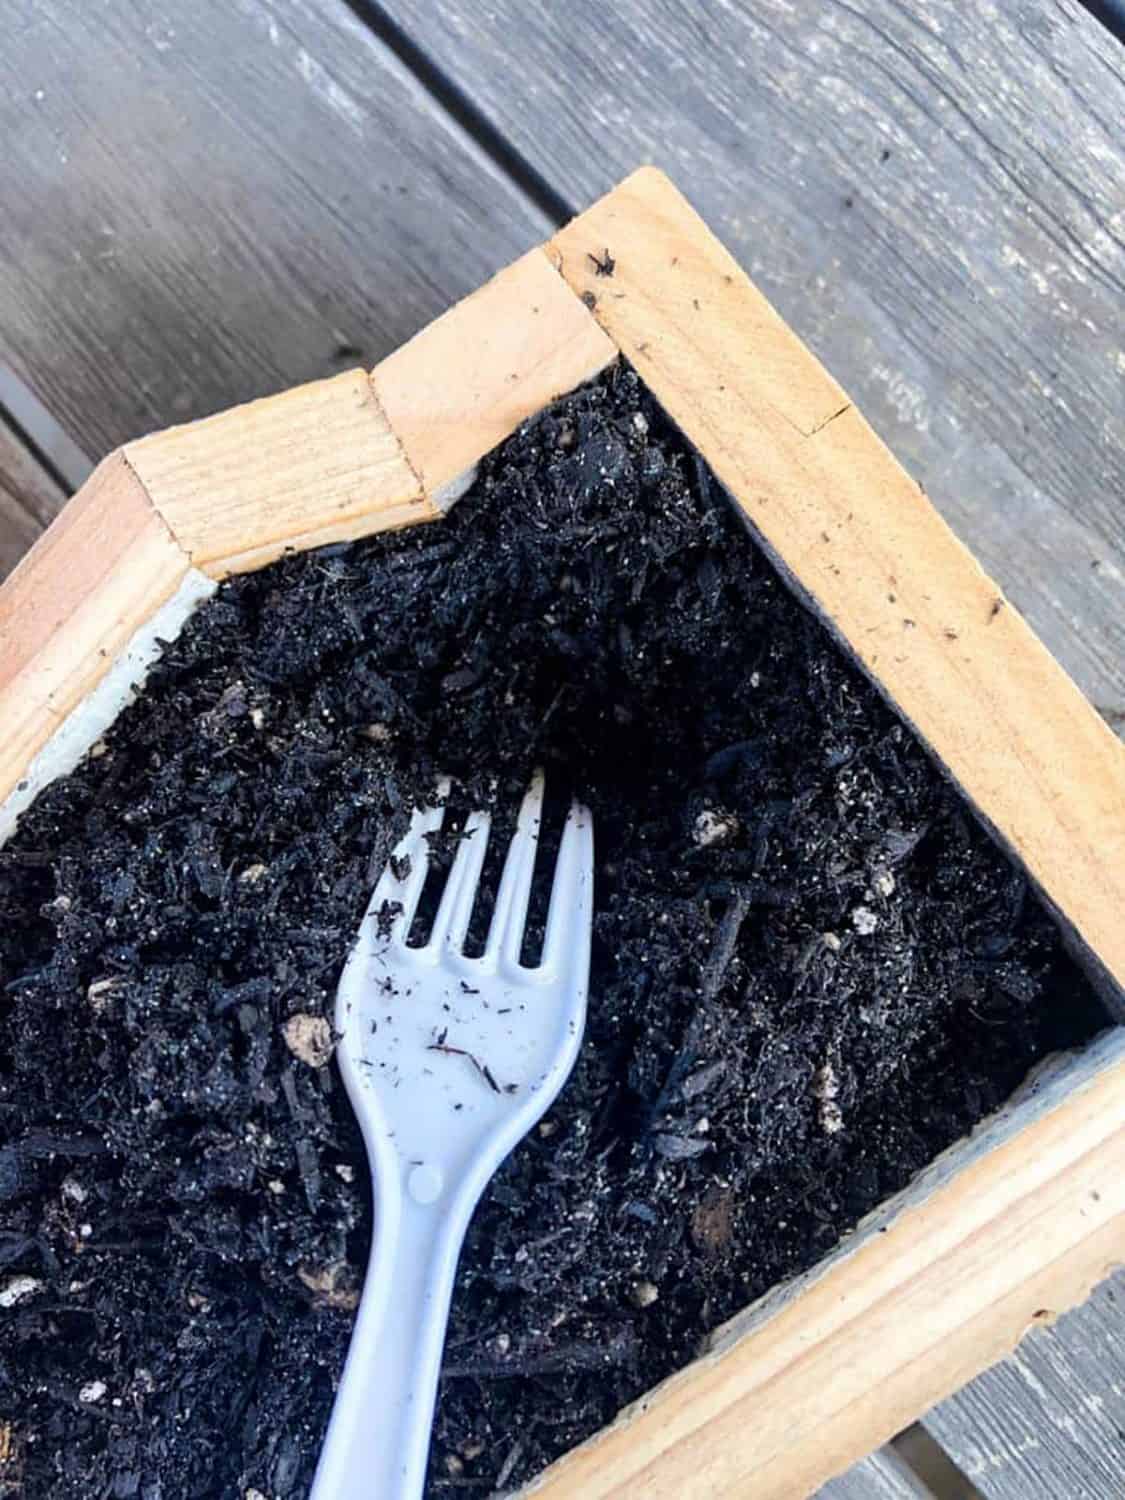
Let’s start designing our succulent wall planter!
Pick a spot on the perimeter of the planter and using a fork, dig a small hole to accommodate the rootball of the succulent.
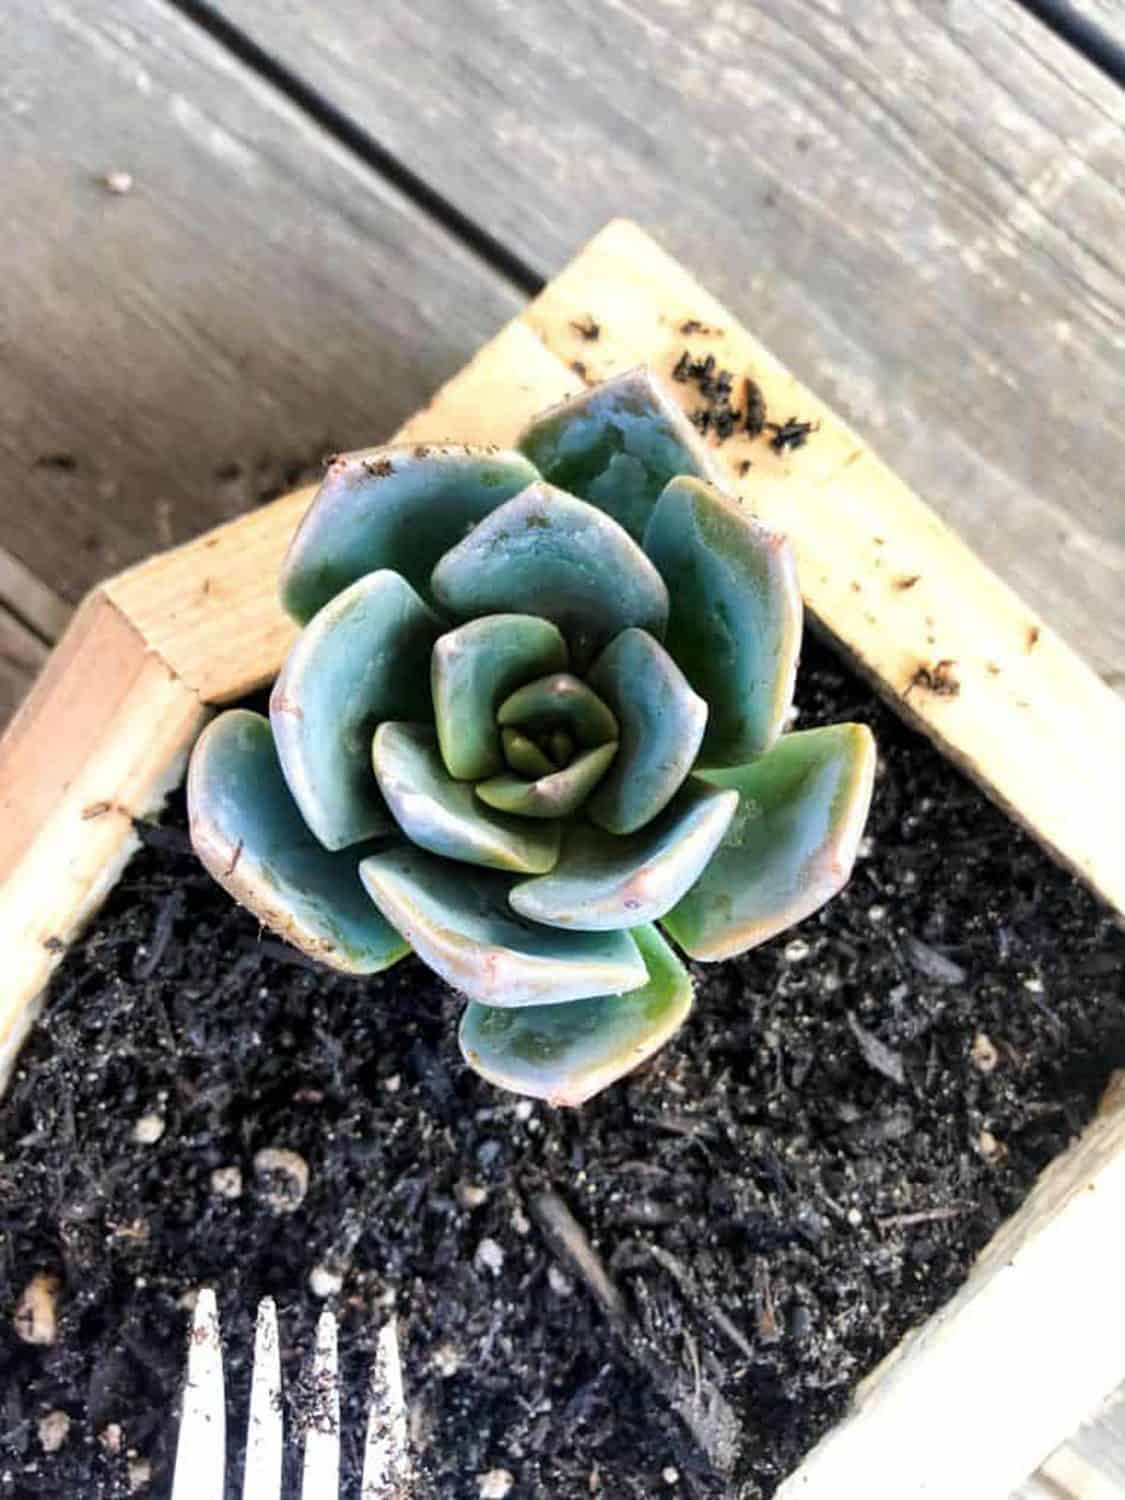
Transplant the succulents & secure them.
Insert the prepared succulent into the prepped hole and using the fork, backfill the soil and tamp down the soil around the base.
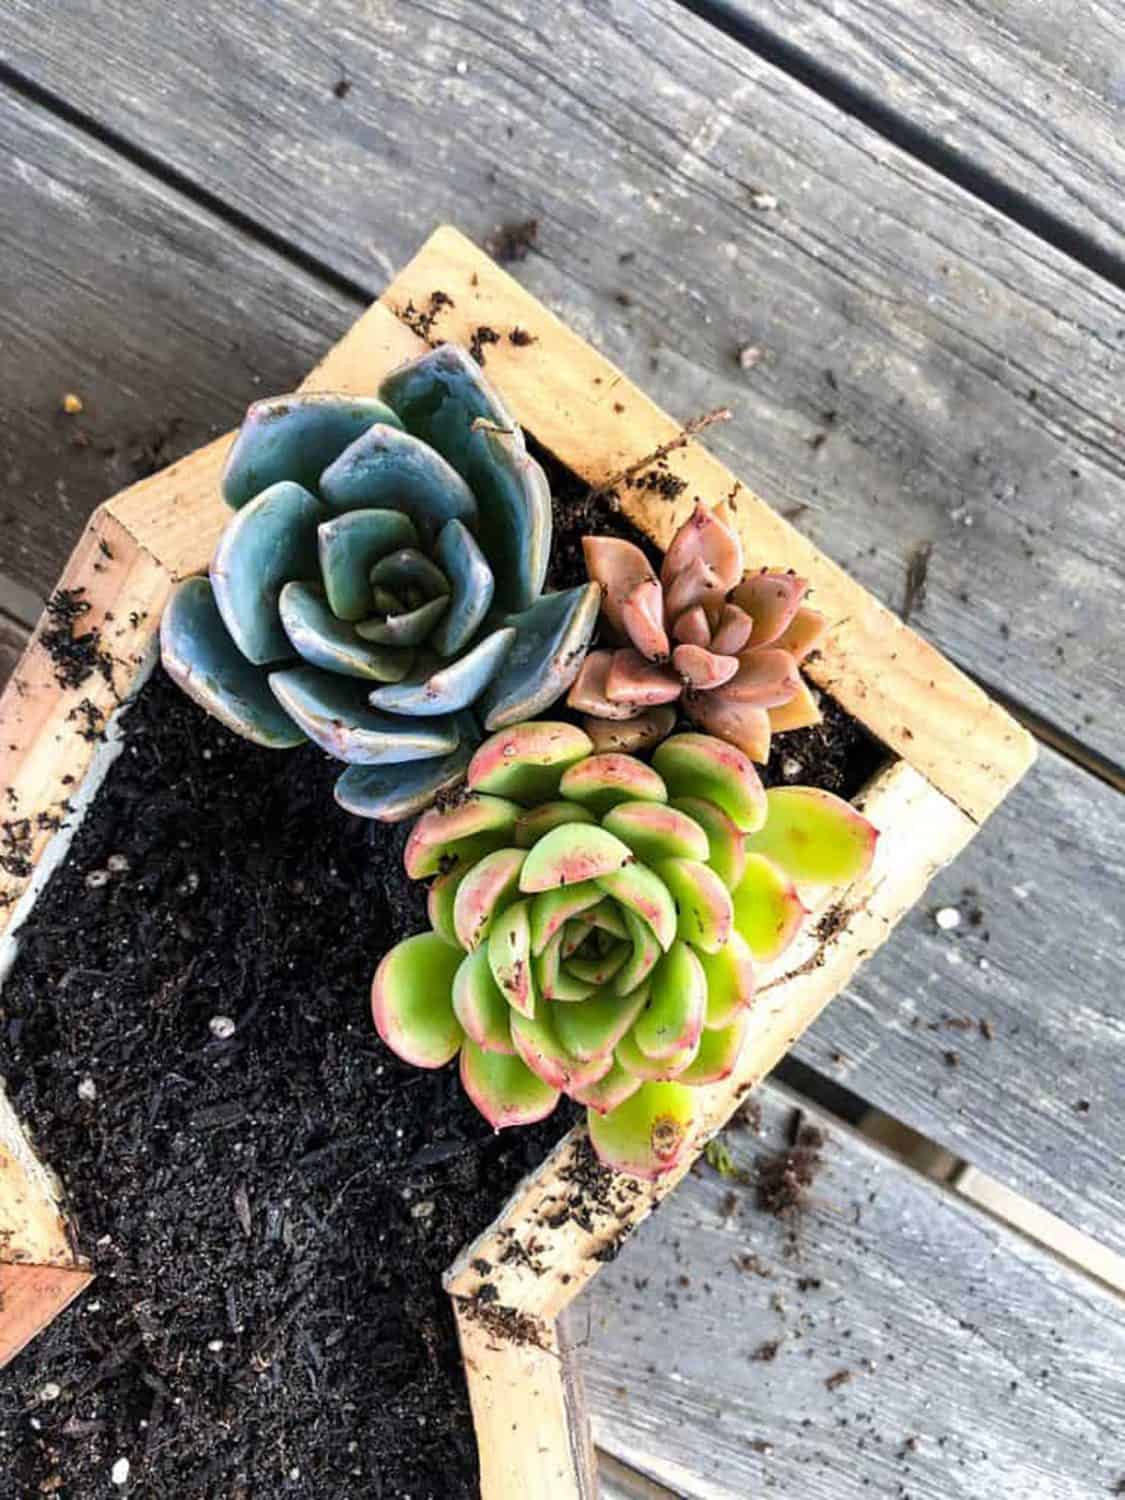
Repeat the steps with more succulents.
Continue adding succulents. Try to get them packed in tight together, using various sizes and types, to keep it interesting.
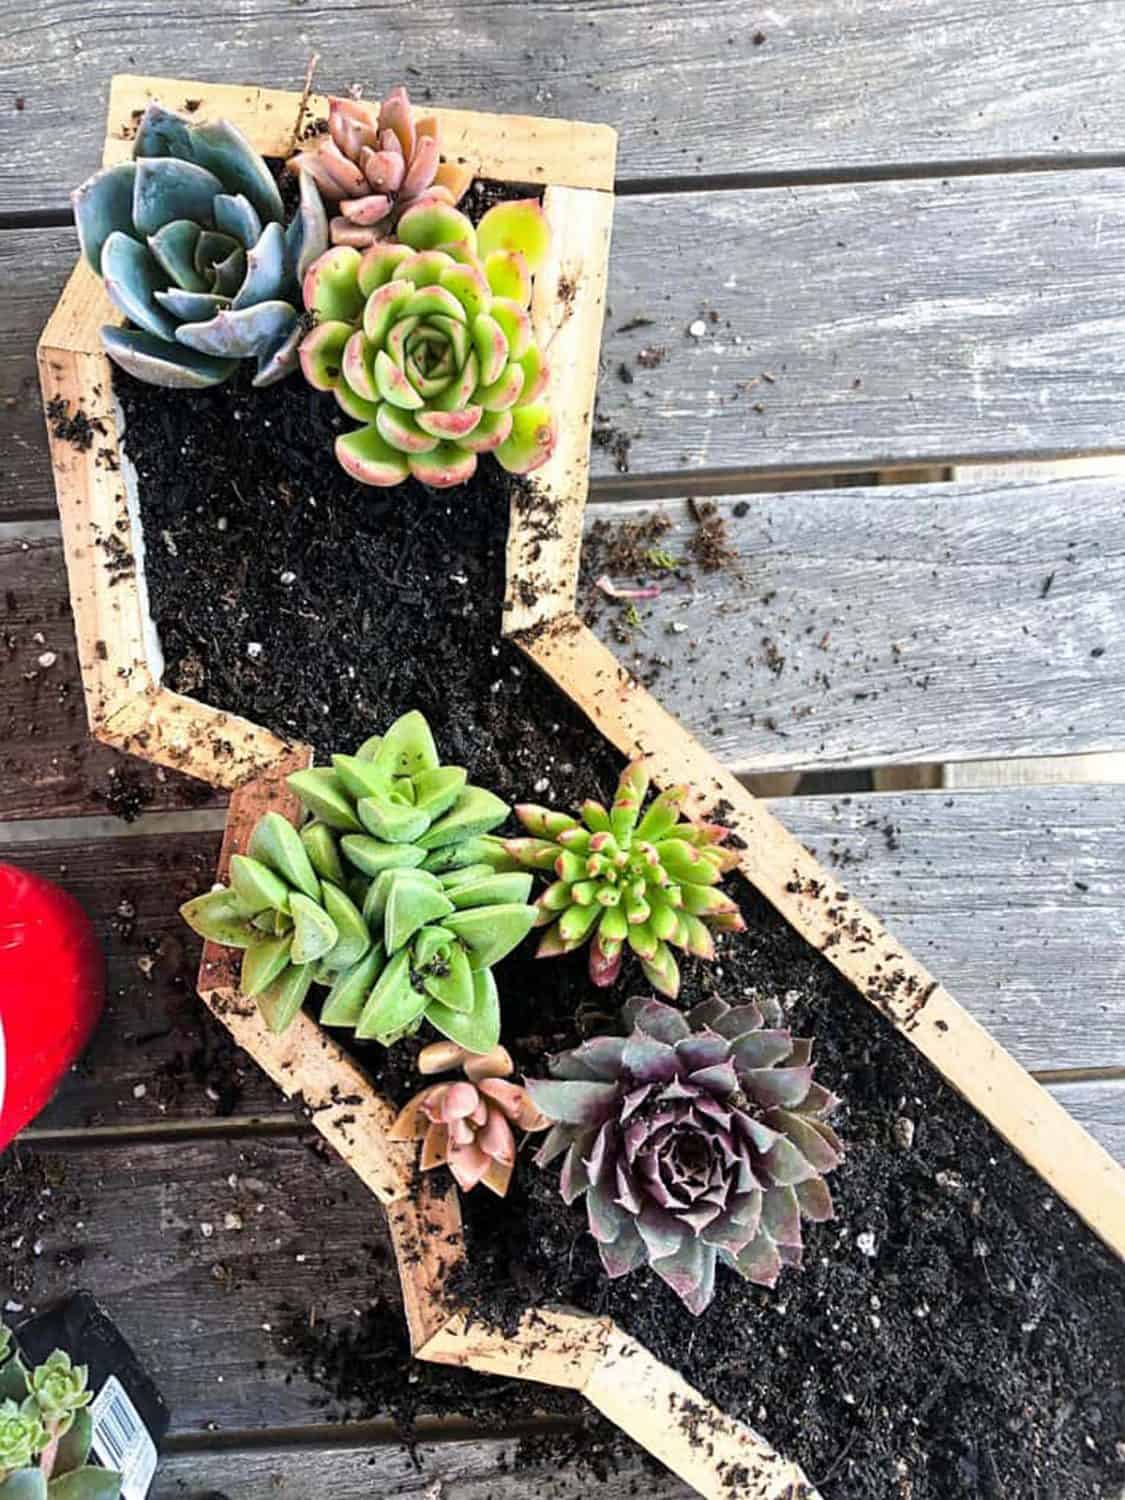
You will end up with some gaps, and that is okay. I have a solution for you!
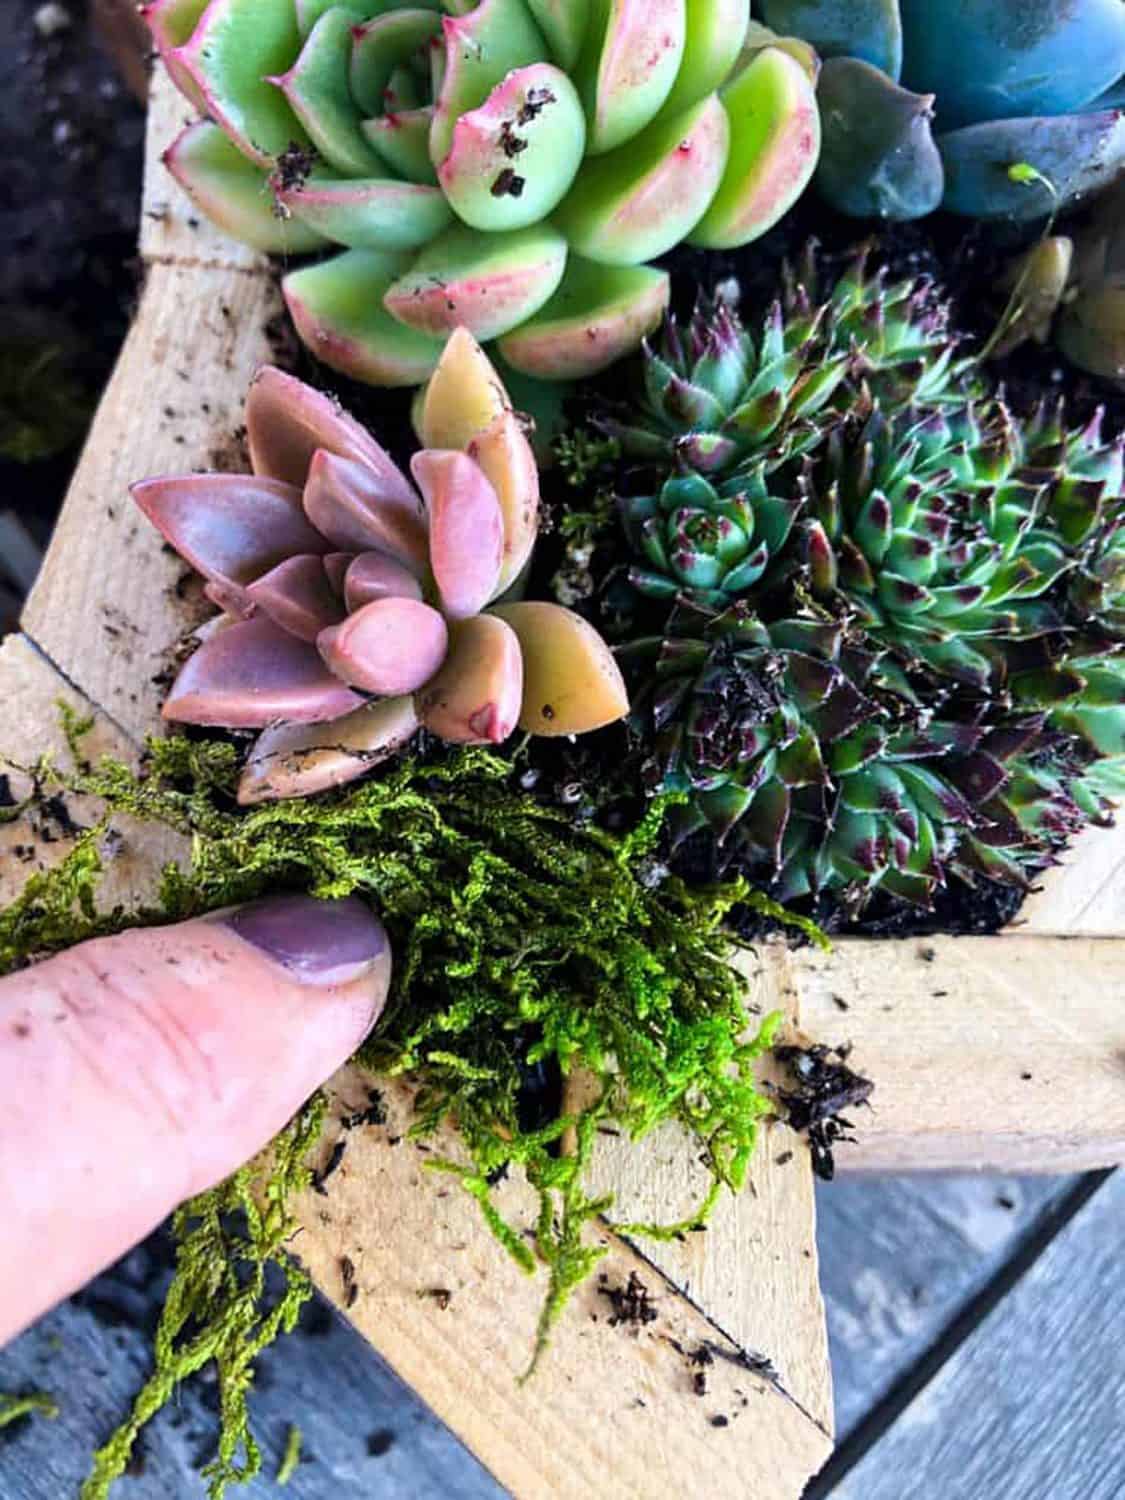
Have gaps in your succulent wall planter?
Start filling the gaps with more moss.
The reason you want to do this is two-fold; it helps create a barrier, keeping the plants locked into the planter and it covers up all the unsightly soil you can still see.
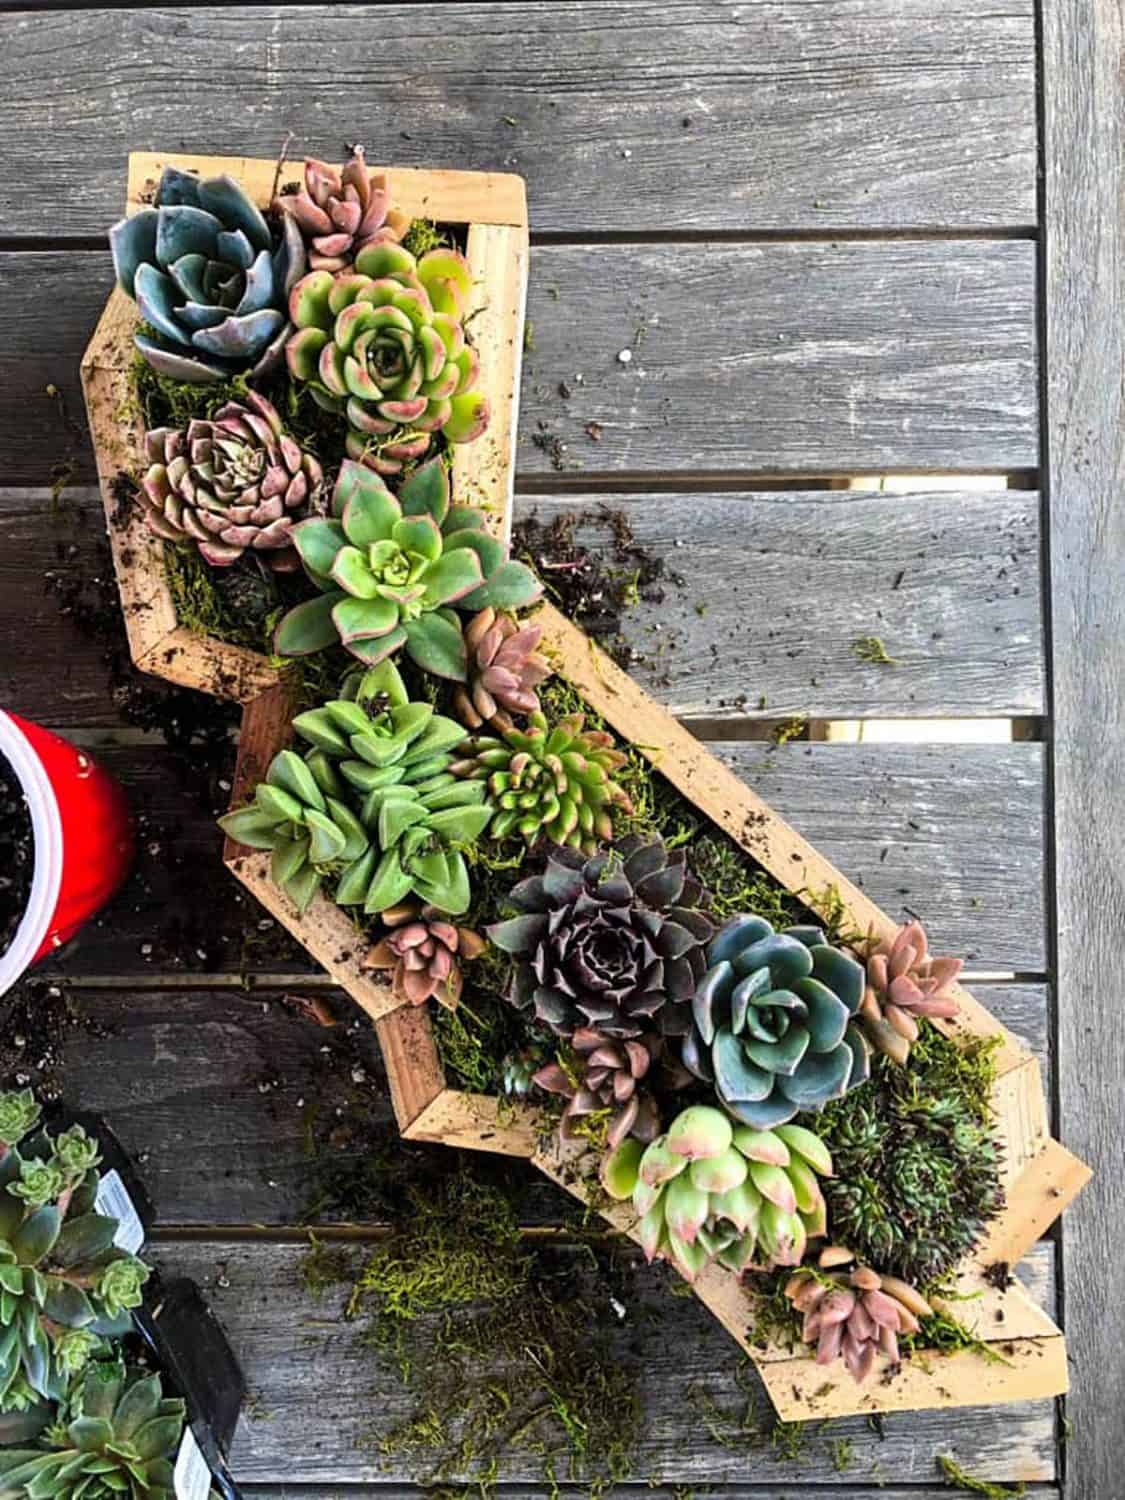
Voila!
All that is left is for you to dust off the excess soil and moss then give the whole succulent wall planter a dousing of water.
For light waterings in the future, a spray bottle is best for your succulent wall planter. It is the easiest way to go about hydrating without making a huge mess.
Choose somewhere prominent to display your new DIY succulent wall planter and secure it well! You can hang it on a wooden fence, stucco wall, or even brick. Just be sure the planter is tightly secured as it can be heavy.
Once a week, remove the planter from the wall to water thoroughly. Saturating the entire planter. Allow excess water to drip out before rehanging.
Interested in more ways you can bring California Grown flowers into your home?!
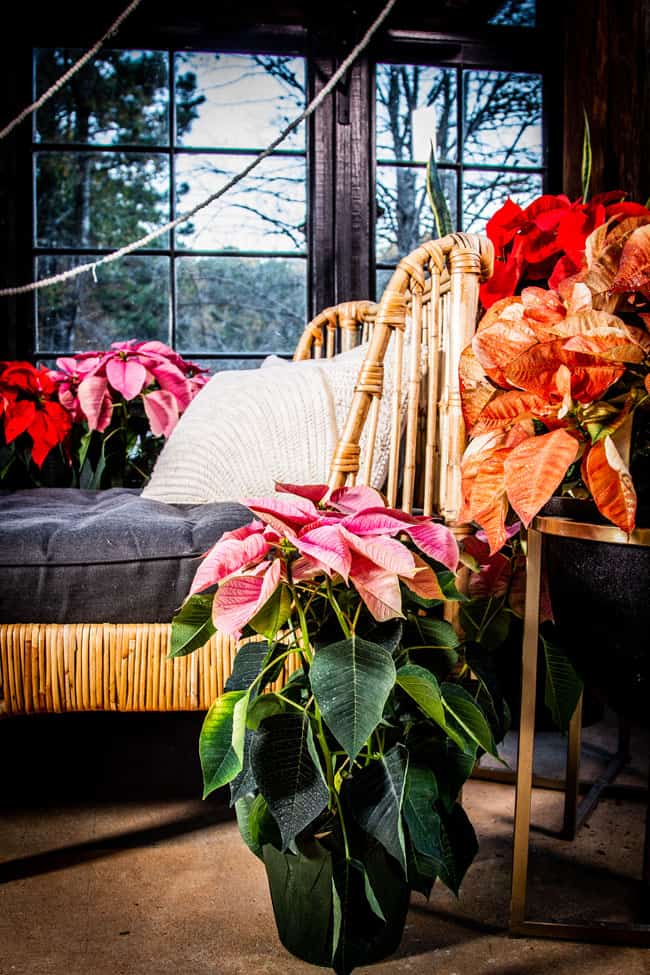
How to care for and decorate with poinsettias.
Everything you need to know about the holiday season’s favorite plant in one intensive how-to style post.
Would you share where you got the wooden planter in the shape of California?
Hey Tori! You can find quite a few versions of this planter on Etsy in different finishes. It makes such a cute statement piece, doesn’t it?