Raised Bed Gardening
I’m so excited to share this post! We have been busy planning, designing, building and filling the newest addition to our home. I usually plant a garden every summer and it usually is ho-hum and I think my biggest problem was that my plants never got consistent water. I relied on myself to have the time, energy and recollection to get out there and spend some time. So, my plants suffered. I told my husband last summer that if I ever get the urge to plant another garden, please tell me NO! Well, I know growing plants is in my blood so when Fall came around and that planting feeling started running through my veins again, I’m so glad my husband hadn’t heard me (typical!).
I used Plant California‘s helpful Fall Planting Guide as resource and inspiration to get started!
Well, of course I can’t do anything small…or without great detail!
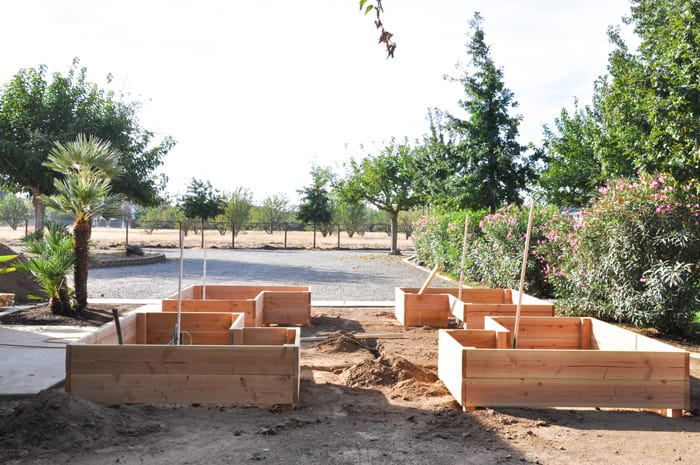
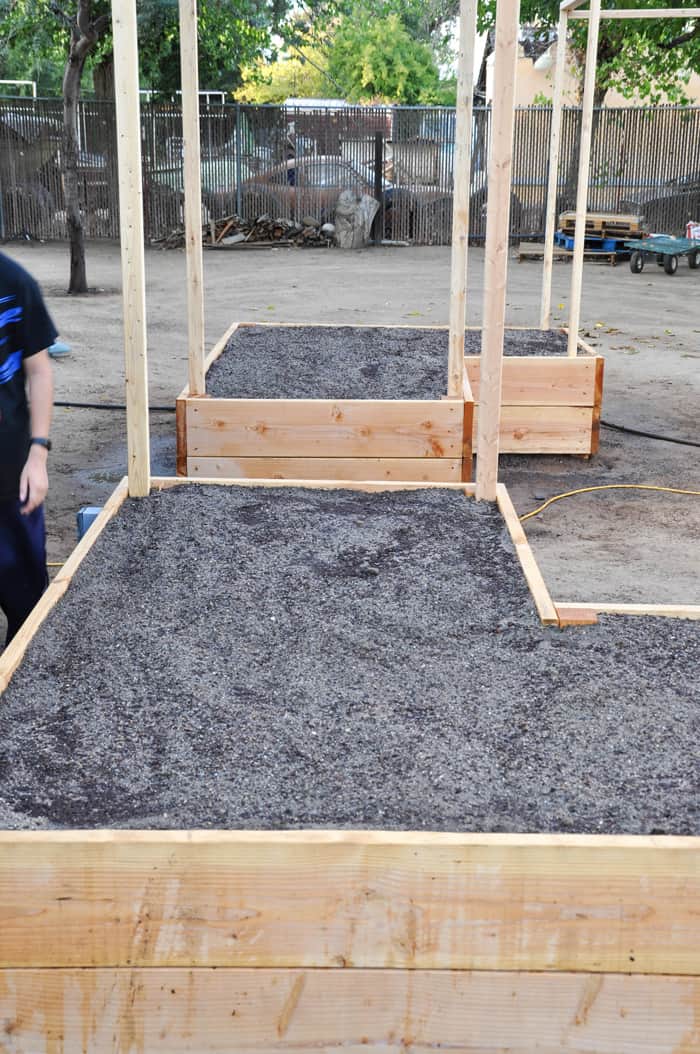
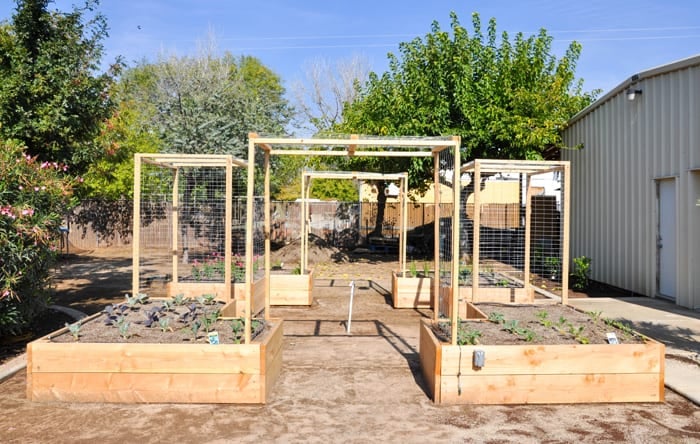
I had the perfect space on our property that was just begging for some action. I measured the space and plotted my plan on simple graph paper. I designed the beds to be L-shaped so they each could accommodate a trellis for trailing plants like squash, pumpkins, beans and tomatoes.
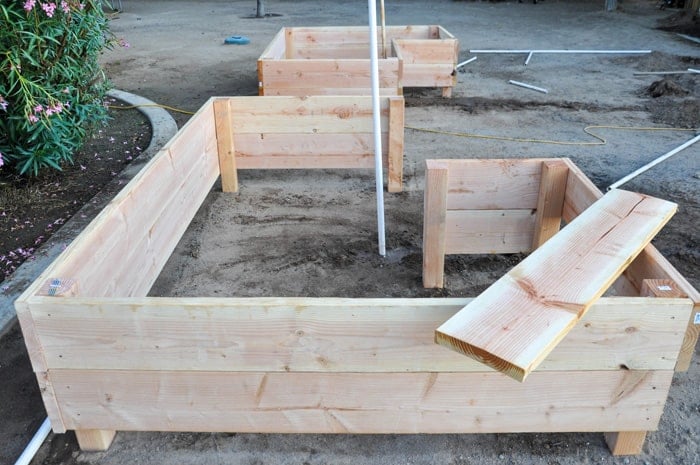
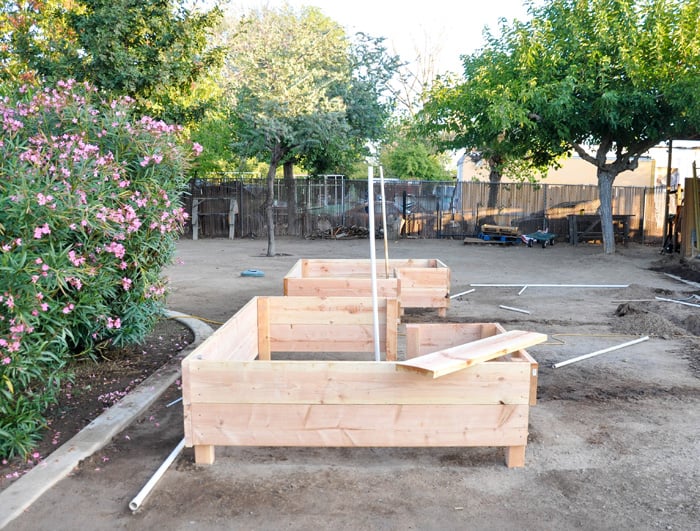
We used 2 2x10s stacked on top of each other with 4x4s in the corners for durability.
We also ran irrigation lines to each box so we will have consistent water. And with timers, we can leave home for a few days and not worry about the entire garden dying. Plus, it helps me save water by not over watering!
All 4 boxes were built within a few days. We dug out some dirt and sunk the 6-8″ of the 4×4 posts into the ground to ensure the boxes keep stable throughout the years.
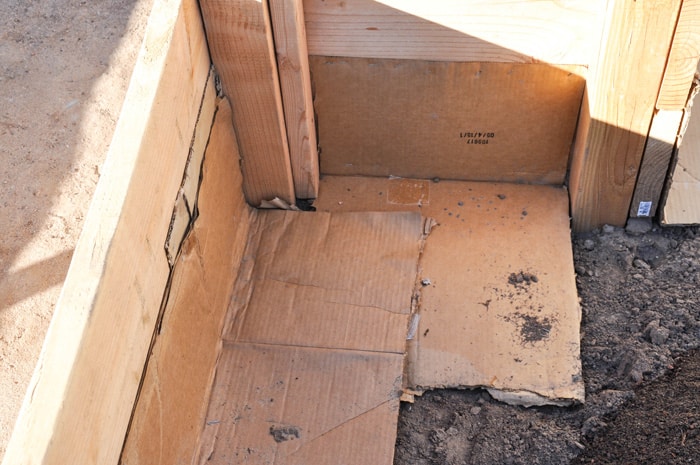
To keep dirt from seeping out under the boards, I added cardboard to the bottom seams. The cardboard will decompose over time.
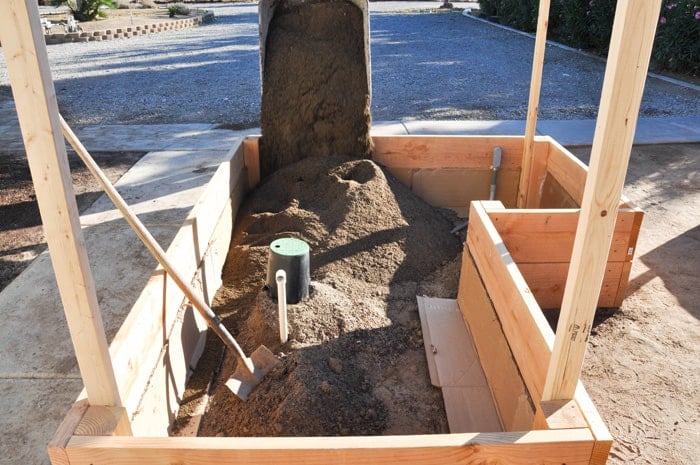
We filled each bed with fresh topsoil delivered from our local supplier. You can see in this photo our electrical boxes too. I have a vision of each trellis having tiny white lights that we can turn on when we want to add some charm and extra lighting to our space.
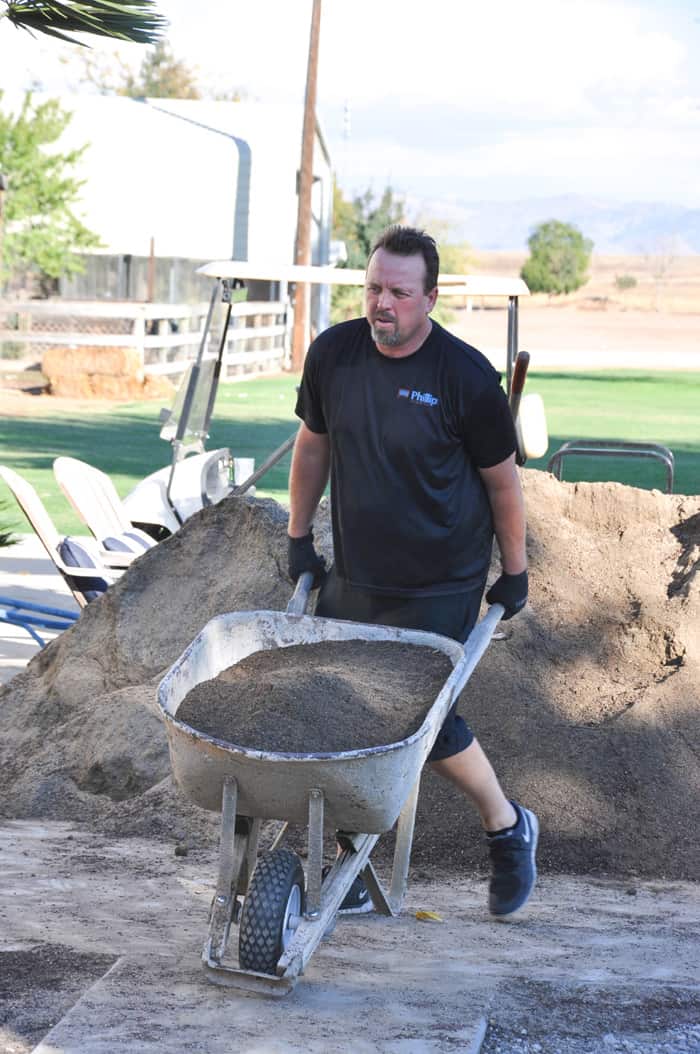
I enlisted my favorite handyman to do most of the heavy lifting
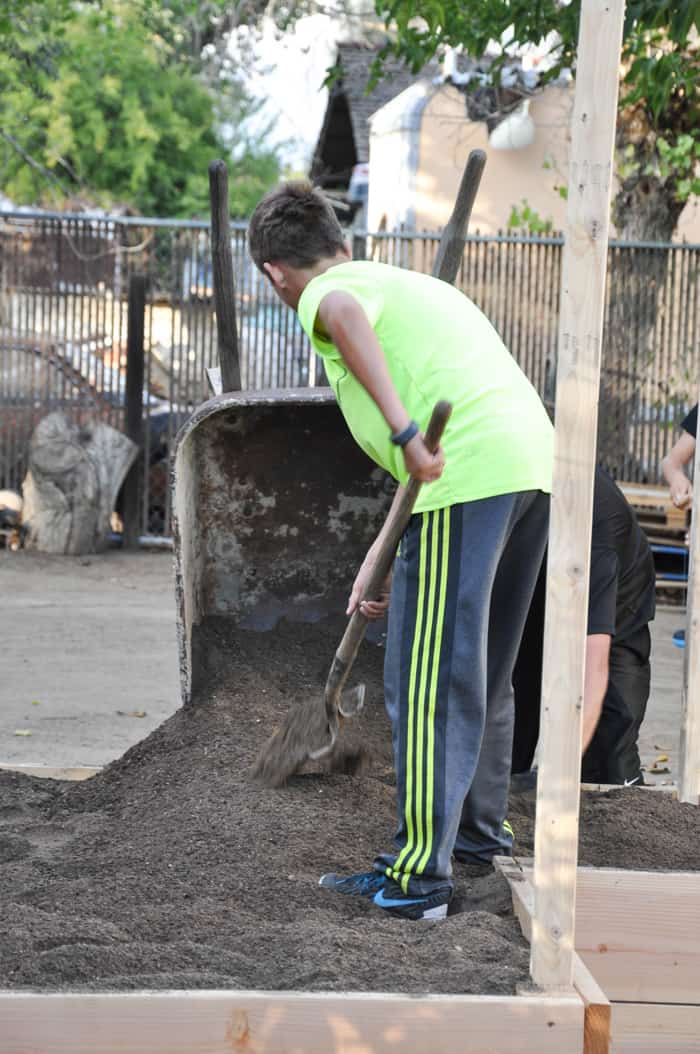
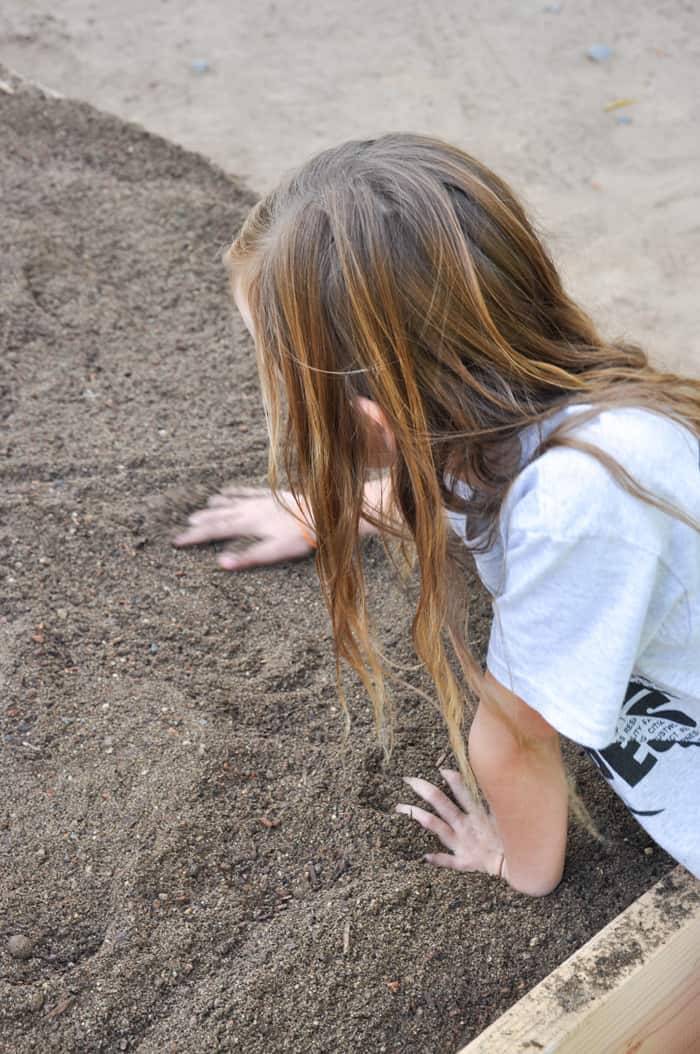
The kids got in on the action too! It was a fun, family day working together, learning about irrigation, electricity and soil.
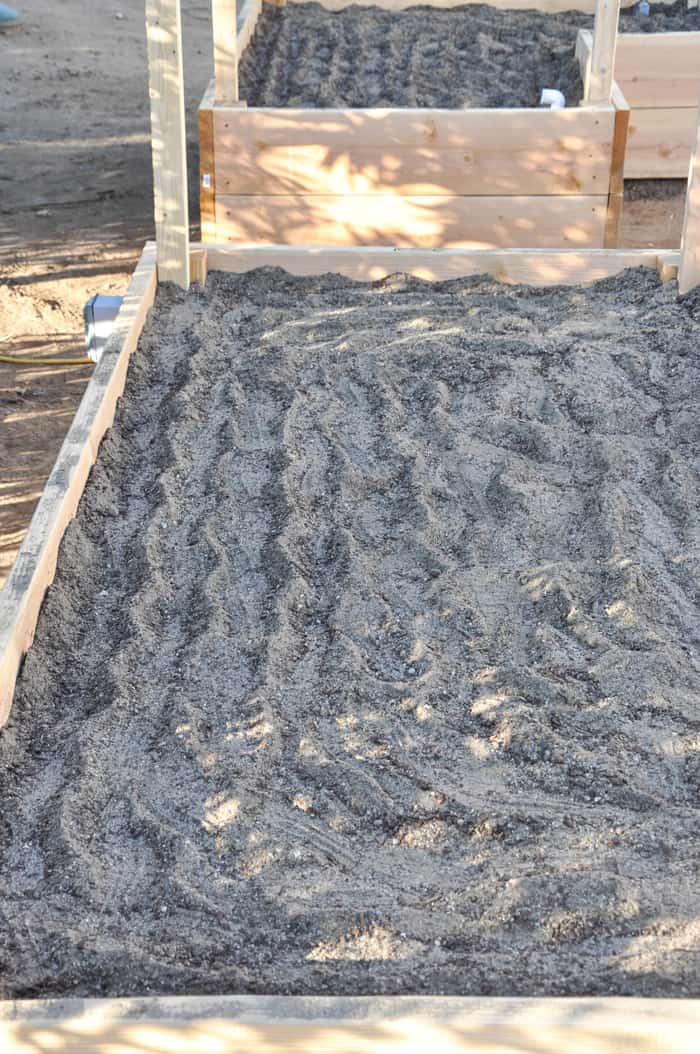
Once the beds were filled, we stomped on them to sink the dirt down a bit and then put another layer to fill it to our desired depth.
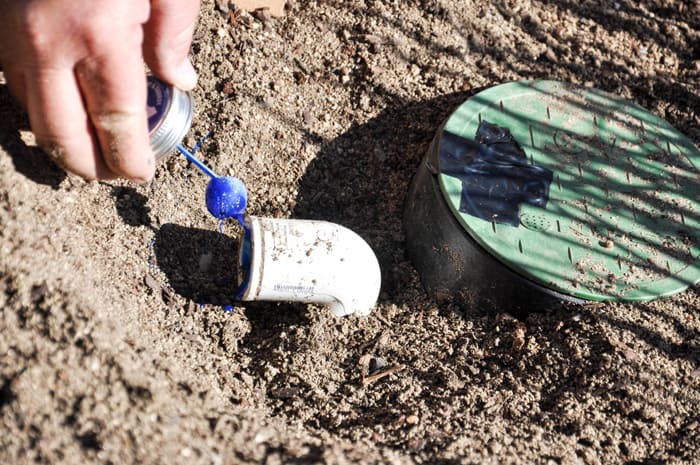
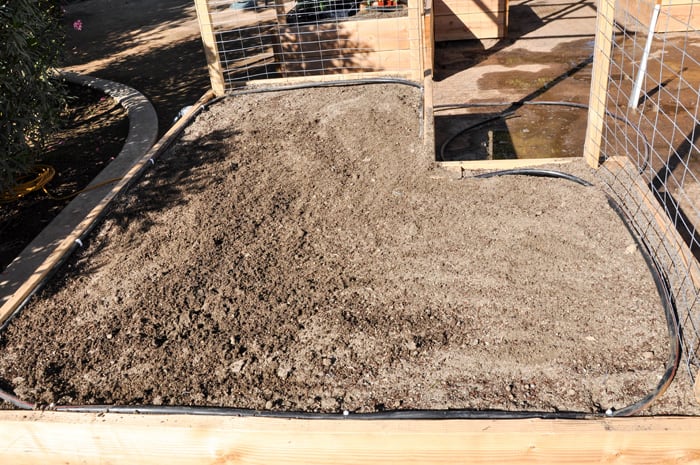
Each box has it’s own irrigation pipe leading to it, so we added a run of flexible irrigation pipe and used large staples to keep it secured to the wood edges. We will then run small drip tubing down the rows and each row will have it’s own configuration of drip heads to accommodate the plants. That portion hasn’t gotten quite finished yet, but Hello! All this beautiful rain we have gotten has helped me out with keeping the plants watered naturally. That’s what is so great about planting in the Fall…you get some backup help from Mother Nature.
Once all the drip is installed, I will post on how we arranged it!
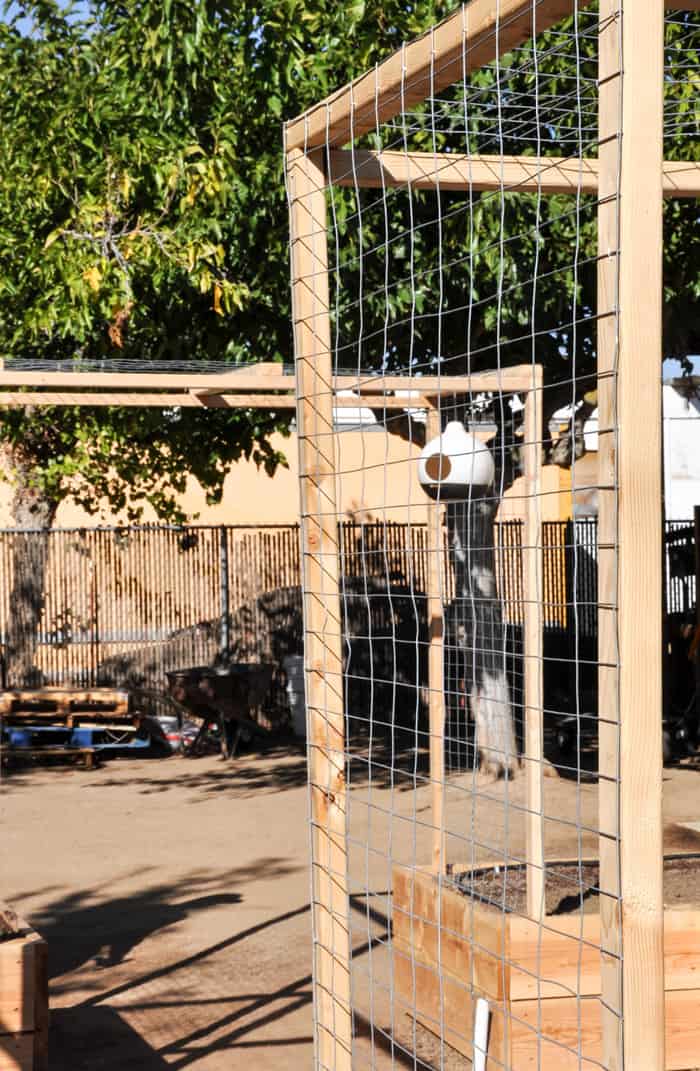
We bought basic non-climb fencing and secured it to all the trellises using heavy duty staples. I can’t wait to see my vegetables climbing!
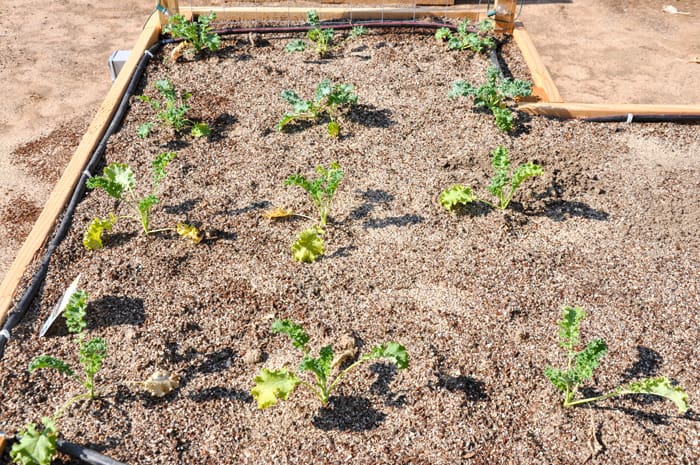
For my Fall garden, I’ve planted three different varieties of kale…
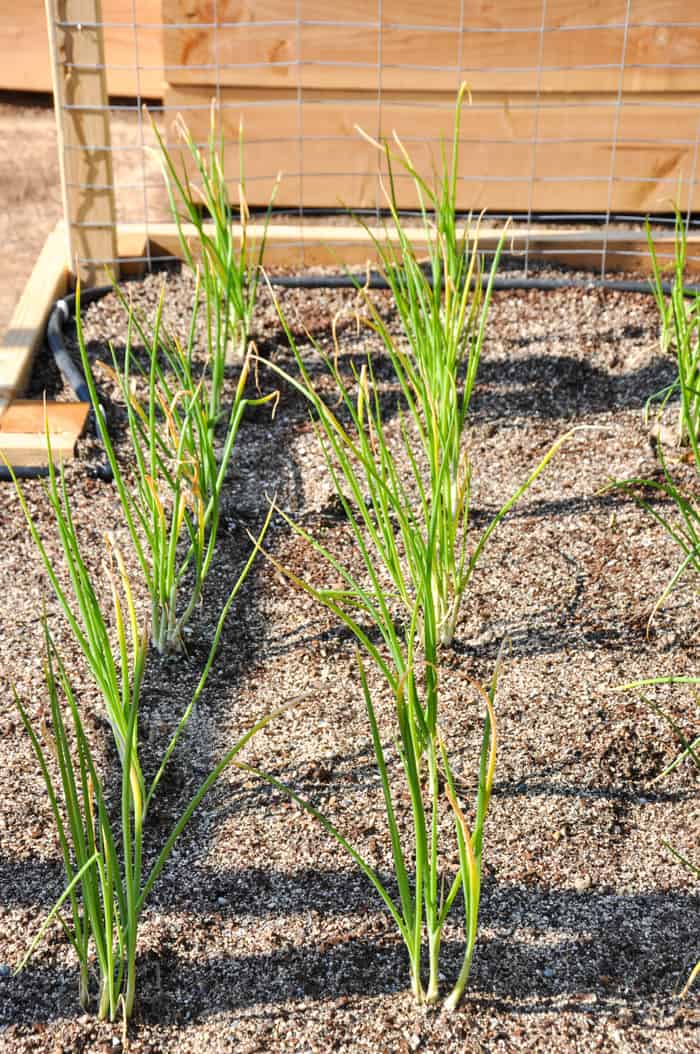
White and yellow onions…
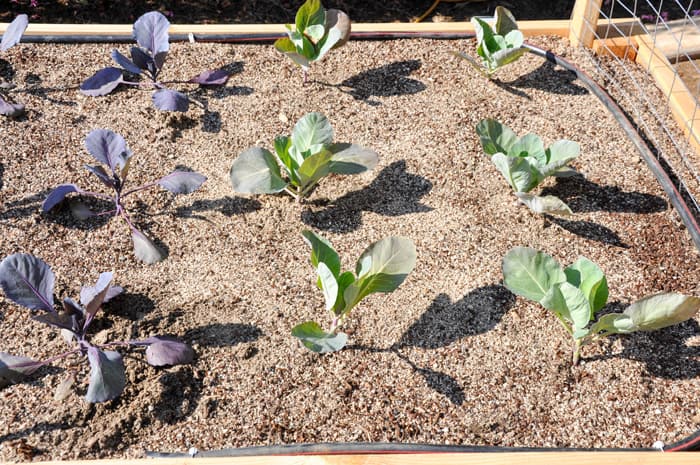
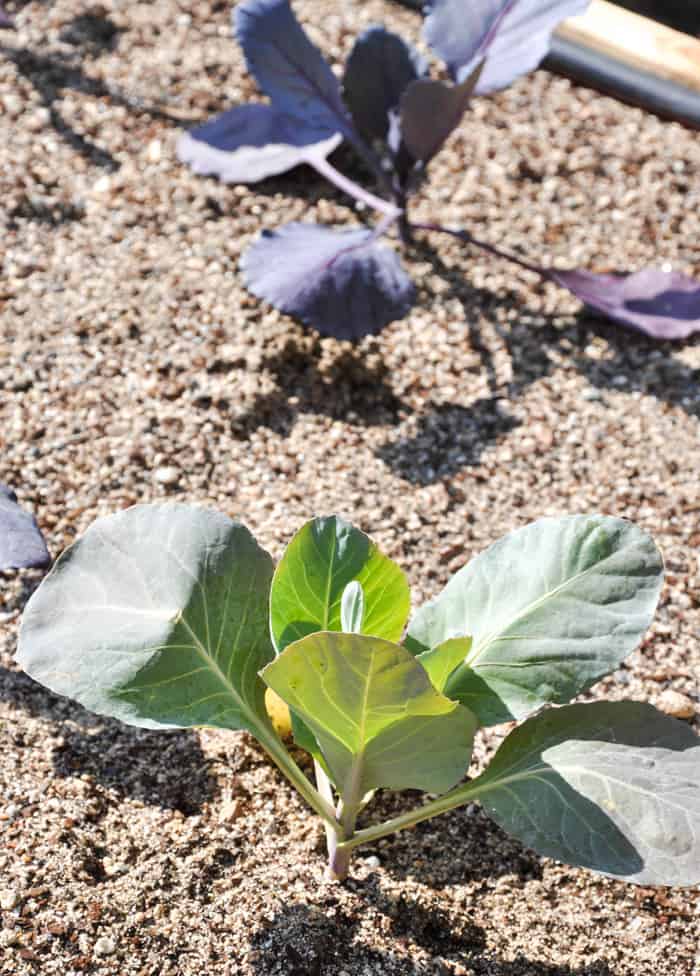
Red and green cabbage….
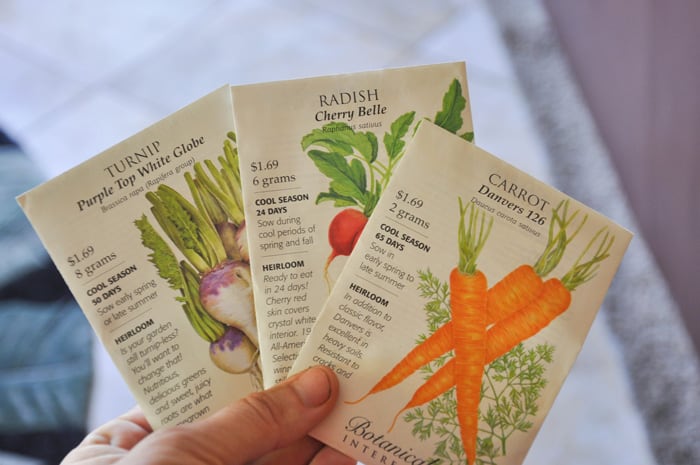
I also planted direct seeds of carrots, radish and turnips! (dirt under the fingers alert!)
I am so excited to see my garden grow, especially because Fall plants are the easiest to maintain. I expect big production out of these babies! I will be updating this portion of the blog regularly to keep you all in the loop.
UPDATE: See what I put smack dab in the center of the garden. A great focal point that you can make yourself! See it HERE
Happy Planting!